Colour layering peony stamps!
The more I’m playing with our Perfect Peonies stamp set, the more I love it!
I keep finding new ways to use it and it’s such fun experimenting with different ink combinations. Our photopolymer stamp layers are made with the added bonus of a little notch which marks the top of the stamp colour layer – so no more rotating a stamp around and around to see which way up it goes!
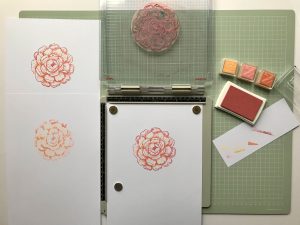
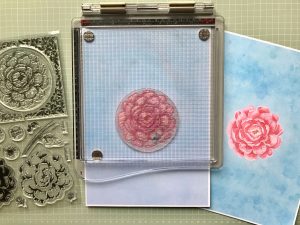
I wanted to share with you how the colour stamp layers work and also how much I’m enjoying using a stamping platform. Our stamps will cling like crazy to an acrylic block, so you don’t have to have a platform, but you’ll see why using one is really handy . . .
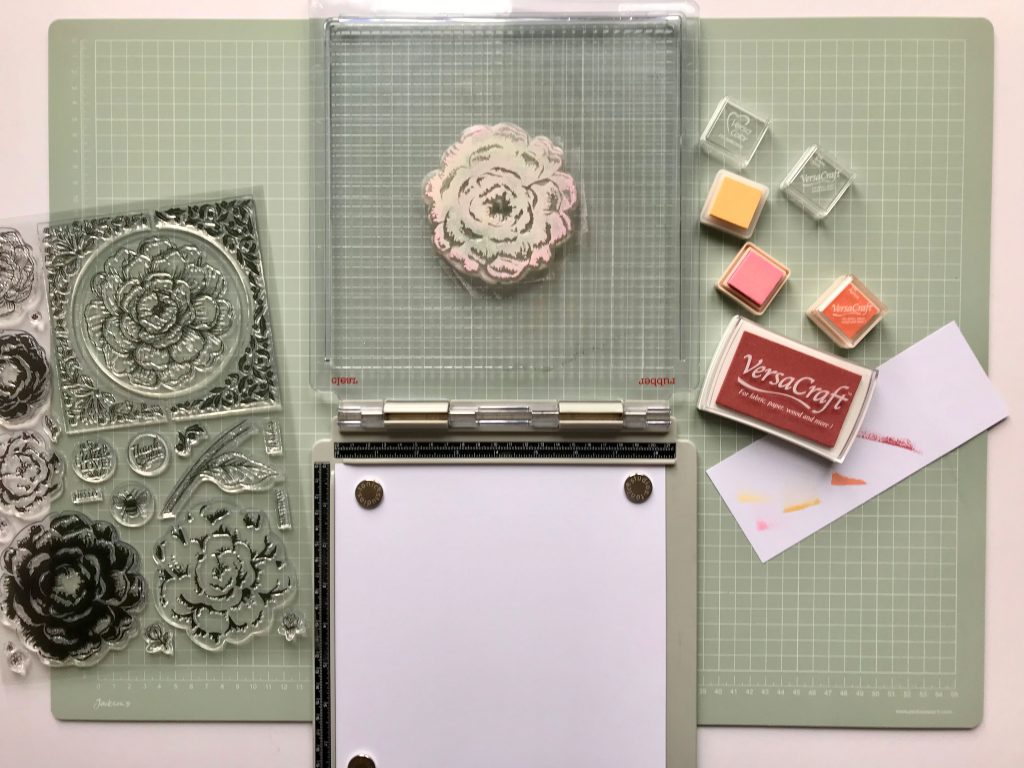
The magnets on the base of a stamping platform will prevent your piece of card from moving, which is great for stamp layering. More importantly, it also means that if you ever get a stamped impression that’s a bit faint or not quite what you had hoped for, then you can ink up the stamp again and repeat stamping – knowing with confidence that it will stamp in exactly the same place! Hands up anyone else who experiences this? It can’t just be me . . . and it usually happens on live TV as I’m rushing to ink up a stamp! Anyway, I’m now a fan of stamping platforms as they’ve taken away any previous worries I had about stamping.
Another stamping revelation I had is that if you position your card along the left and top edge of the platform, then it’s easy to whip out the stamped piece of card and replace it with another sheet. This means it’s quick to stamp batches of layered peonies (I tend to stamp batches of 3-4 flowers) AND it means you don’t have to keep cleaning the stamp after every impression which saves ink as well as time. Hurrah!
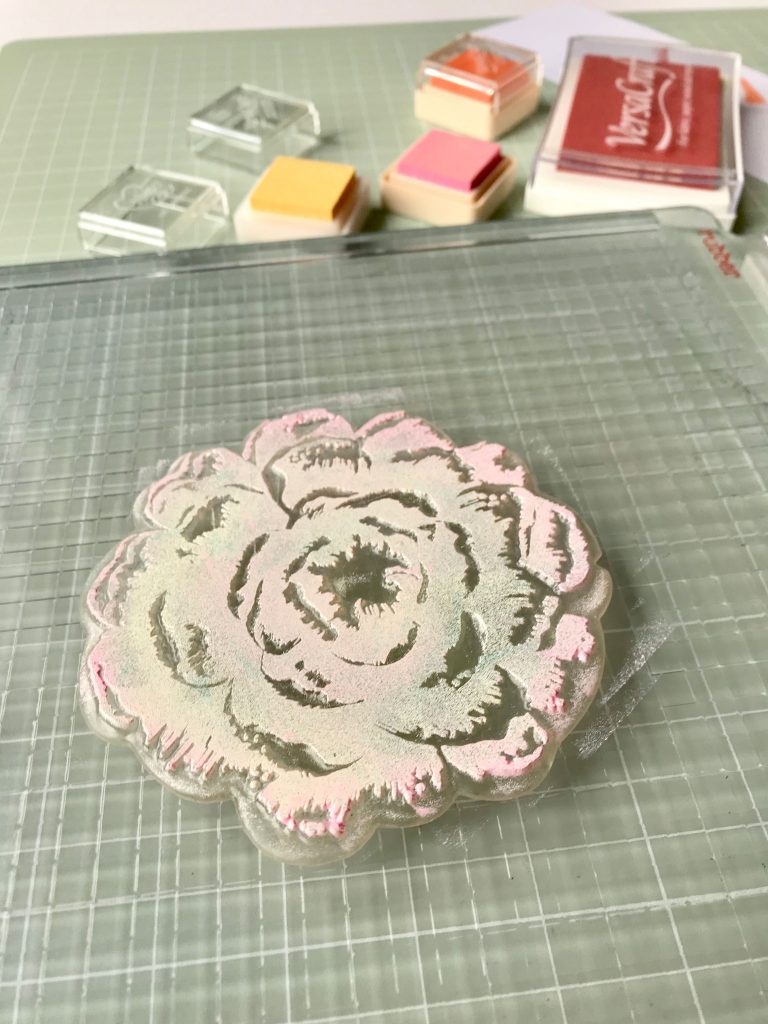
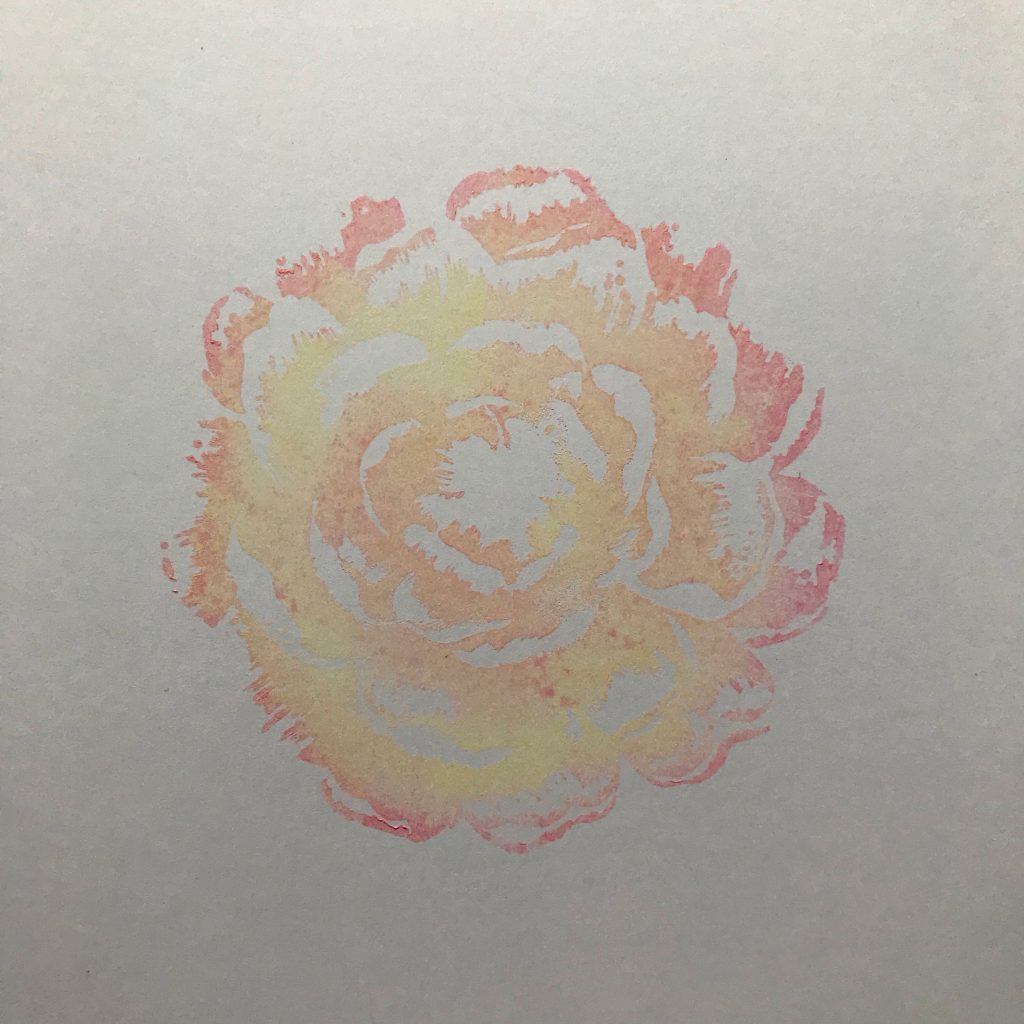
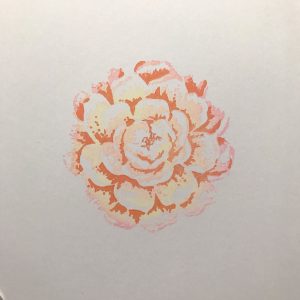
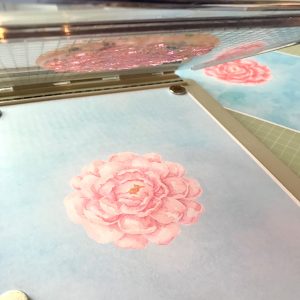
I’ve also started breaking some stamping rules and I’ve been mixing pigment inks directly on the stamps before stamping. Mini ink pads aren’t as expensive as the full-size ones, and it made me less precious about them. Here I applied VersaColor Narcissus over the first and lightest colour layer of the stamp. I then applied the light pink Bubble Gum around the edges of the petals and a little in the middle. The stamped impression is incredible! I’ve always loved flowers with petals like this and to be able to create this effect with our stamps is fantastic!
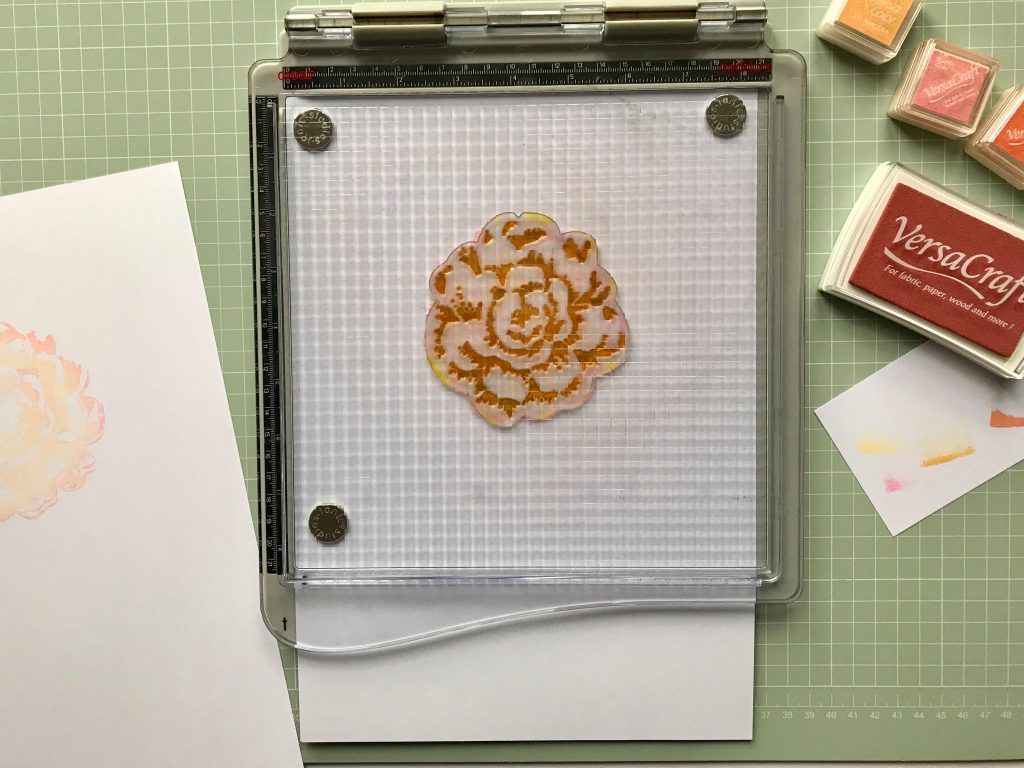
The best way to use a stamping platform is to position the next clean stamp layer face down over the flower. When you’re happy with the position (the notch in the stamp marks the top of the flower), lightly close the top of the platform so that it picks up the stamp. You’re then ready to ink it up and stamp the dark colour layer – and as the position will stay the same, you can repeat to stamp this layer in batches too. Here I’ve used VersaCraft Apricot pigment ink.
You can see how quick it is to create these beautiful peonies! I love how it looks even at this stage. You could just stamp the two layers for a screen-printed look.

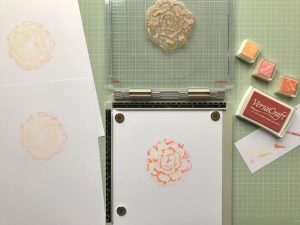
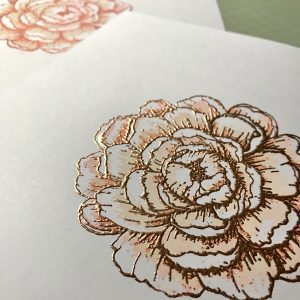
The last step is to place the clean outline stamp face-down over the flower, lining up the petals with the notch in the stamp at the top. I’ve used VersaCraft Ash Rose to stamp the outline over each of my three flowers.
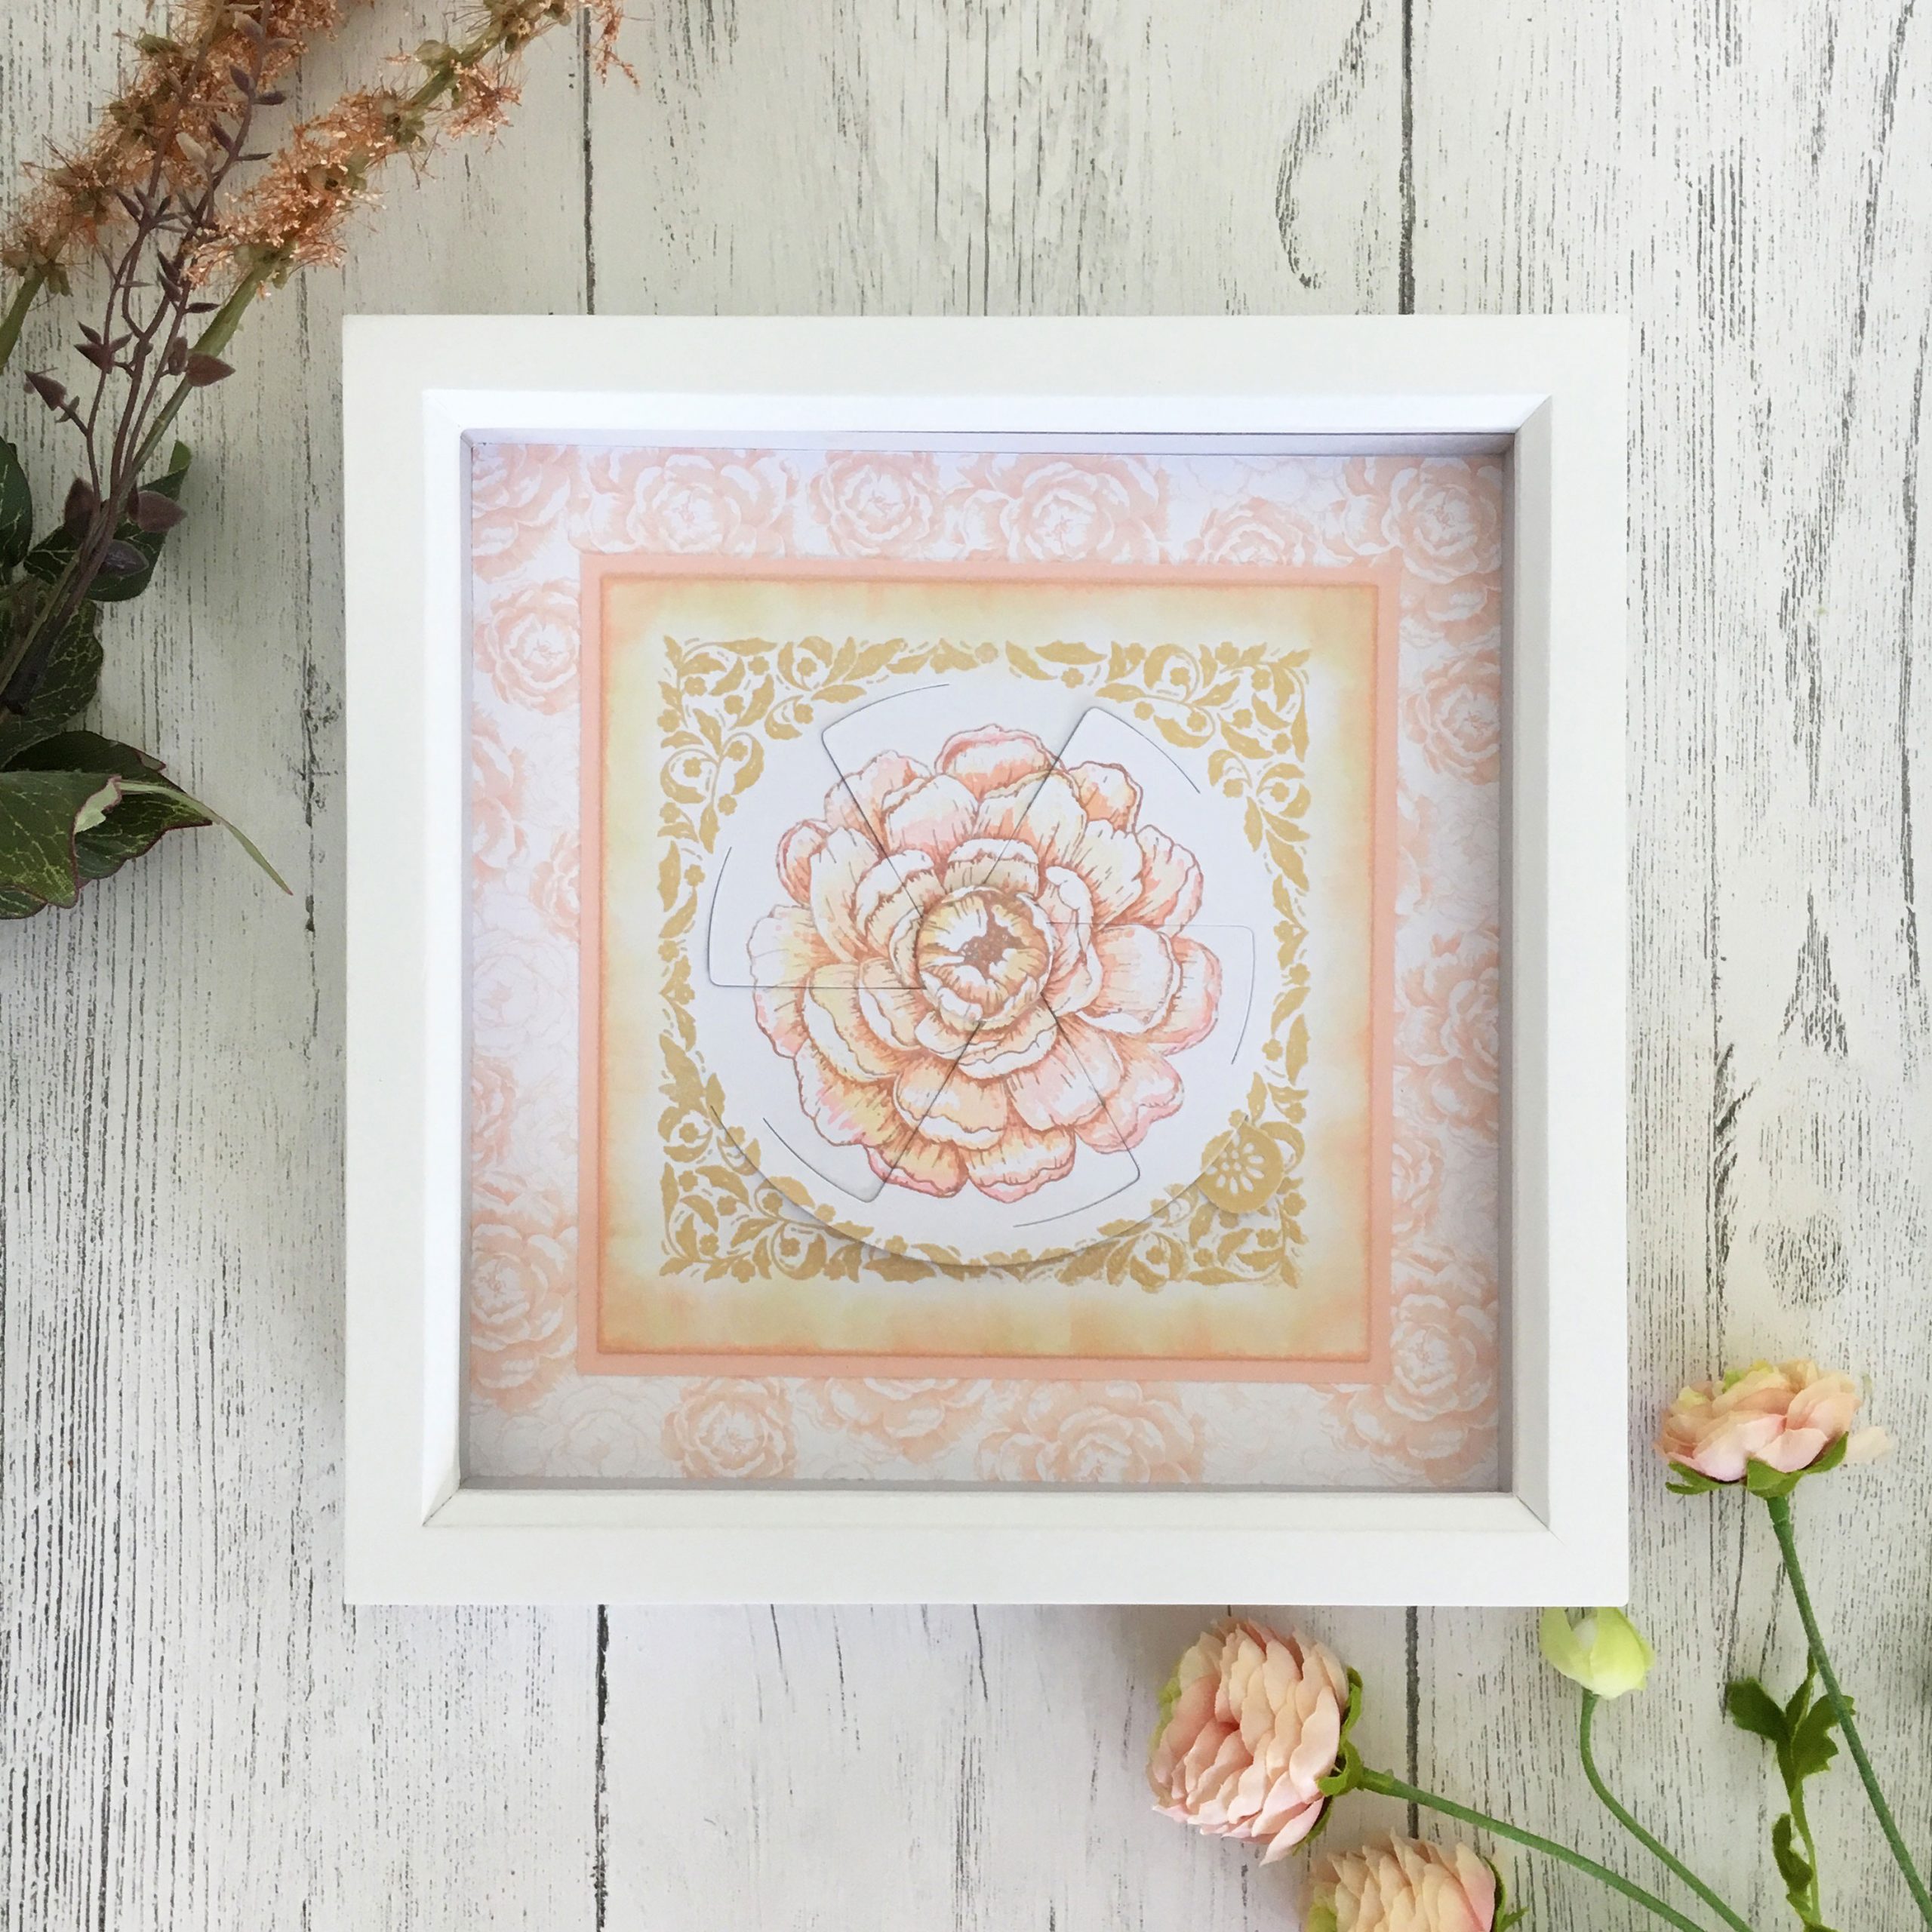
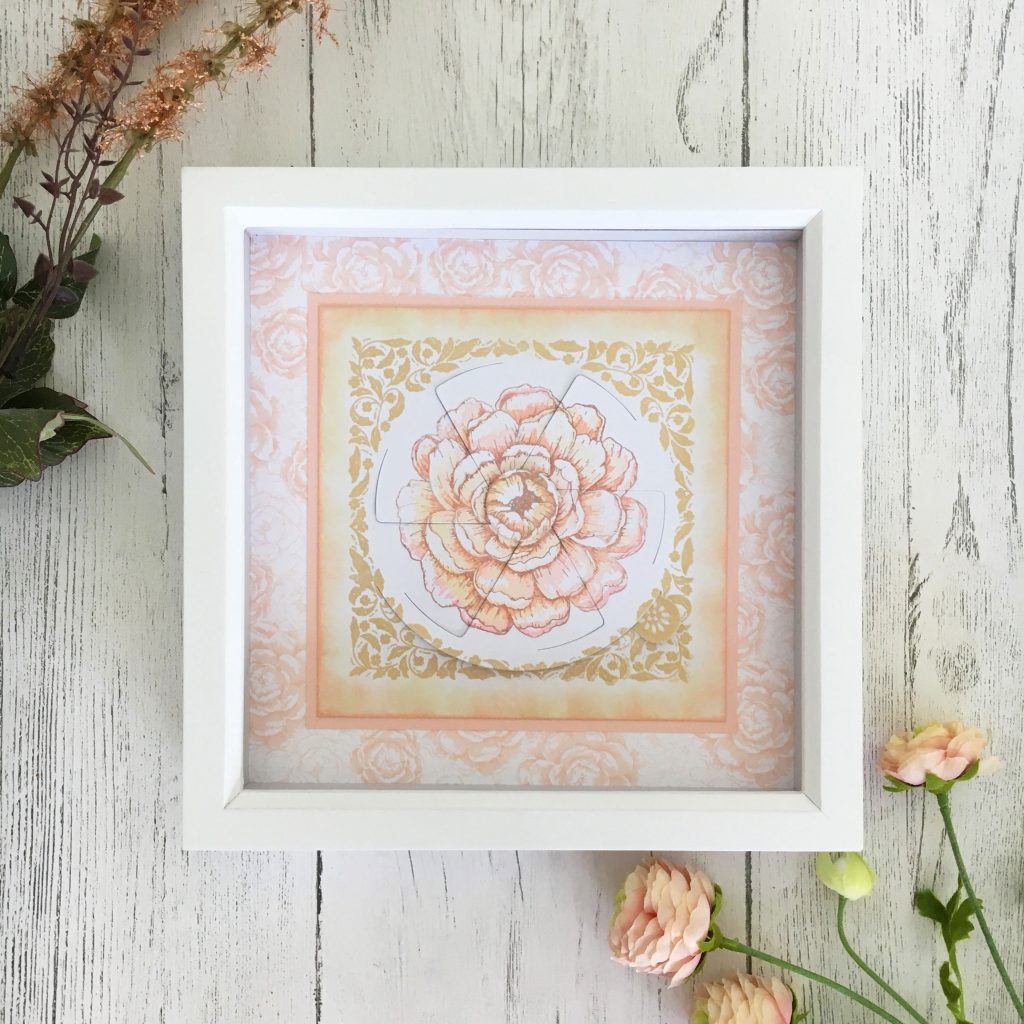
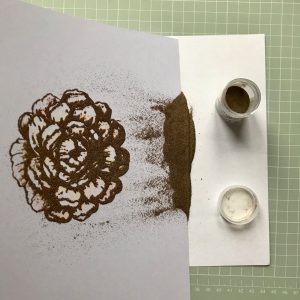
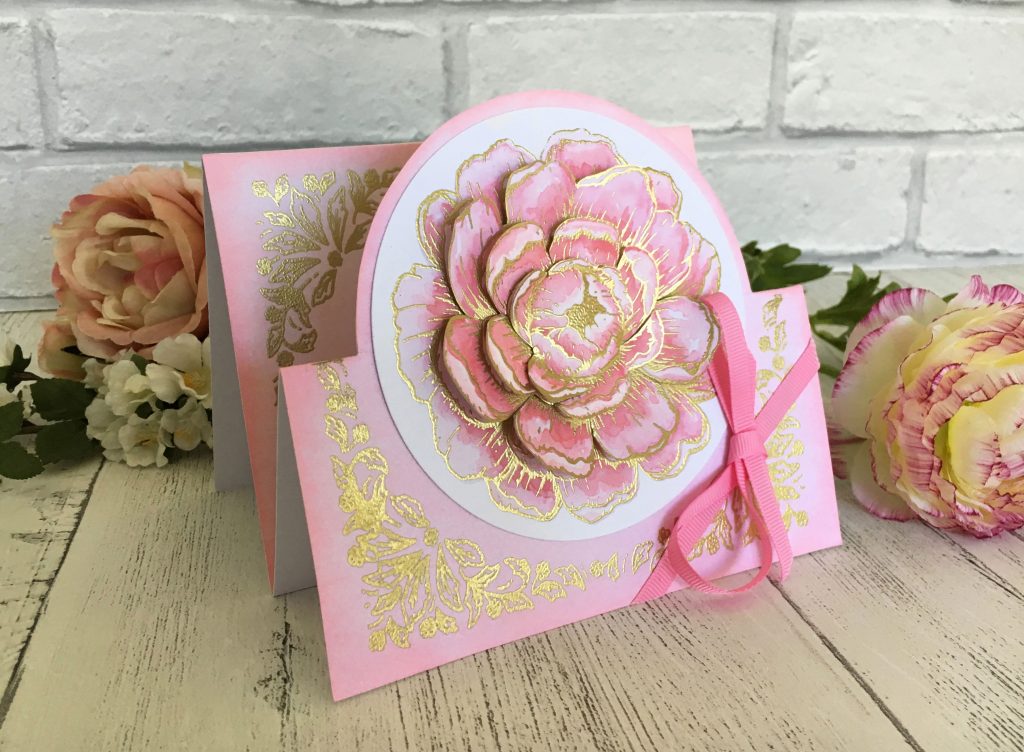
And for extra dimension, you can heat emboss the outlines too! If you’re making Magic Windows cards, you can heat emboss the outlines if you’re using a fine embossing powder. Rubbing a tumble dryer sheet will allow for the window pieces to slide even over an embossed design! Here I’m trying out my new WOW! Rose Gold embossing powder and the result is stunning!
There’s one last tip I wanted to share on our stamping layers and it’s that our Perfect Peonies stamp outlines (both the large flower in bloom and the smaller bud flower) will perfectly stamp over the printed peonies from our DVD-ROM! We wanted our products to be versatile for crafters, so you have the option of printing the peonies first and then stamping the outlines to customise the flowers or to heat emboss them. I highly recommend heat embossing the outlines and border stamps in metallics!
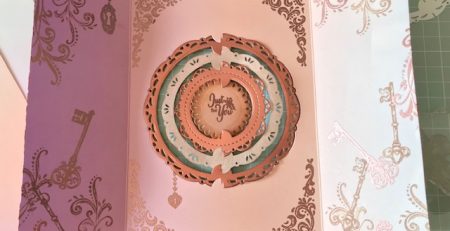
If you fussy cut a few of the stamped and heat embossed flowers, then you can layer them up to create striking 3D flowers like this stepper card . . .
I hope you like our Perfect Peonies stamp designs and please stop by again for more inspiration!
Happy crafting!
Angela