Creativation 2020 – craft secrets revealed!
We’re having a fantastic time at Creativation and it’s so great to meet other crafters who love paper crafts as much as we do!
I wanted to create some makes for our stand that were bright and bold to reflect how positive we feel about 2020. I went with a colour palette that scared me a little at first (I think we all tend to have favourite crafting colour combos that feel safe!). Well I was definitely out of that comfort zone with these bright colours . . . but I’m so glad that I was brave with colour, as I absolutely love how our stand looks!!
Some of you may already have our die sets, stamps and papers and I wanted to share how I made some of these designs as some of the ideas are very different to how I’ve used our products in the past.
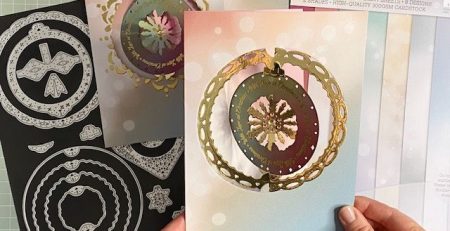
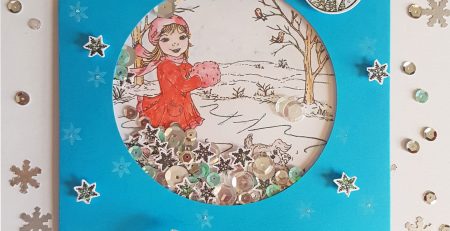
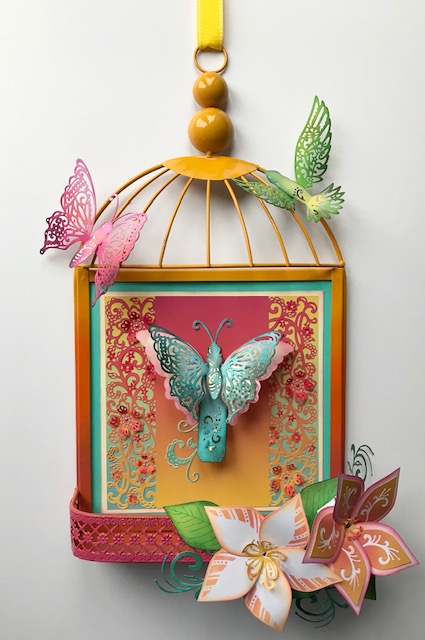
In the image above, you’ll notice the birdcage. It definitely has WOW factor! It’s a blackboard with a birdcage shaped frame and I spray painted the frame in gradient colours – inspired by our awesome Tropical Mist gradients card pack. I’ve used our Flutterings Butterfly die set for the focal point and backed the butterflies with pearlescent vellum wings.
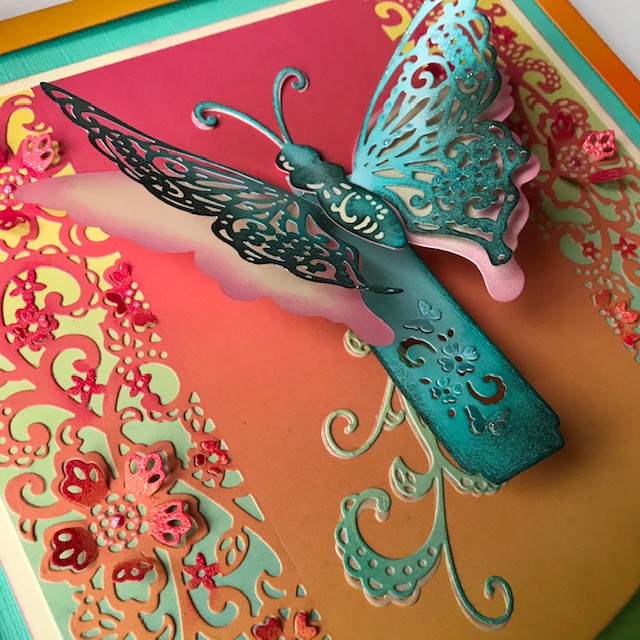
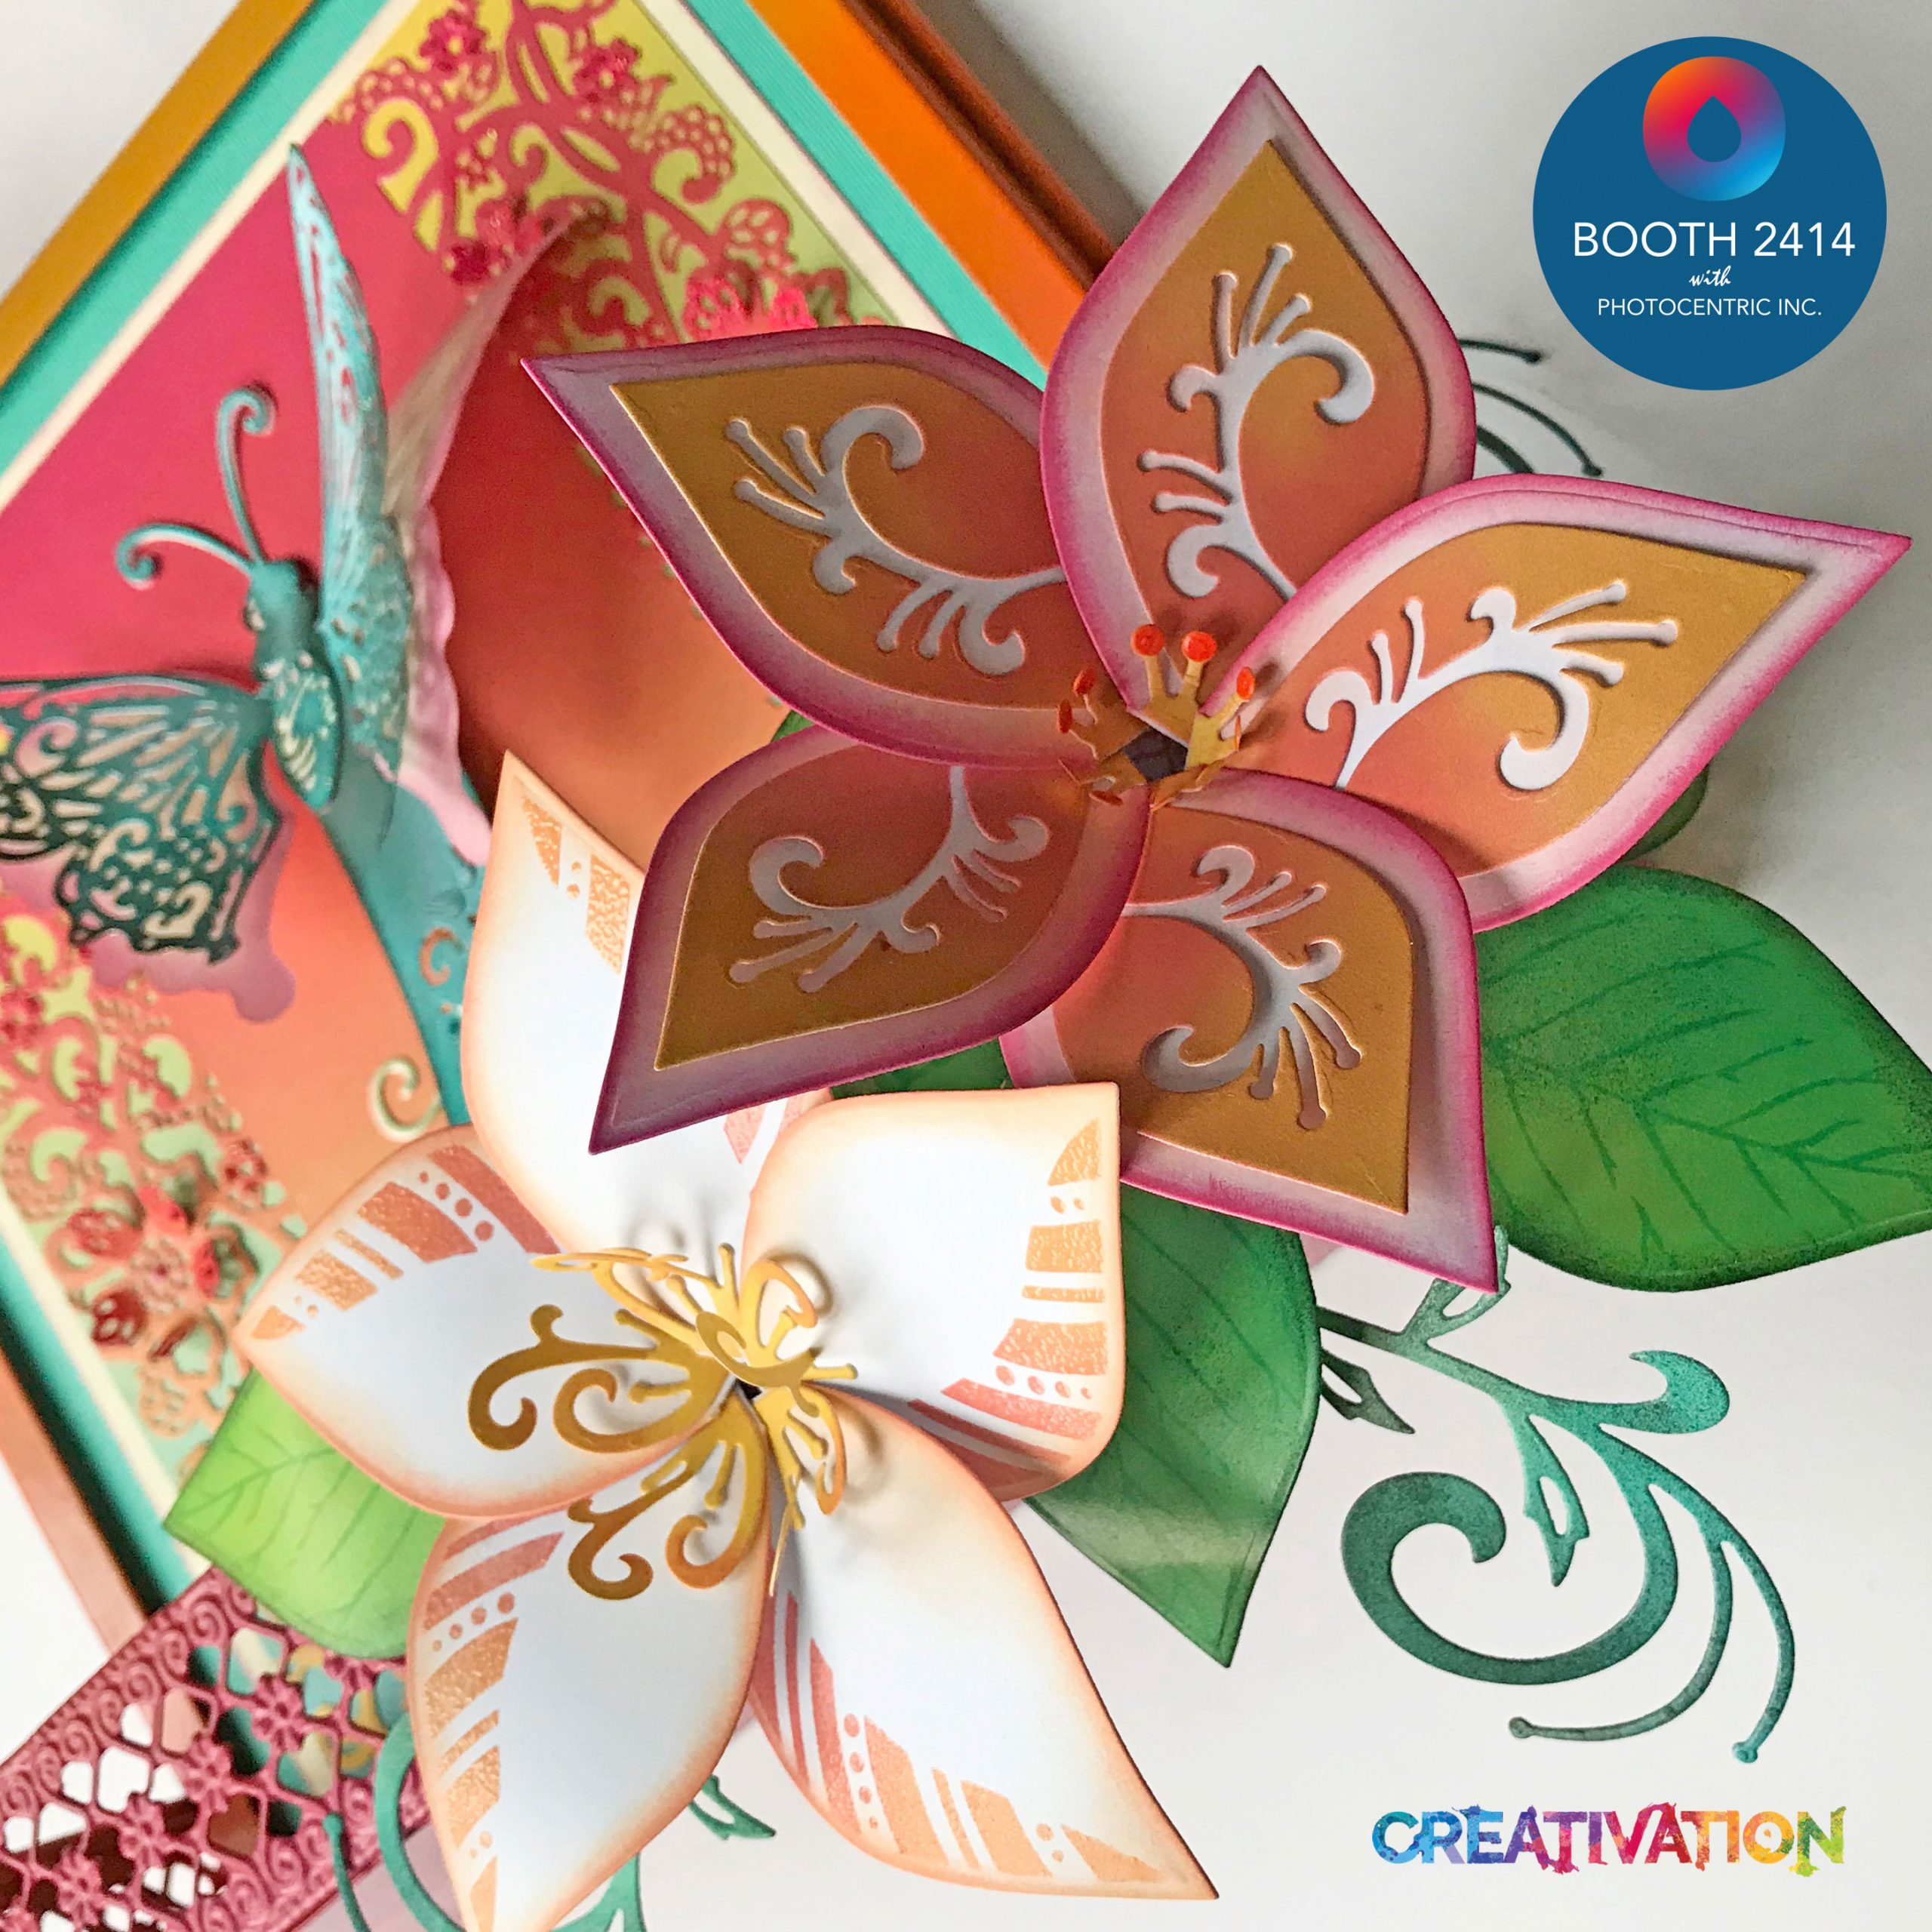
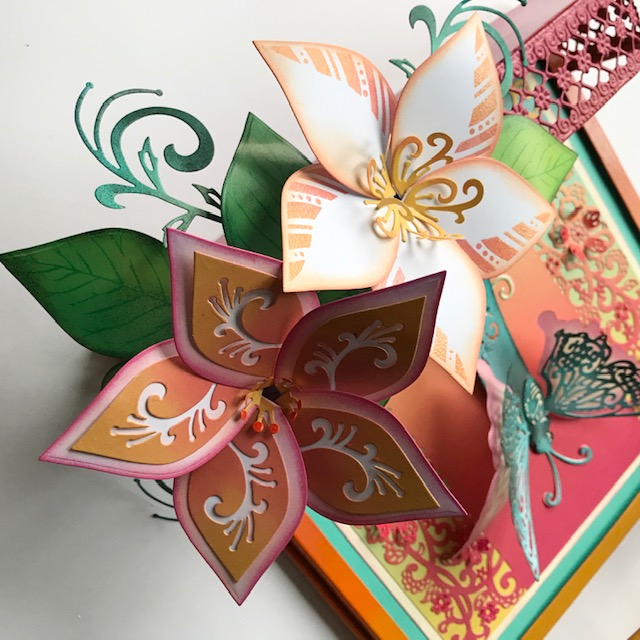
Here’s a close up of the butterfly. When the tab is pushed upwards, the wings fold down and when the tab is pulled downwards, the wings lift upwards! And did you notice those tropical looking paper flowers?? Well, they’re actually made using our Pretty Poinsettia die set! I couldn’t believe how different the look was simply by changing the colour scheme. I used the Pretty Poinsettia A5 stamp set to create a pattern on the petal edges, by blending Versa Magic Persimmon and Pink Grapefruit pigment ink directly on the stamp. The leaves are also cut with the same die set and stamped with the veiny leaf stamp in Ranger Aquamarine Archival Ink over the dark green card from our Tropical Mist card pack.
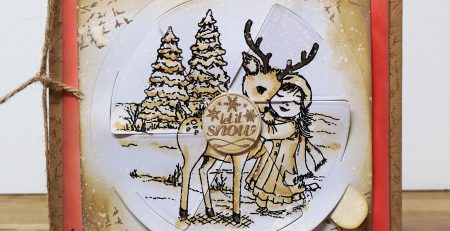
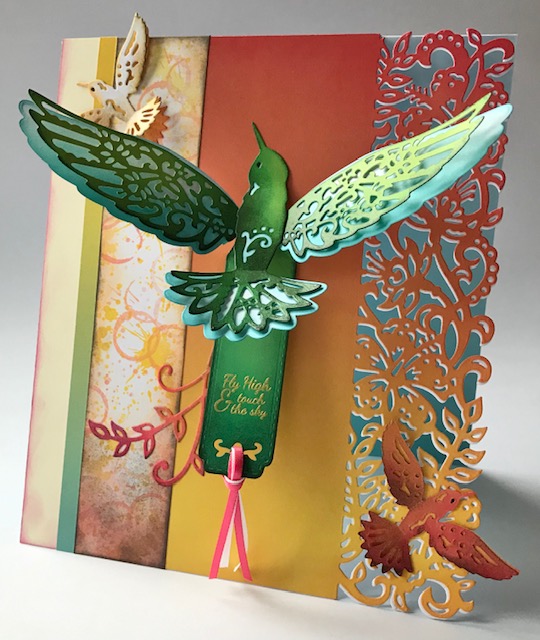
I also made a new card design using our Flutterings Hummingbird die set and those fantastic inky effects stamps from the coordinating stamp set. By pulling and pushing the tab, the bird’s wings will flap up and down. Most importantly, it folds flat too for posting!
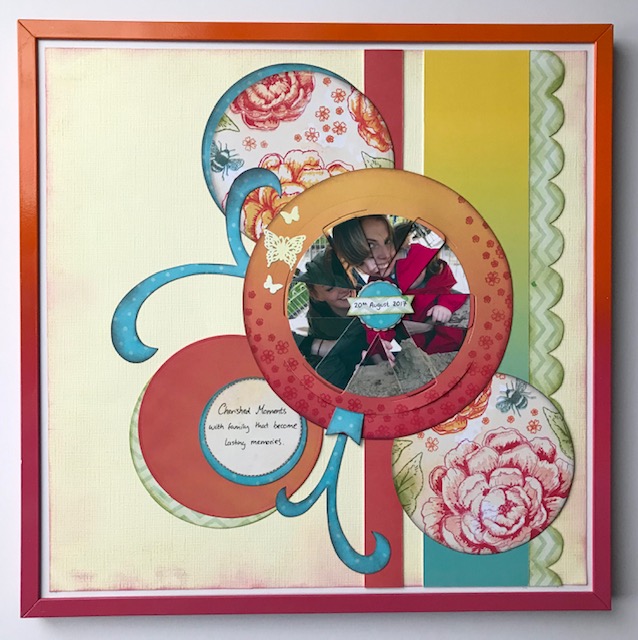
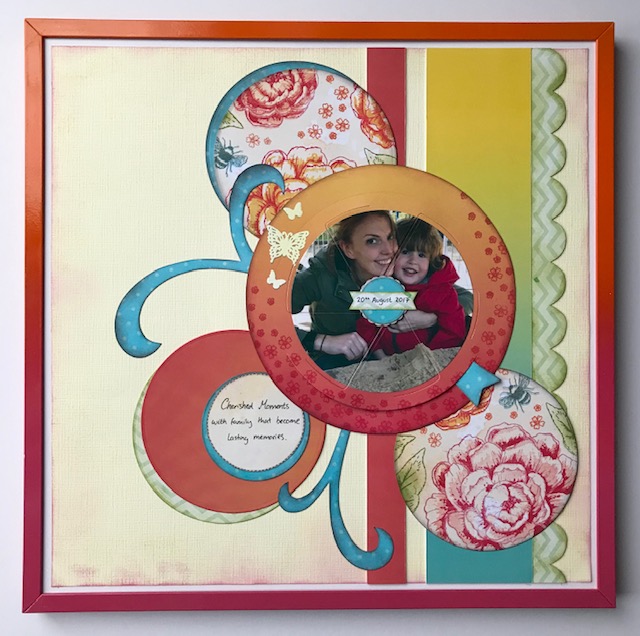
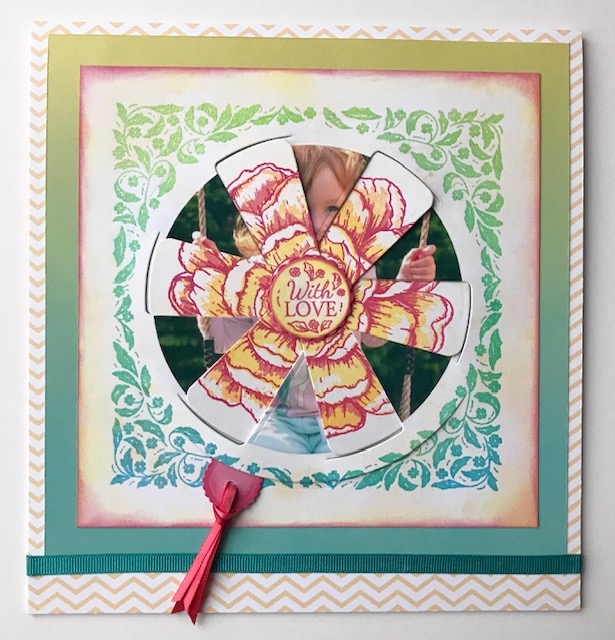
Right, on to that gorgeous scrapbook layout. . . of course I’m completely biased and love it because it features my son and sister. Her husband took the photos before we had even launched the brand and I’ve kept the actual date of their day at the park because it is a memory that Joshua still recalls as a fun day out with his Aunty and Uncle.

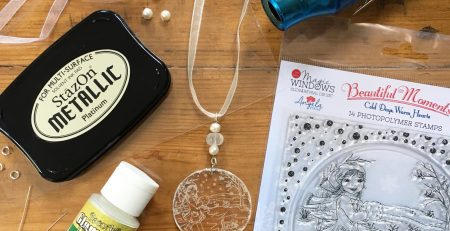
Our unique Magic Windows Slide & Reveal die set makes it possible to create scrapbook layouts like this where one image dissolves into another with the slide of a tab! I’ve trimmed the Magic Windows panel into a circle for this design but if you have a die-cutting machine with a 12×12 platform, you could cut the window directly into the layout.
You’ll find a how-to guide for making photo Magic windows here and there are helpful FAQs on our website too.
 I’ve used our Photopolymer Buds to Blooms – Perfect Peonies A4 stamp set to create the look of patterned paper – I couldn’t believe how well the colour combinations came together for this! I’ve also used our A5 Flutterings stamp set to add the little heat embossed butterflies.
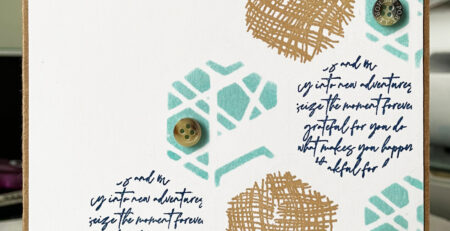
Here are some close ups of how well our photopolymer stamps work . . .
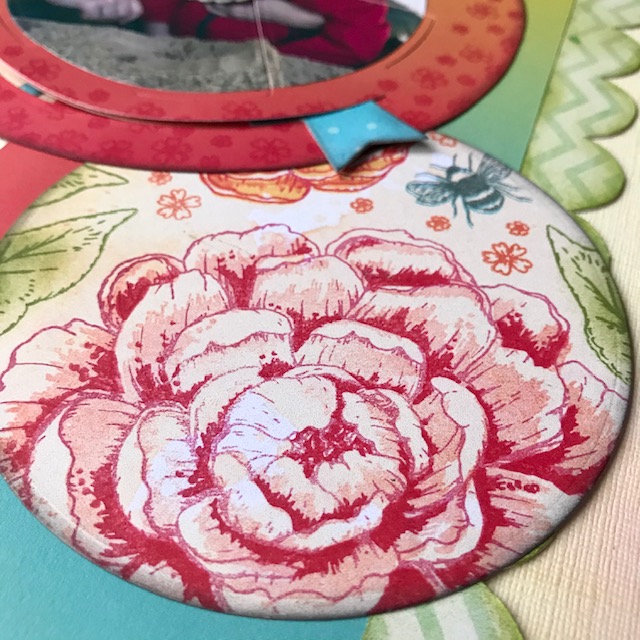
This photo still makes me go ‘Oooooh!’ Haha. What can I say?! I’m a crafting geek! 🙂
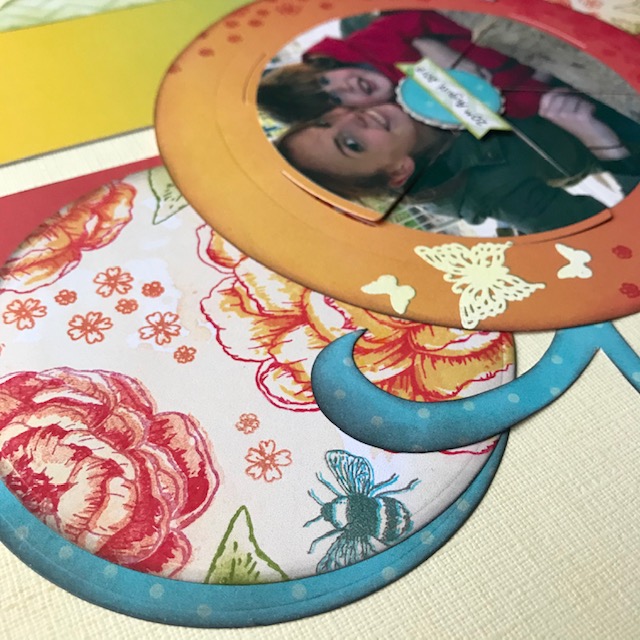
I double stamped the bees, off-setting them slightly. First with the Ranger Aquamarine Archival Ink and then again with their Watering Can ink. It created the look of movement and I’ll definitely try this technique again.
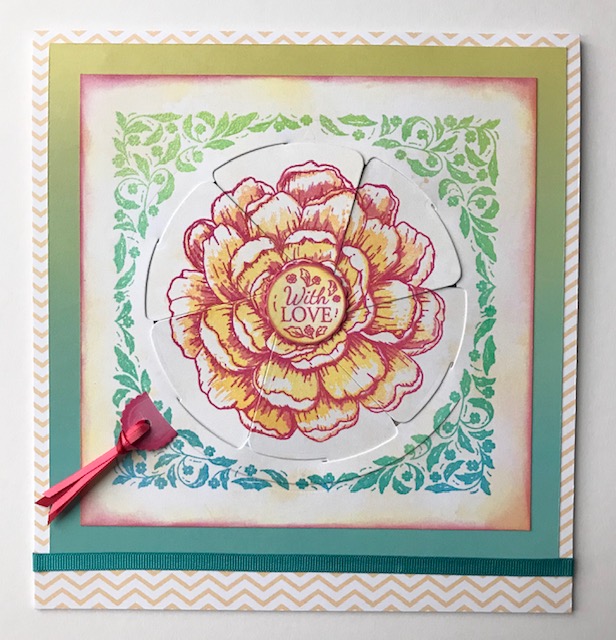
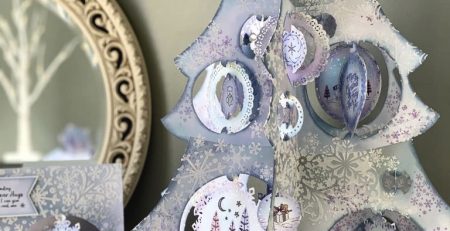
Here’s a Magic Windows photo reveal card I made featuring my daughter.
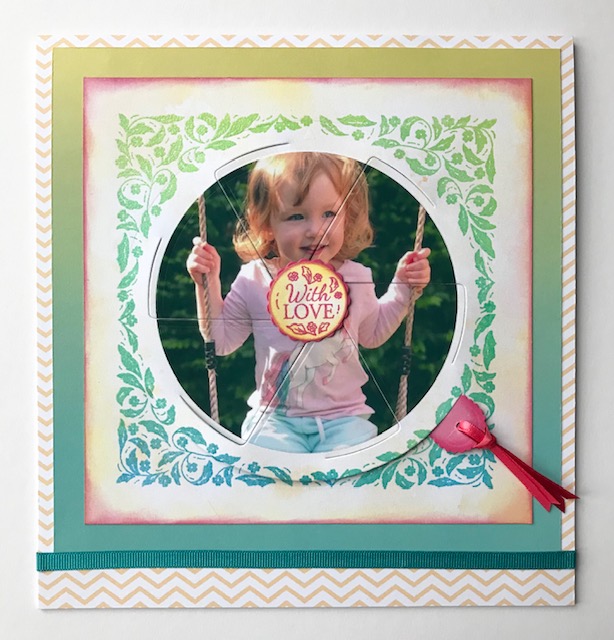
I love photo reveals as the recipient will have a lovely surprise as the card design changes into a photo – it’s a great way to personalise special cards.
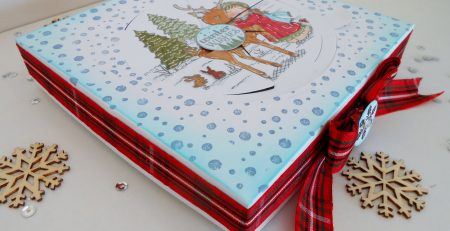
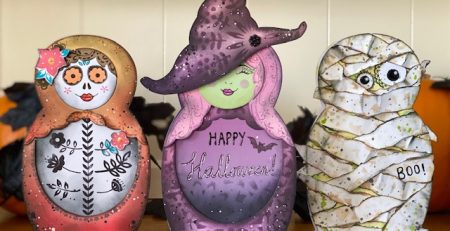
And finally I had an idea of making the cards and a vase of flowers look like they were sitting on a shelf on our stand. Well I couldn’t think of a good reason not to give it a go anyway?! The Pretty Poinsettia flowers look great with stamped petals and the die-cut petal overlay is so striking! The stems are wooden kebab sticks which I coloured with green archival ink. The leaves are all trimmed from one die-cut poinsettia which was cut from green Tropical Mist card and the veiny stamp created the look of leaves.
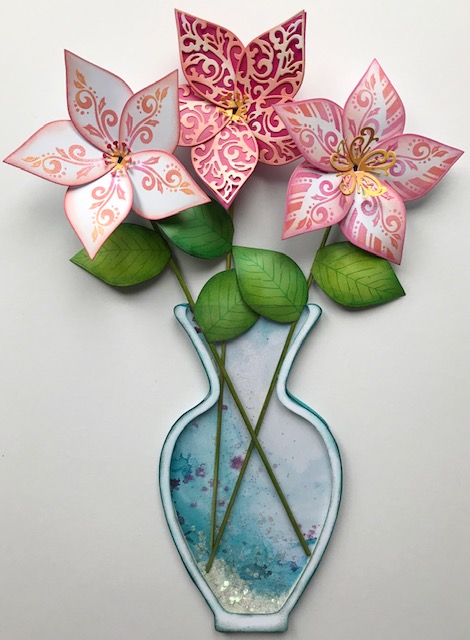
The vase is absolutely the most fancy shaker I have EVER crafted. But then it’s Creativation so you need to bring your ‘A’ game! The vase shape was cut from one of our Florals & Flurries card pack with inky patterns. I added two layers of sticky pads around the edges (leaving the top of the vase open). I inked the edges of a matching white vase frame and backed it with acetate before attaching it over the top. The reason I think this is a bit fancy is because I covered the outer edge of the shaker vase with grosgrain ribbon and I can’t say I’ve ever done that before!
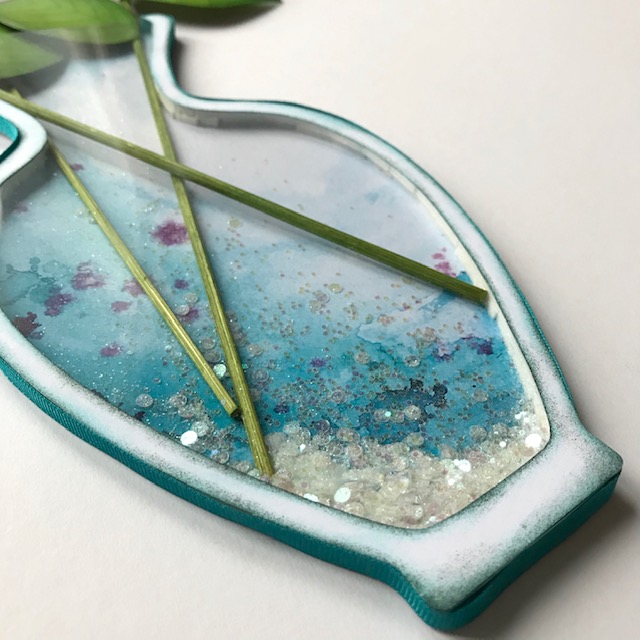
I added a touch of sparkle to the vase with a selection of iridescent sequins inside the shaker.
I hope you like the designs and are enjoying crafting with our products.
We have lots of new products launching soon for 2020 so please stop by again for more inspiration!
Happy Crafting!
Angela
x