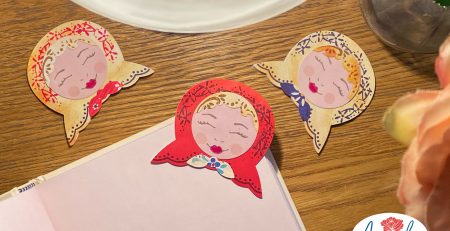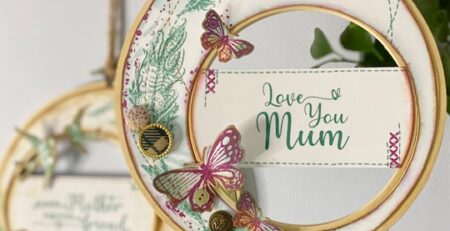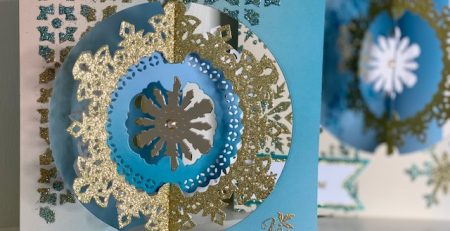
Etched-glass-effect baubles!
These glass-effect baubles are absolutely stunning!
I discovered the technique whilst experimenting with different stamping effects. I promise there’s no etching involved, as they’re made by simply stamping onto clear shrink plastic.
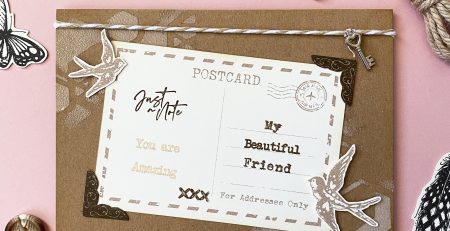
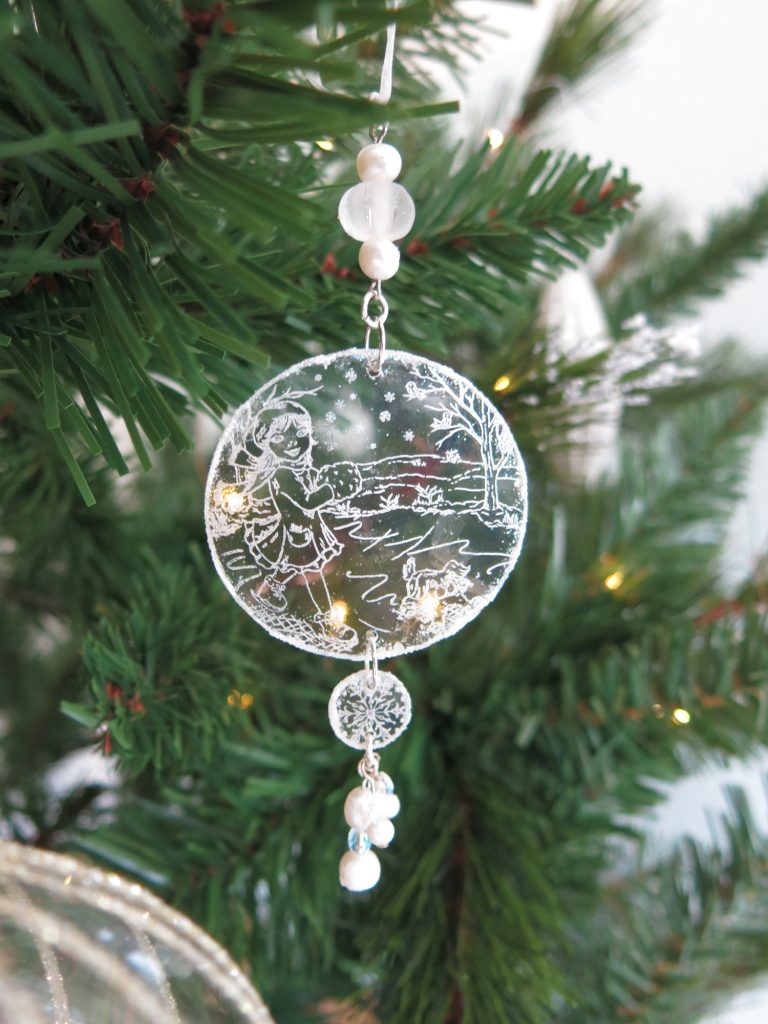
The nostalgic scenes and festive motifs from the Beautiful Moments – Cold Days, Warm Hearts Christmas Wonderland and Winter Days stamp sets work so well with this technique – especially as the circular designs are perfect for making hanging baubles!

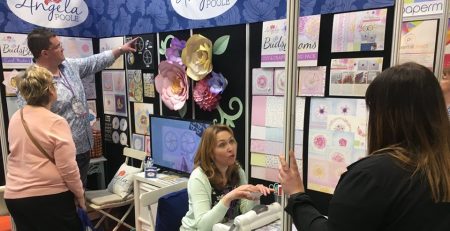
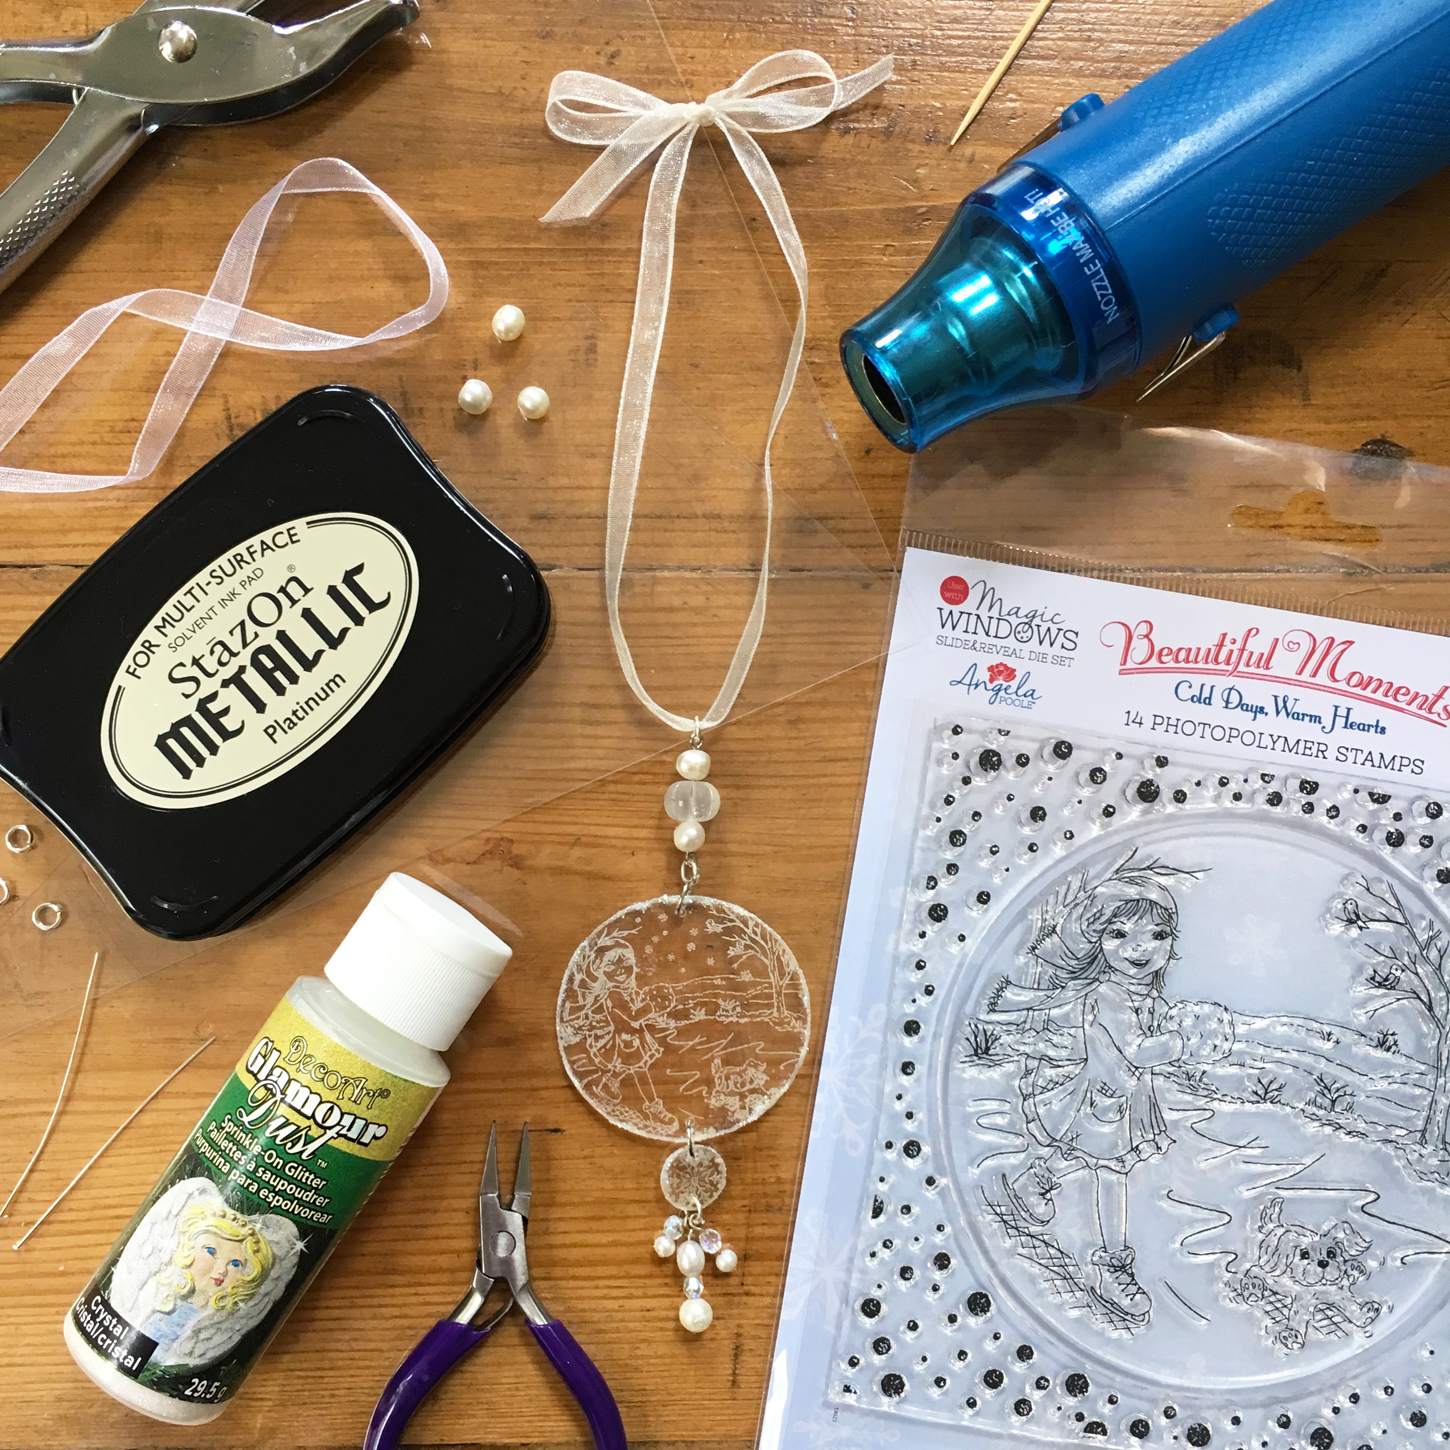
We’re proud that our stamp sets are made from high-quality photopolymer. It’s much more expensive to manufacture, but we believe the results are totally worth it! When it comes to using Stazon, the advice is to use it sparingly with photopolymer stamps. I’ve converted to using Archival ink for most of my stamping projects, and I occasionally use Stazon for special projects – such as stamping on acetate or shrink plastic.
It’s hard to believe, but I had originally planned to use black Stazon to stamp these designs. Thankfully, I had leant a friend my ink pad and after a quick rummage amongst my remaining inks, I found a rather unusual Stazon Metallic Platinum and I gave it a go. I was so surprised by how fantastic the stamped scenes looked!! If you have a white Stazon at home then that would look great too. Oooh, or silver . . . or gold! I know, I’m going to get carried away making more of these.
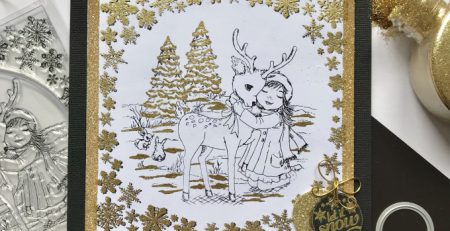
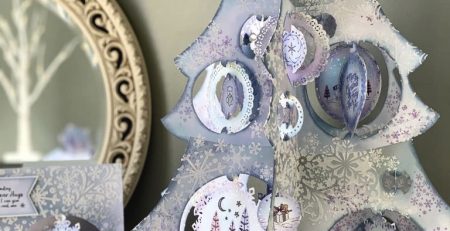
Once you’ve stamped the large scene, you can use the ‘Trimmer’/cropping circle from the Magic Windows Slide & Reveal Die Set to die-cut the design. The ‘Circle Topper’ die from the same set can be used to cut out the smaller motifs. Arrange the circles as you’d like them to hang, and then you can use a standard hole punch to make any holes needed for connecting the circles, before shrinking the plastic.
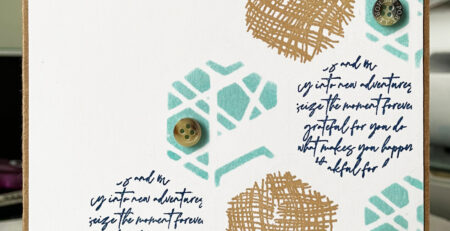
You can use a heat gun to shrink the plastic, but I tend to have better results when I use my oven. I always line a baking tray with a piece of baking paper and follow the manufacturers instructions to shrink the plastic. My top tip is to have a clean acrylic block handy so that when you take the tray out of the oven, you can quickly flatten any shapes that may have remained slightly curled before the shrink plastic cools.
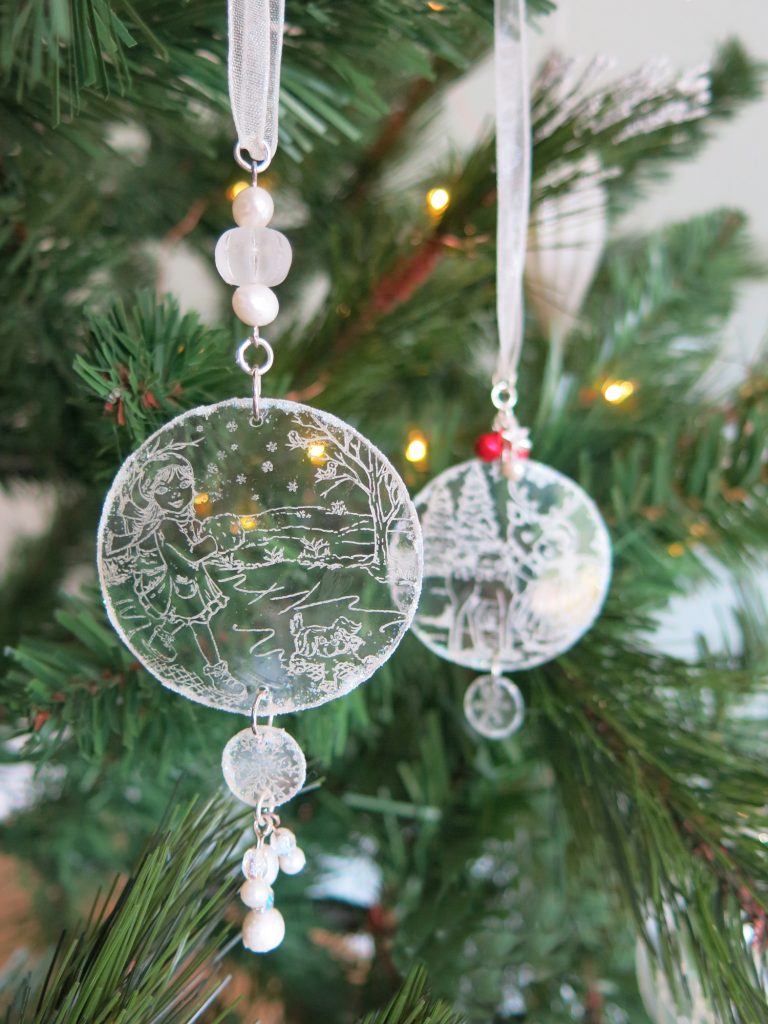
To add a bit of sparkle, I applied a small amount of tacky PVA glue around the edges of the shrink plastic circles and dusted them with iridescent glitter.
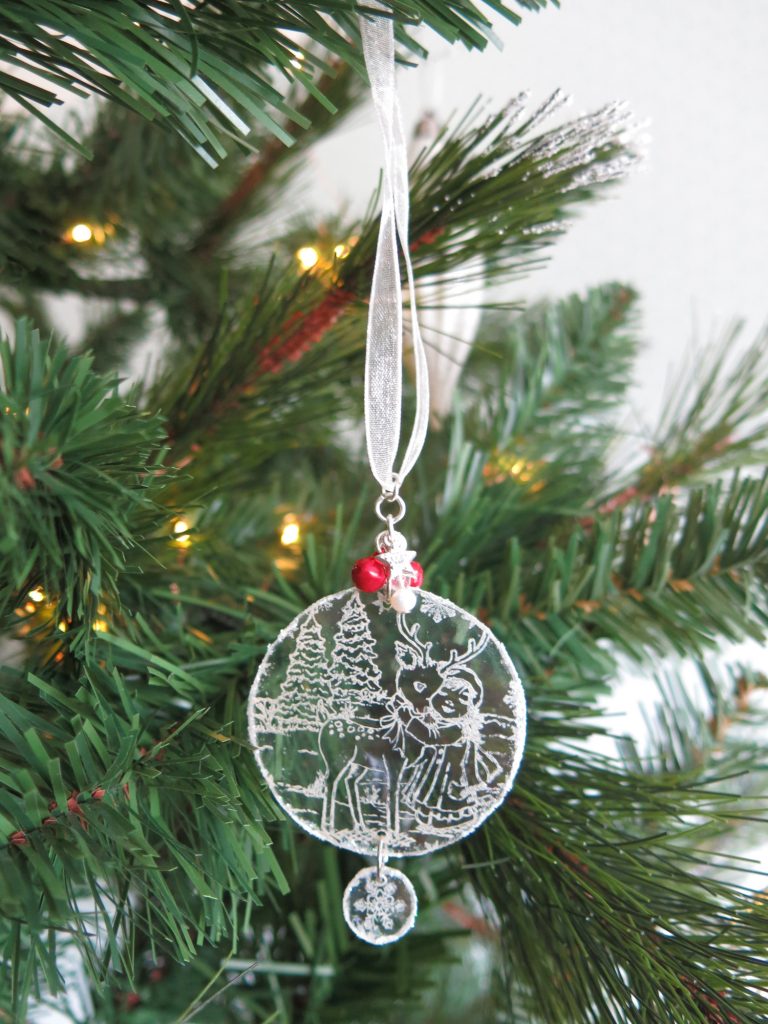
I used a few jump rings to join the circles together through the punched holes, and decorated the baubles with pearls and beads which I attached with head pins. It was nice to raid my jewellery-making supplies as I haven’t used them for a while!
I do love the stylish look of clear and white tree decorations, and these baubles look beautiful amongst twinkling fairy lights.
I hope you like these stamped decorations and please stop by again soon for more crafting inspiration!
Angela