Gift card with handmade earrings!
It’s such a worrying time for everyone right now, and with the sound advice to stay at home and stay safe, I’m finding that crafting is a good distraction. It’s the reason we want to continue posting and sharing crafting inspiration. We are all in this together!
I’ve turned to making more handmade gifts this week for loved ones who are celebrating birthdays – and because, like many crafters, I have a stash of supplies and materials at home. . . some of which I haven’t touched in years! I wanted to share with you all this birthday card that I’ve just finished making for my mum. She had asked for some earrings for her birthday, and I thought it was a good excuse to dig out my old jewellery-making stash. I ended up making a unique card that doubles up as a gift!
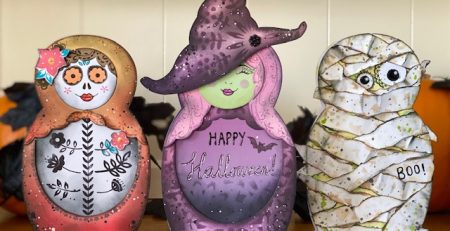
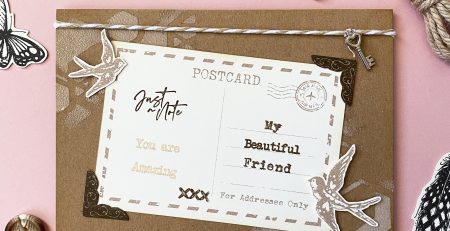
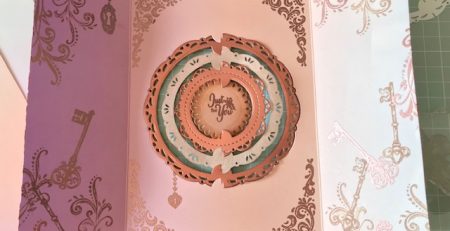
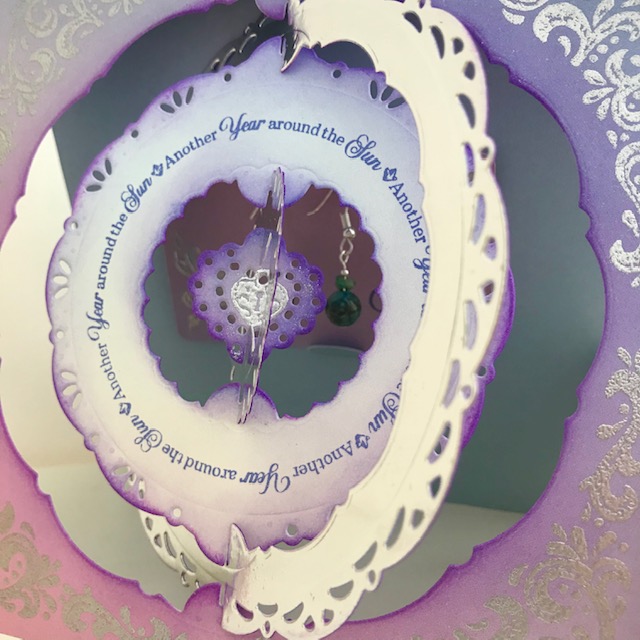
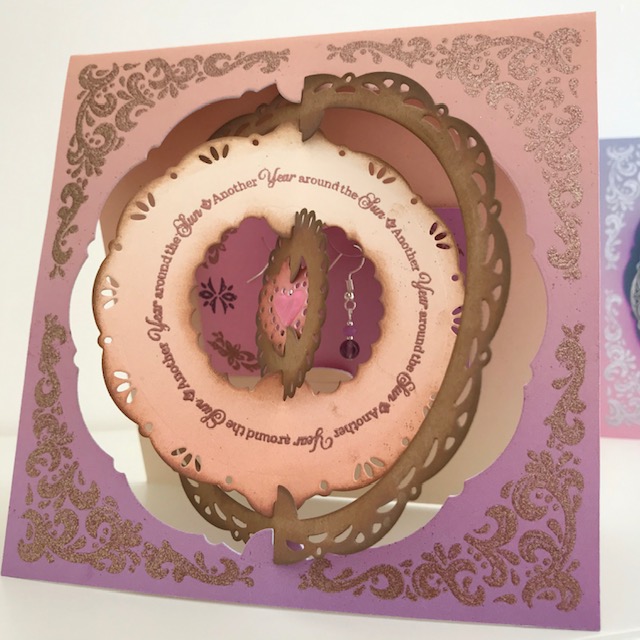
This is a close up of the spinning Slot & Spin Vintage Frames card I made. You’ll notice a glimpse of the earrings can be seen through the frames, when they spin.

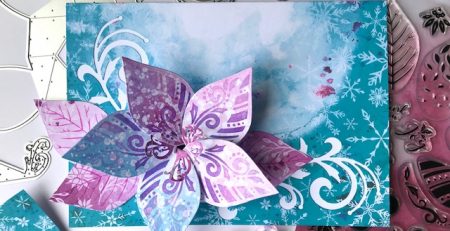
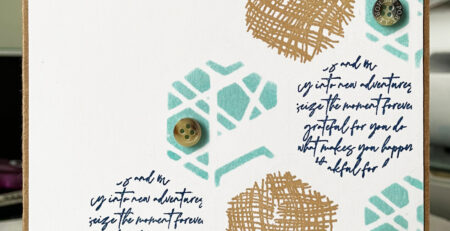
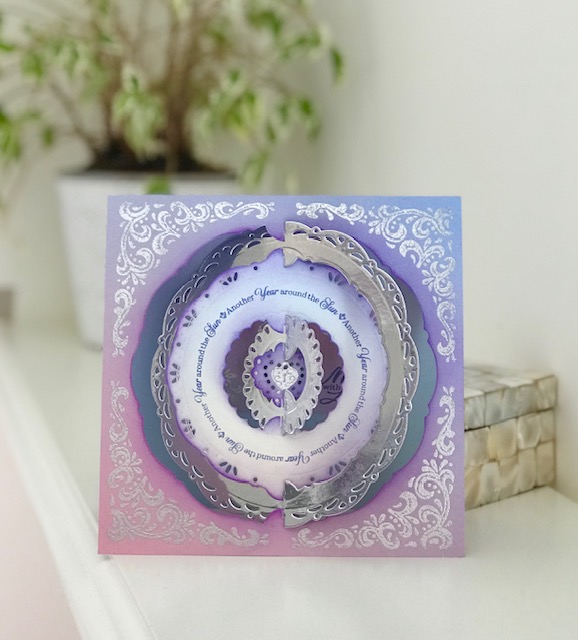
This shows the card closed and how I’ve decorated the outer edges of the card with silver heat embossed corner details using our Vintage Treasures photopolymer stamp set – and a lovely circular greeting from the set ‘another year around the sun’. The beautiful ombré coloured card base is made from a sheet of the Enchanted Mist card pack.

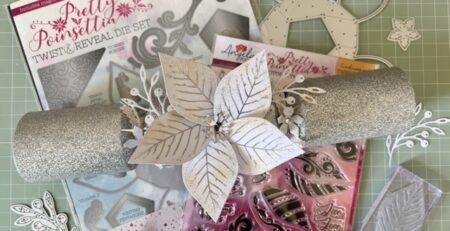
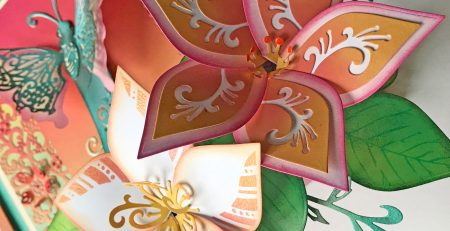
If you’d like to make this card, the dies I used are shown on the left, and the pieces they cut are shown on the right. If you’re stamping a circular greeting like this, you’ll need to die-cut a wide frame like the one shown.
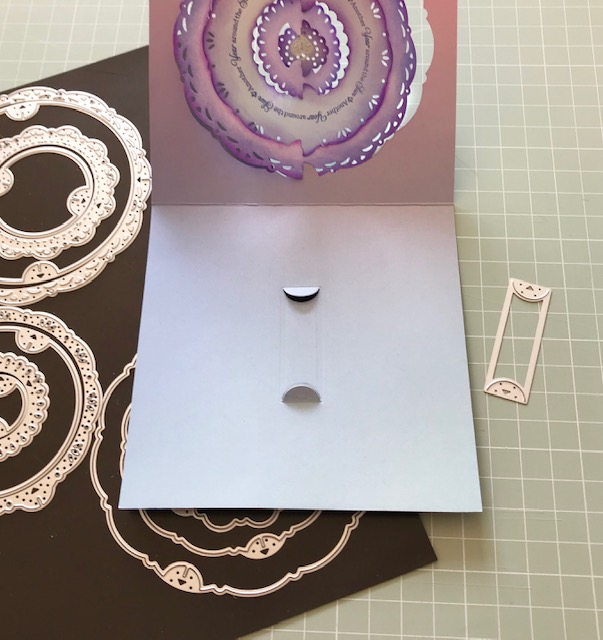
I used the gift card die to die-cut directly into the back of the card. You simply position the die vertically if you want your gift card to horizontal on the card. Once the semi-circles are cut, you can lift them slightly for the gift card to slide between the slots. As I’m making my own gift card, I used a standard card as a template and cut it from another piece of Enchanted Mist card.
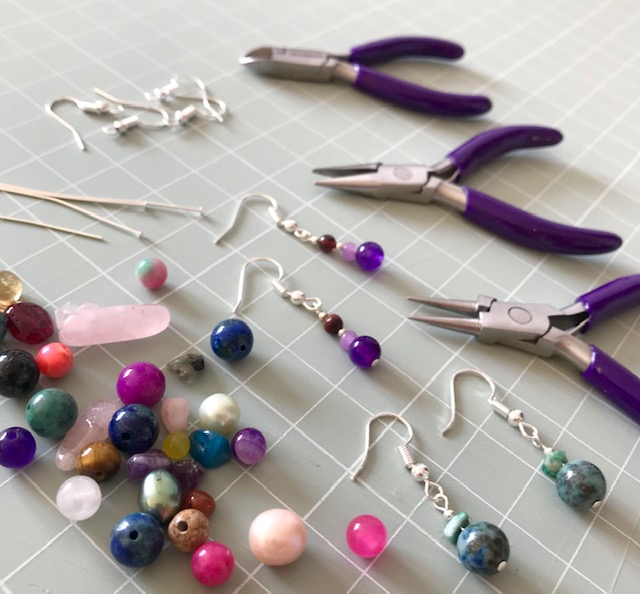
My children absolutely loved looking though the beads with me and chose some for me to use – as they said purple was Gran’s favourite colour. They kept calling the beads my ‘treasures’ which was adorable!
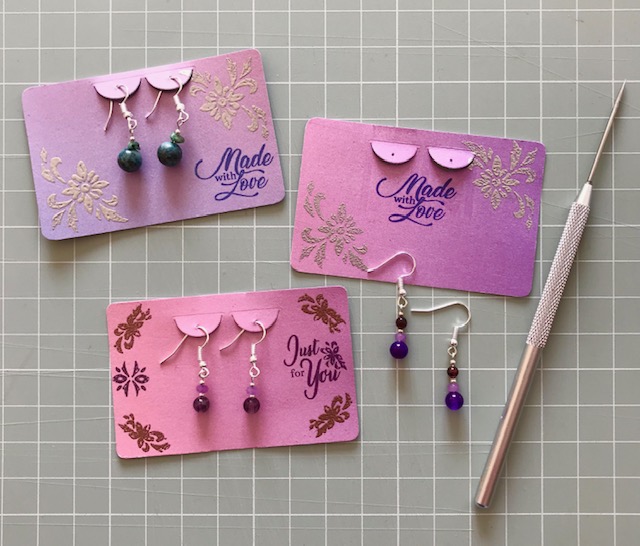
The earrings were so quick to make, that I made three pairs in one evening. You can create the raised tabs for displaying the earrings by using the gift card holder die here too.
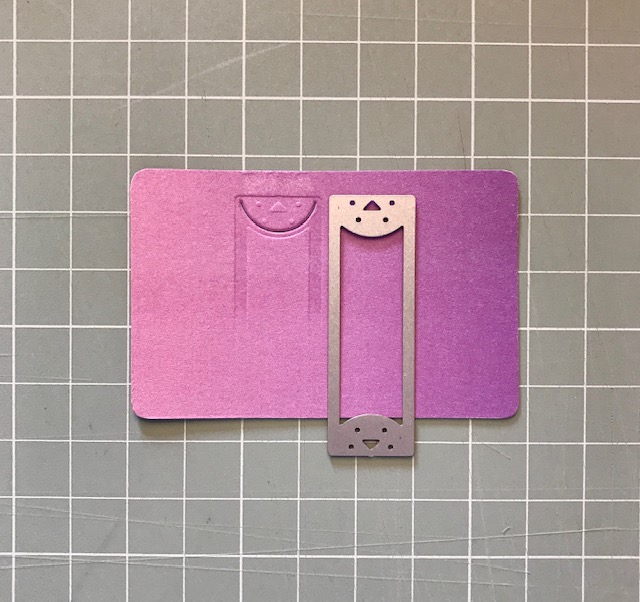
This is how I positioned the die and I only partially ran it though my die-cutting machine, so that only the top slot was cut each time. I reduced the indentation marks afterwards by running it back though my die-cutting machine with a piece of card over the top for added pressure. You can then use a paper piercing tool to make a hole in the centre of each slot. I can’t pretend that they don’t look like boobs at this stage, because they clearly do and it did make me chuckle as I was making them!!
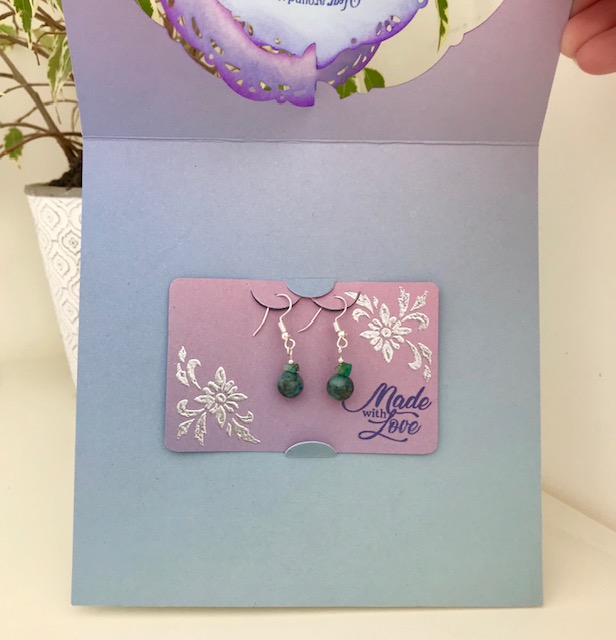
After threading the earrings through the holes in the slots, you can then slide the gift card into the holder.
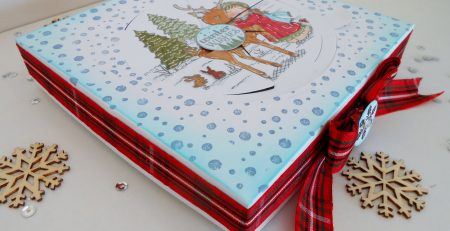
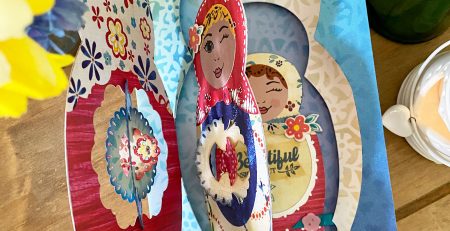
And here’s how the same card design can look in a different colour scheme.
I hope you like the cards and please stop by again for more crafting inspiration! We would love to see if you’re starting any new craft projects, and you’re very welcome to post photos of your makes on our Facebook page!
Stay home and stay safe,
Angela
x