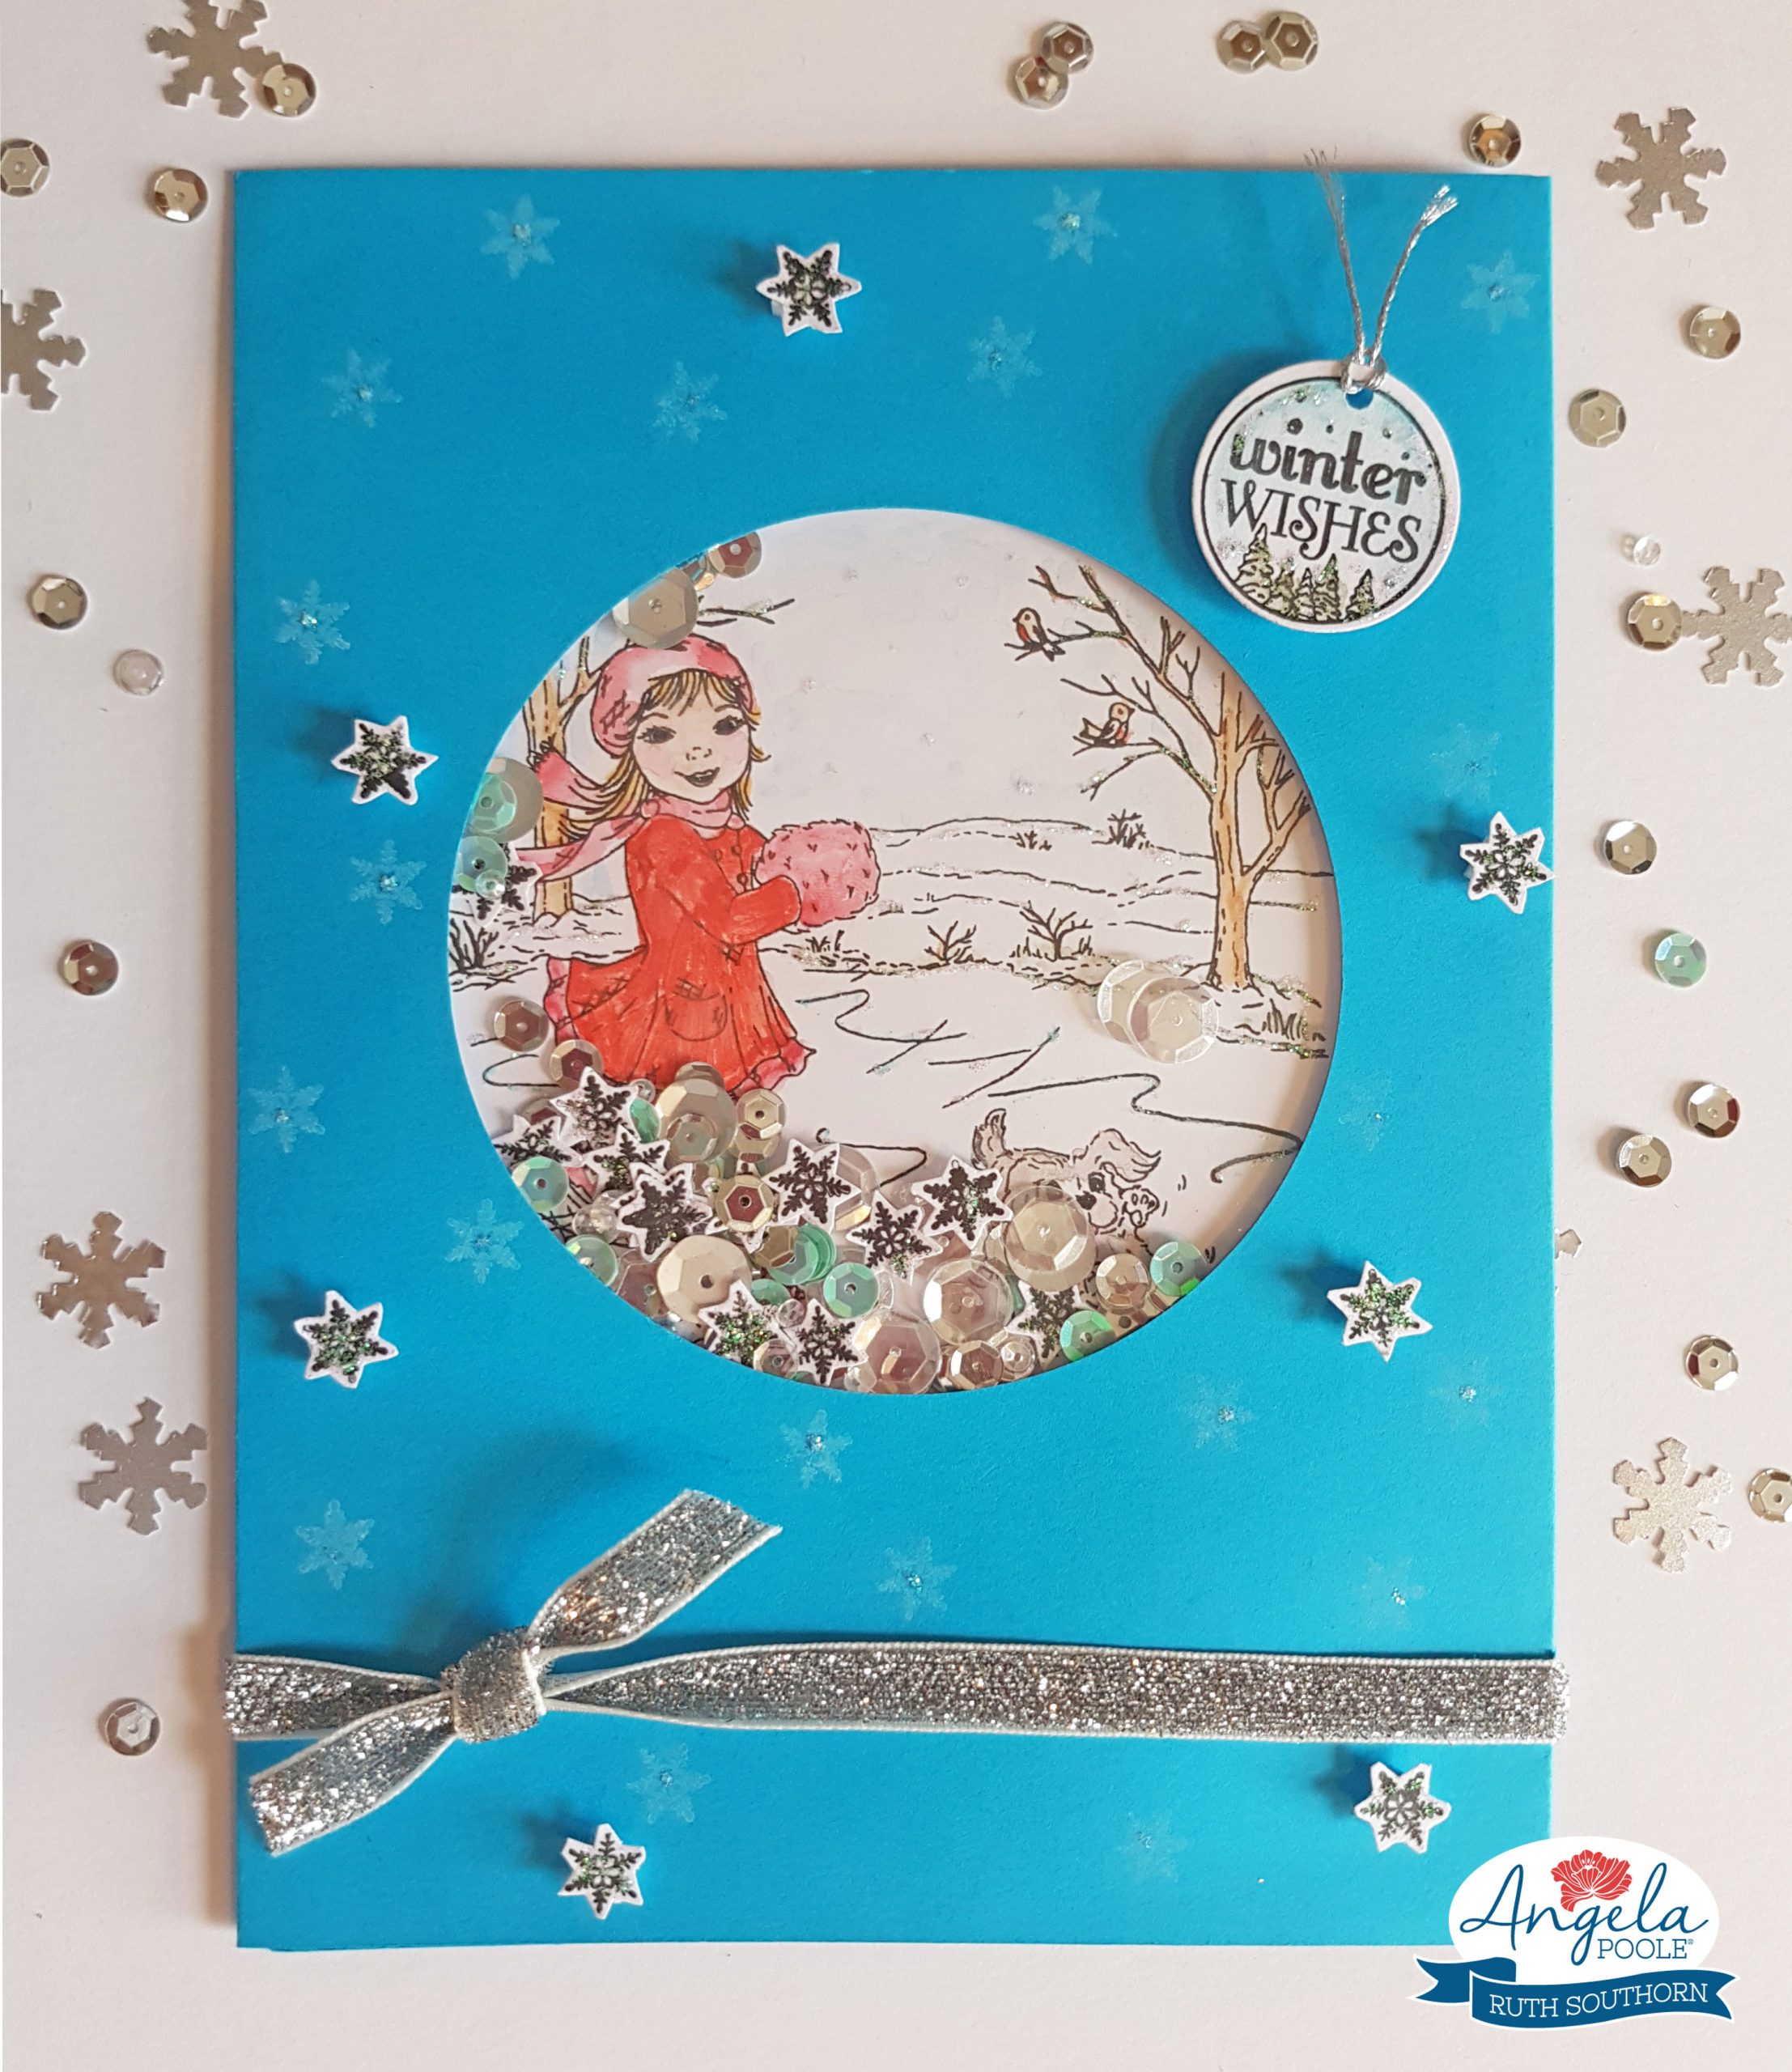
Ruth’s Sparkling Shaker Card!

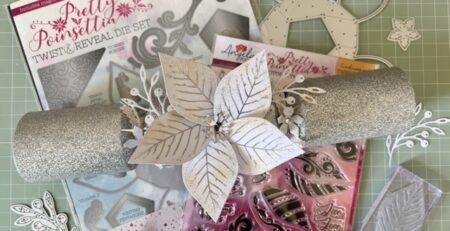
I love to make interactive cards, and this is one to bring sparkle to any lucky recipient’s mantelpiece this festive season. Plus with the gorgeous Beautiful Moments – Cold Days, Warm Hearts Winter Days stamp set, it was a dream to make.

If you’ve never made a shaker card before, you might think that it can be a bit tricky. But actually the process is very simple. Not the quickest, perhaps, but I definitely think it’s worth putting the time in, when making a really special card!
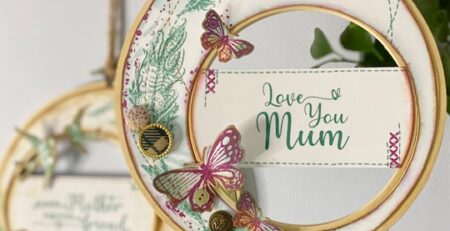
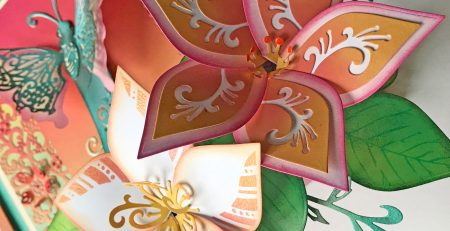
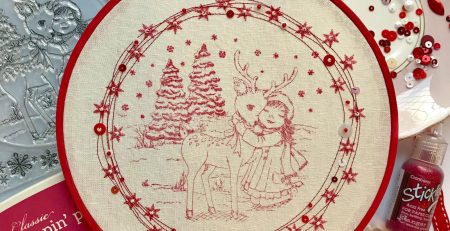
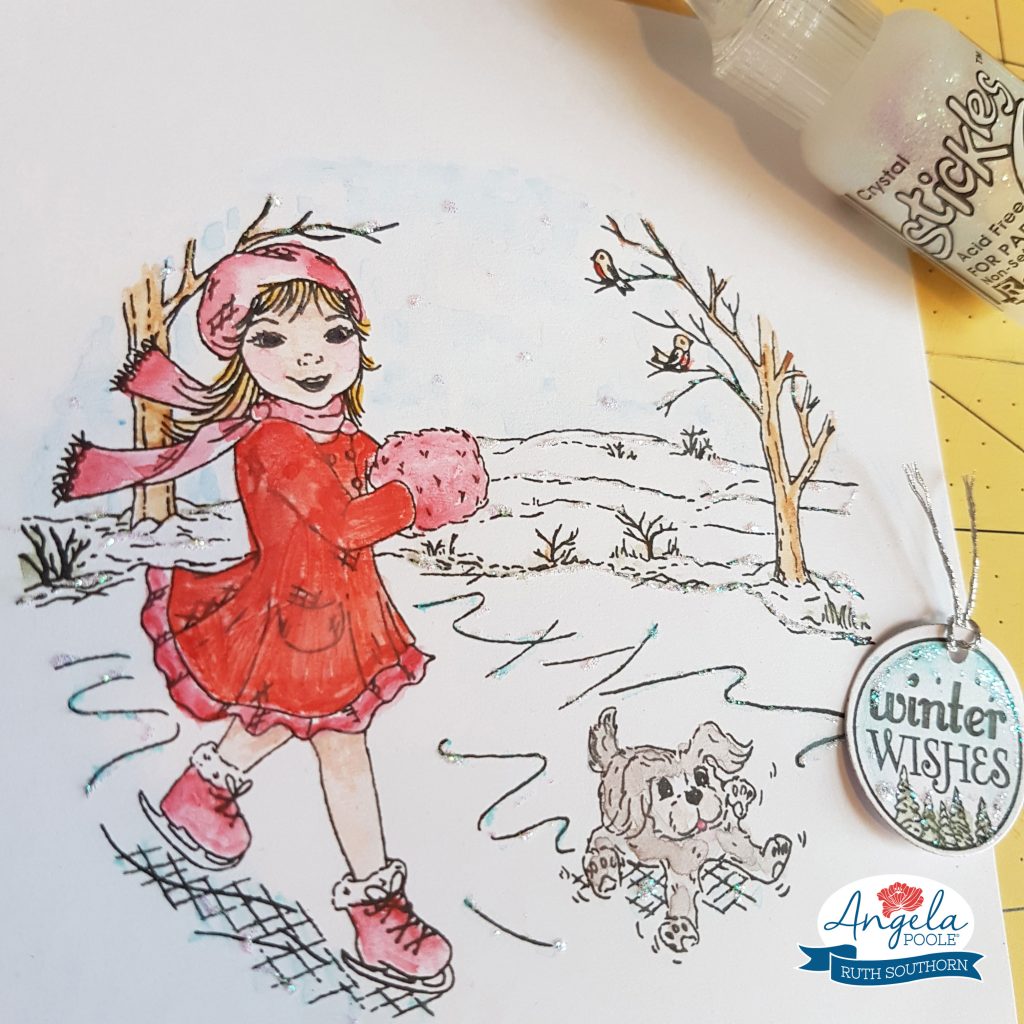
I began by stamping the Kitty ice-skating image, and watercoloured her and sweet Pip the dog. I love to watercolour soft nostalgic scenes like this, but you can use any colouring medium you like to get great results. When it was dry, I added some Stickles glitter glue for snowy shimmer accents.
I also stamped plenty of the teeny snowflake icons and the ‘winter wishes’ sentiment tag from the same set. Both also decorated with a layer of glitter glue, because more glitz is always good at Christmas, right?
And the great thing is that this card idea works for either of the stamped ‘Cold Days, Warm Hearts’ designs and for lots of the digital images from the CD-ROM.
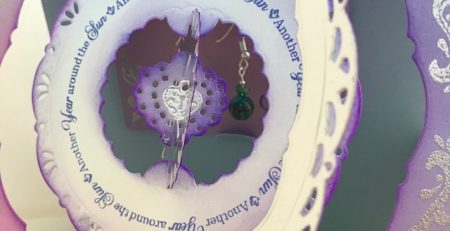
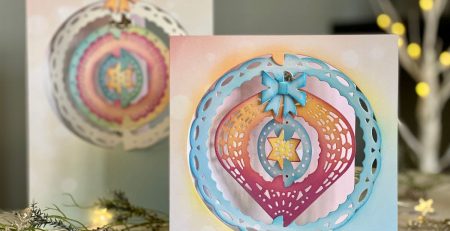
For the shaker card blank, you can use a pre-cut aperture card (you’ll need one with a circle window of at least 10cm diameter). Or why not custom-create your own card blank, using the ‘Trimmer’ circle die from the Magic Windows Slide and Reveal – Circle die set? It’ll be a perfect fit!
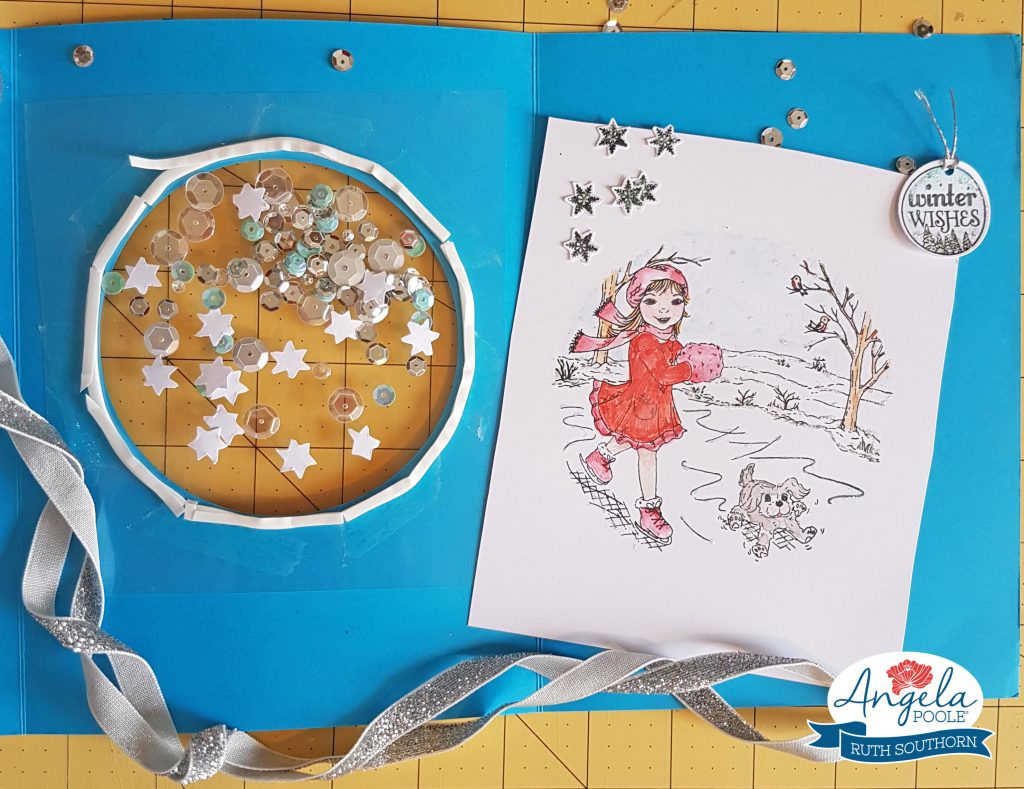
I fixed a layer of acetate inside the aperture for my shaker window. Top tip – swipe it with an anti-static pouch used for heat embossing (or a tumble dryer sheet), to avoid static cling and your shaker bits will have max shakability! Then I edged the aperture with foam tape, making sure there were no gaps.
To align my image of lovely Kitty properly in the window, with all the shaker sequins, I laid her facing up on my craft desk. I placed all the sequins carefully in the middle of the scene, so they wouldn’t get caught in the tape. Then I could place the acetate window downwards with backing removed from the foam tape. You can watch to get the positioning of the circular scene exactly right!
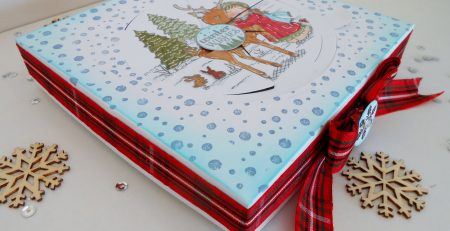
I embellished my card with some sparkly ribbon to echo my silvery and iridescent sequins. And finished off the front by stamping more snowflakes in white ink, and popping up extra fussy-cut ones on foam pads. Now shake to enjoy the interactive action of the sequin snowfall!
Hope you liked my sweet card, and I can’t wait to show you more fun designs using these festive stamps.
Ruth
For more great crafting inspiration, head to Ruth’s Facebook page, Crafting with Ruth and hit ‘like’: www.facebook.com/craftingwithruth