Simple stamping onto fabric!

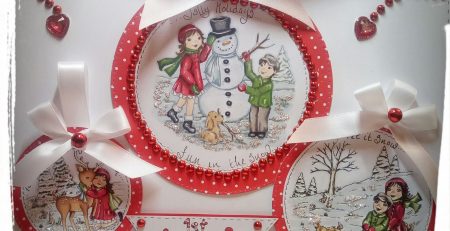
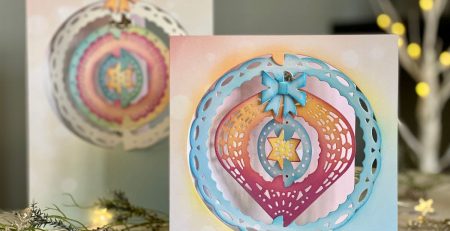
If you managed to watch our last show on HOCHANDA, you’d have seen a new technique I tried using our gorgeous stamps! I was so impressed with the stamping quality that I experimented with stamping onto cotton fabric and I was stunned by the results! This design features stamps from our Christmas Wonderland photopolymer stamp set.
I considered whether I should use a fabric paint but I had a Stampin’ Up! Rose Red ink pad in a drawer and I decided to give it a go. I did press the fabric before stamping and I’d say that I pushed the stamp firmly down rather than lightly placing it on to the fabric but apart from that, it wasn’t any different to stamping onto paper and I just LOVE the effect!!
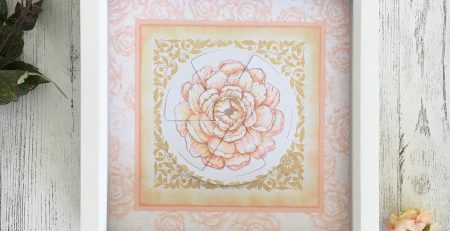
I used the snow layers from the set to add depth to the trees and used the small snowflake trio to create the look of falling snow. By using the ‘Trimmer’ circle die from our Magic Windows Slide & Reveal die set, I was able to quickly cut a circle to use as a guide when stamping the snowflake border.
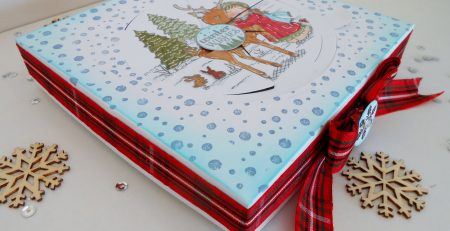
I found it saved time when stamping the border to take the stamp to the ink pad before stamping the fabric each time. I was surprised at how quickly the ink dried too. After dusting off my sewing machine, I stitched a few (deliberately) wonky circles looping around the snowflake border.
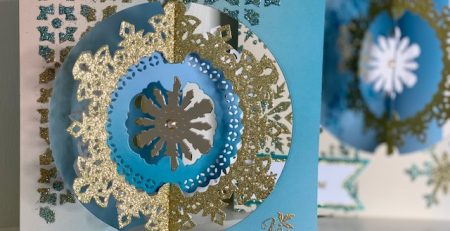
I must admit that I thoroughly enjoyed sitting down to watch a film whilst hand-stitching the beads around the border. It’s been such a long time since I’ve had a stitching project, that it felt quite indulgent!
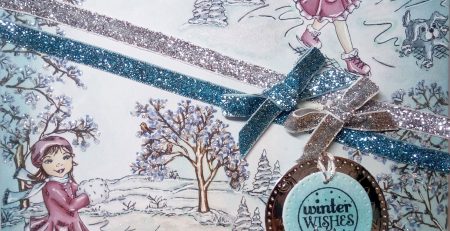
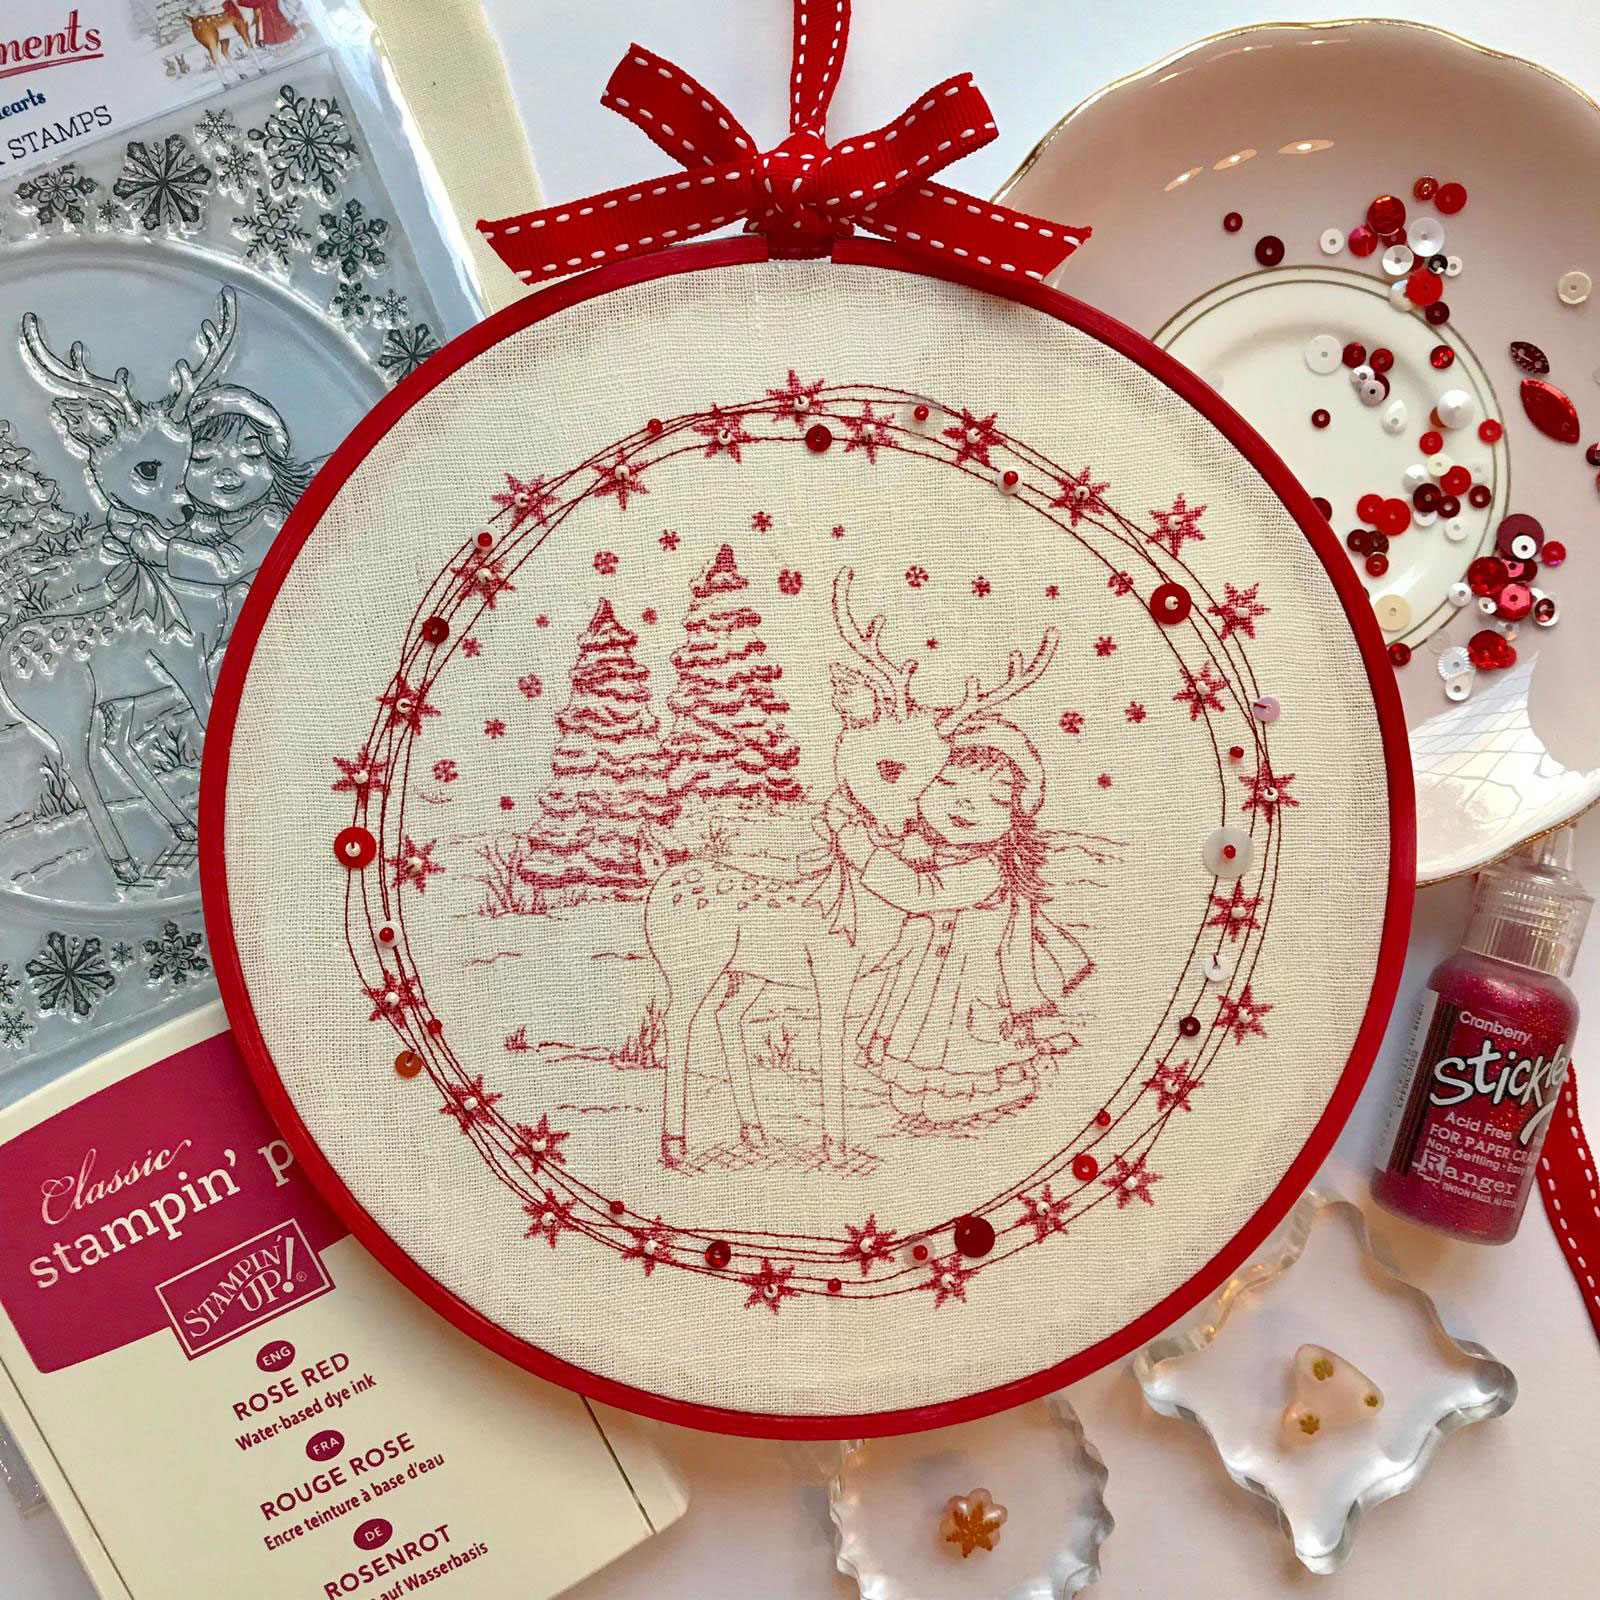
However, if you’d prefer a completely no-sew option for these fabric hoops, then I’d recommend drawing the stitched lines with a red biro as the ink sits well on fabric. Instead of stitching the seed beads and sequins, you can attach them easily with a glitter glue like Stickles – plus it adds a bit of sparkle! I chose to use the Stickles technique for our HOCHANDA show (see above) as there just wasn’t time for stitching the sequins on!
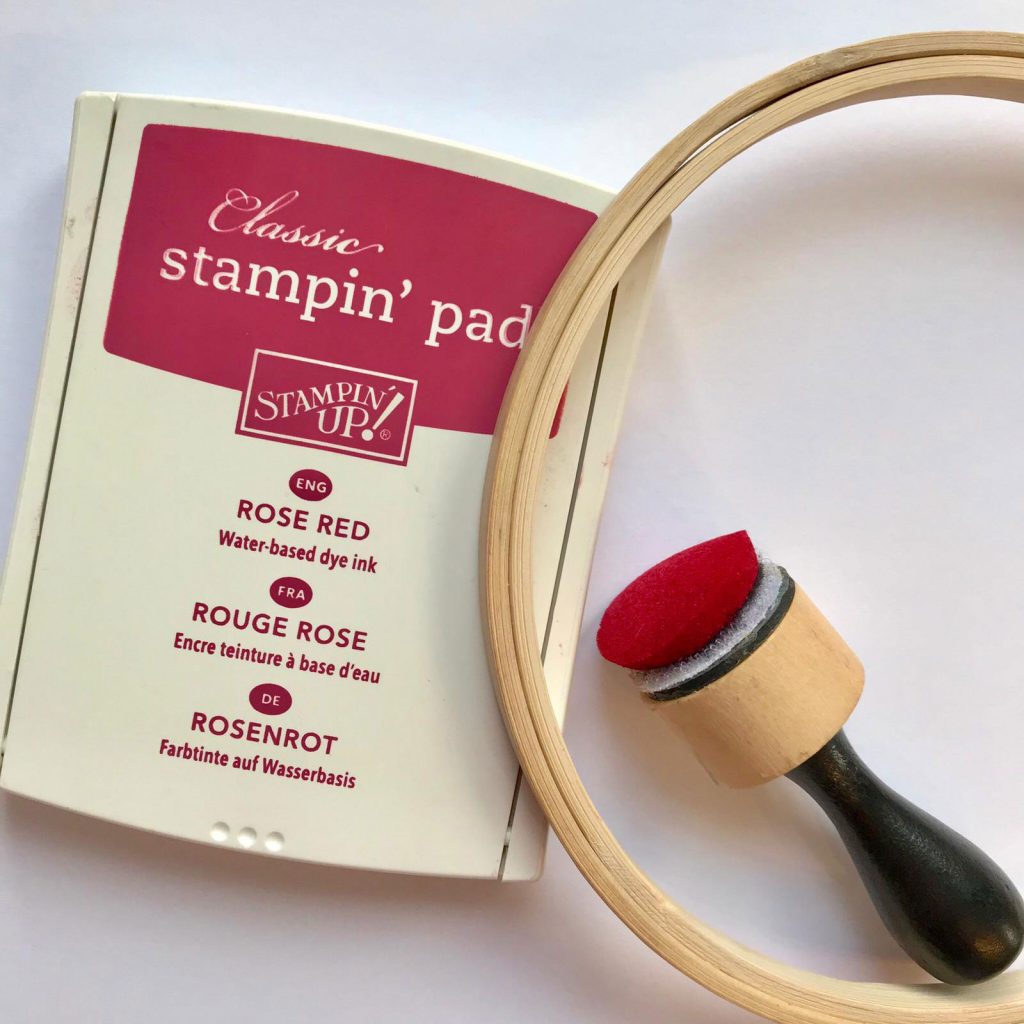
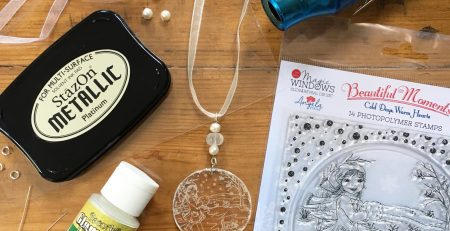
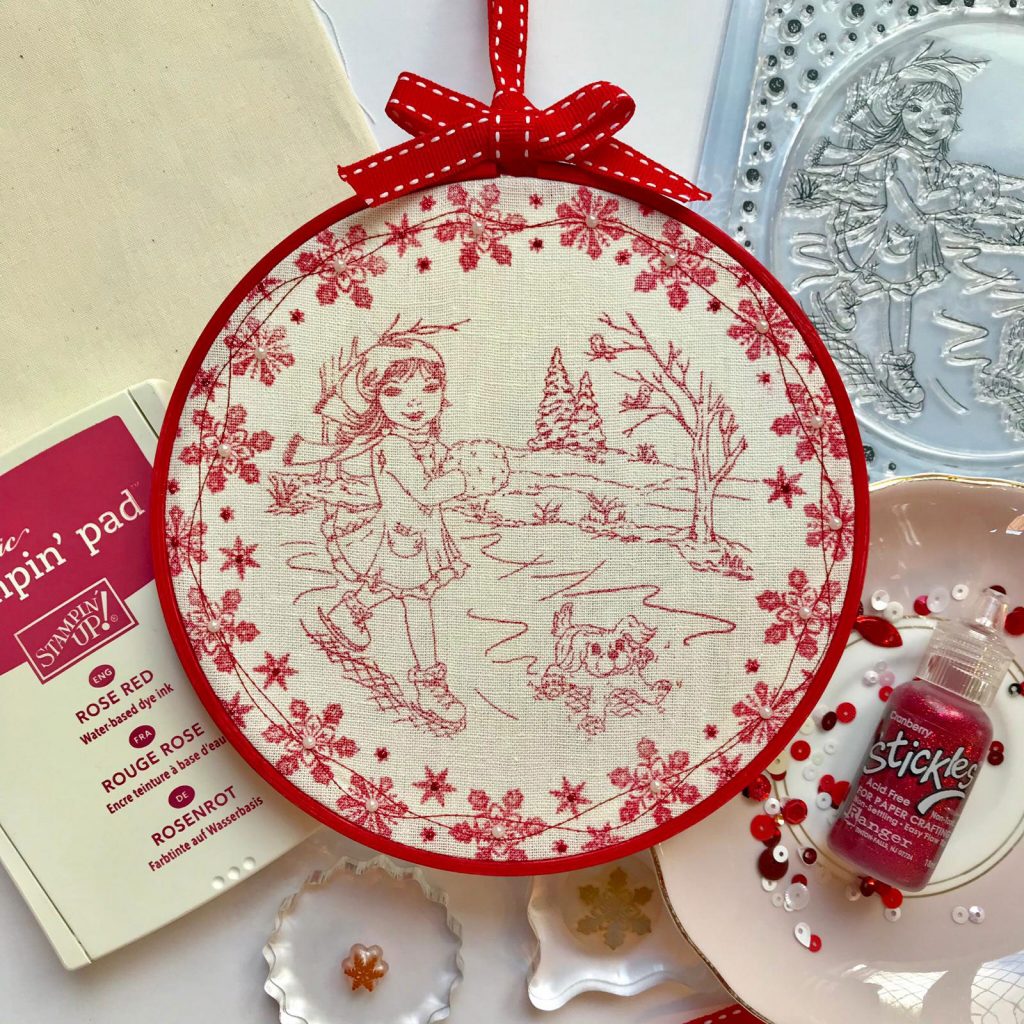
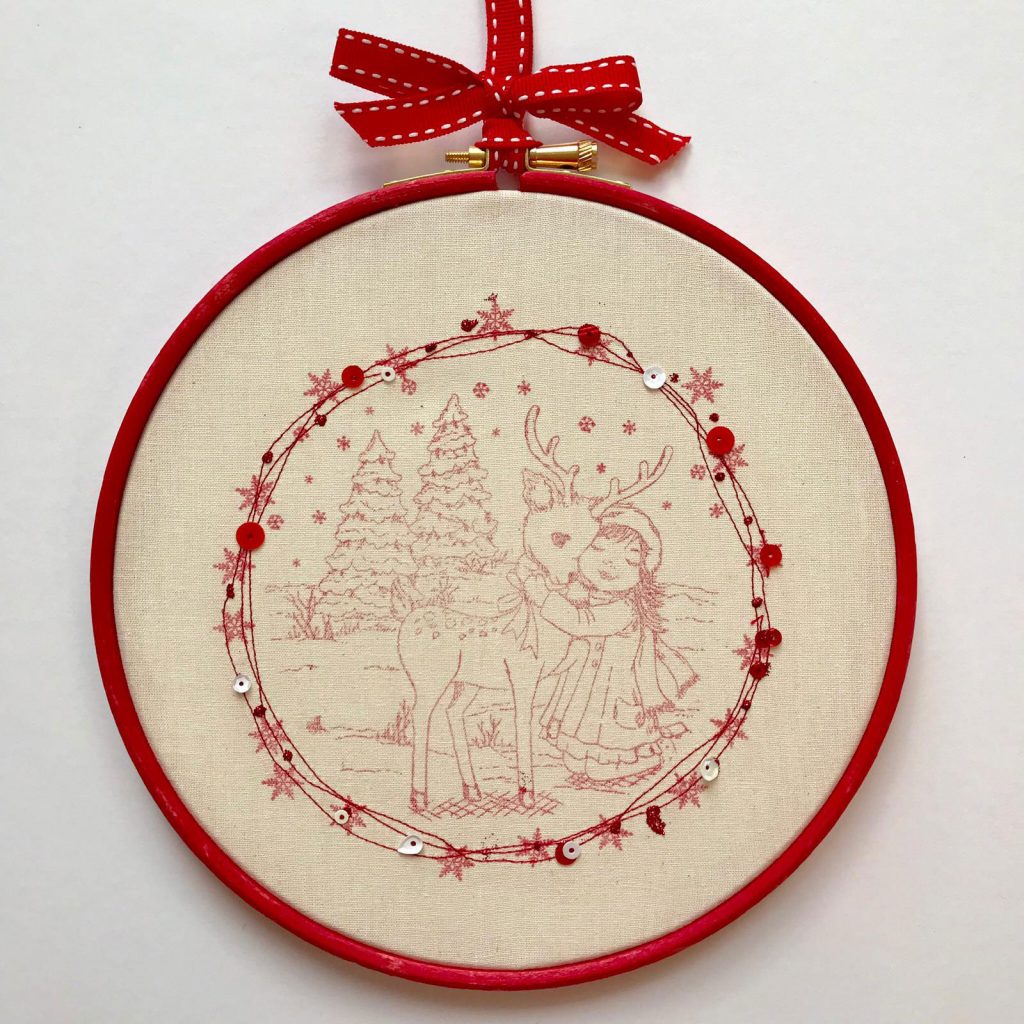
Once the design was finished, I wanted to display it in an embroidery hoop. I’ll confess that my first attempt of painting a hoop with red acrylic paint ended very badly. It was a mess! But then I had a go at colouring a wooden hoop using a blending tool to apply the same pigment ink that I’d stamped with and it coloured it beautifully. It also gave me a red left hand where I was holding the hoop though, so I highly recommend using a glove or small plastic bag to hold the hoop whilst colouring it!
Pigment ink isn’t waterproof but it was actually quite liberating to decide that I wasn’t going to wash the fabric design or frame and it was in fact, a great use of an old ink pad.
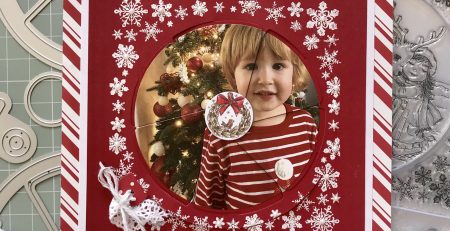
Once the hoop is dry, you can then use it to frame the design. Pull the edges of the fabric gently to keep the design central and the fabric taught. You can then trim away the excess fabric, leaving a small border of just over 1cm. By applying high-tack double-sided tape around the inside of the hoop, your fabric edges will stick neatly inside the frame.
I then threaded a loop of ribbon through the top of the embroidery hoop and finished it off by tying a decorative bow.
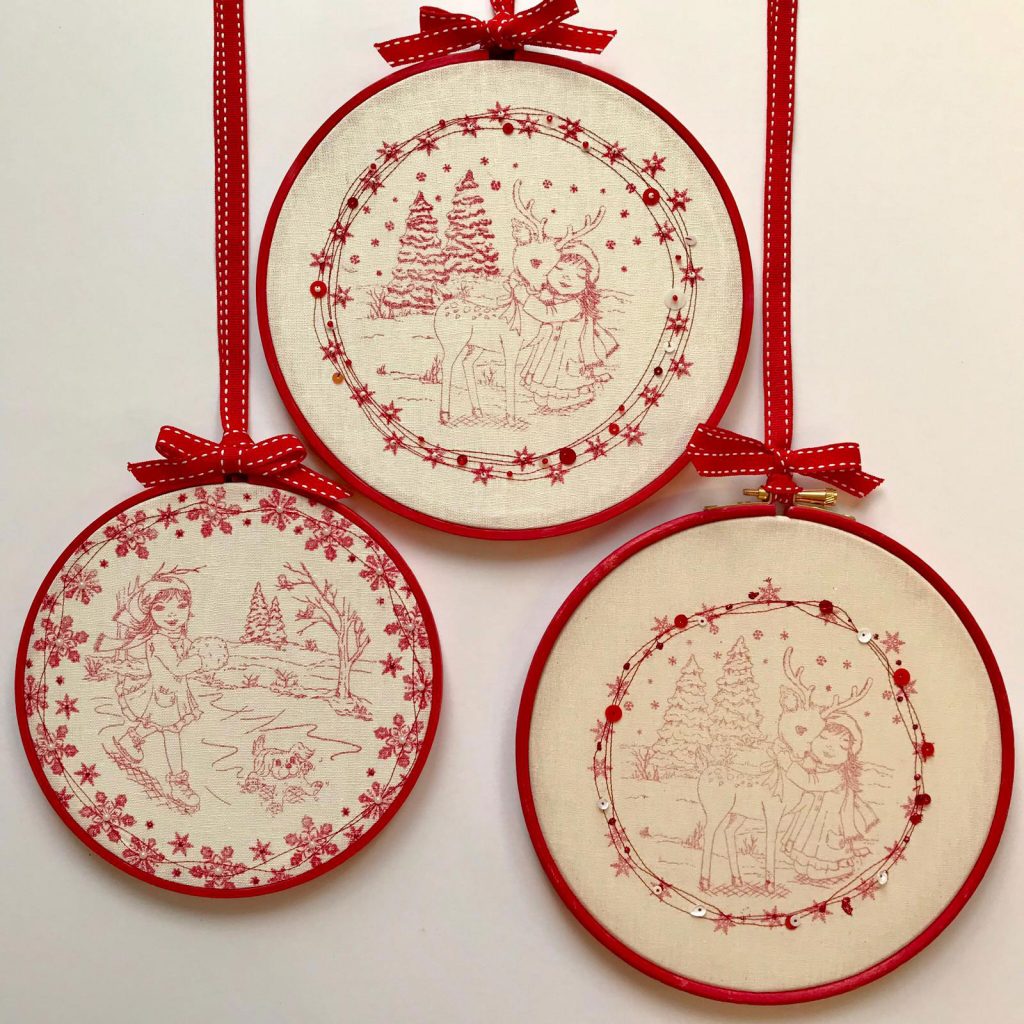
The hanging picture looks absolutely stunning and it’s so quick to make! It would make a wonderful handmade gift too – if you can bear to part with it that is!
I hope you like my stamped fabric designs. Please stop by again for more crafting inspiration!
Angela