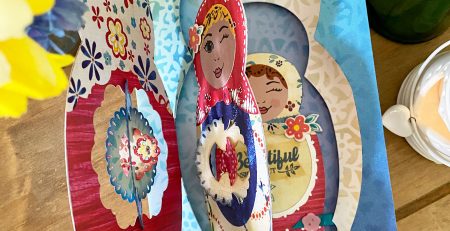
Sparkling Festive Frames cards!
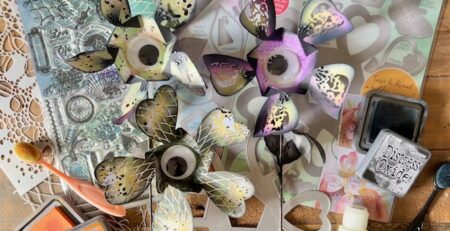
Our Slot & Spin Festive Frames die set is one of my all-time favourite die sets! Its packed full of dies and mix ‘n’ match possibilities. When I prepared demos for our recent shows on The Craft Store, I couldn’t believe that I hadn’t previously FOLDED the snowflakes and baubles to make 3D Christmas shapes?!
Now I love this die set even more because not only can you make beautiful spinning Christmas cards, but folding the pieces allows you to make incredible three dimensional festive cards!! It’s so easy and I’ll show you how…
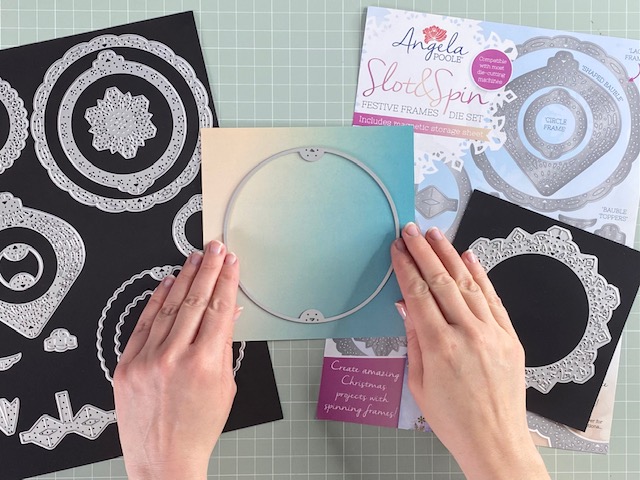
Start by choosing an aperture from the set. I’m using the largest aperture as I want to connect the large snowflake which was a bonus die in the set. Our die sets are all packaged with magnetic sheets for easy storage.
The piece of card is 6x6in and cut from our beautiful Ocean Mist card pack. The natural colours in this card pack are just so versatile. I like to keep a pack of Ocean Mist card nearby when crafting as I use it so often!
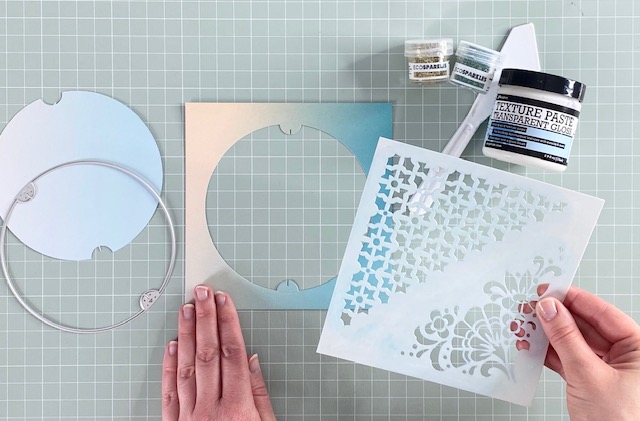
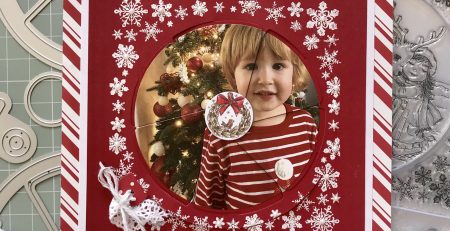
This little 6in stencil is called Decorative Corners and it’s from our Folksy collection. I love the contrast in the corner designs and although it doesn’t make you instantly think of Christmas, just wait until you see the top left corner of this card in glitter!
I’m applying Rangers Transparent Gloss Texture Paste but as the glitter is going to cover it, you can use any paste you have at home. I throughly recommend trying our stencils with texture pastes and using them to emboss with your die-cutting machines too! Our stencils are unusually thick as they’re cut from a hefty 350 micron mylar! – It means they’re durable and that extra thickness creates depth with texture pastes.
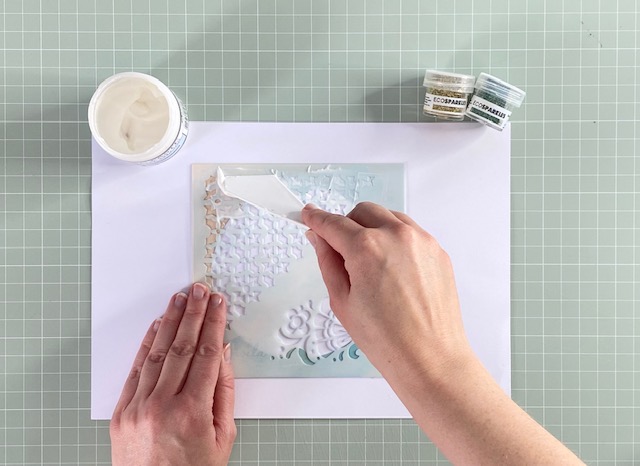
As the stencil is lifted, you can see the corner design has been applied to the card. This also looks great with Rangers Crackle Texture Paste without glitter.
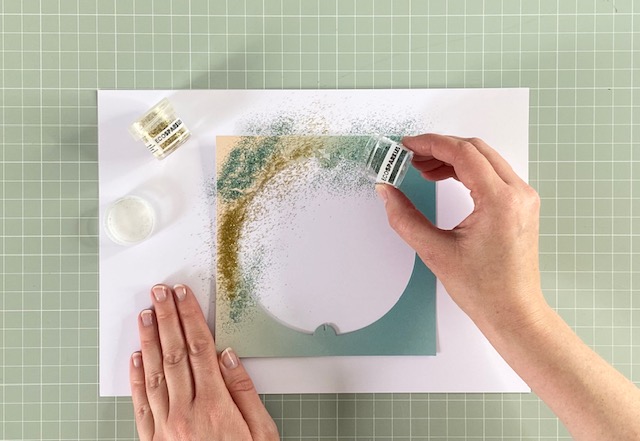
These days I only buy biodegradable glitters and I love the new Earth Sparkles collection from Wow! They have fun fish related names and these are called Scampi (gold) and Mahi Mahi (turquoise). Before the texture paste dries, apply the gold diagonally along the centre of the design and then the turquoise either side.
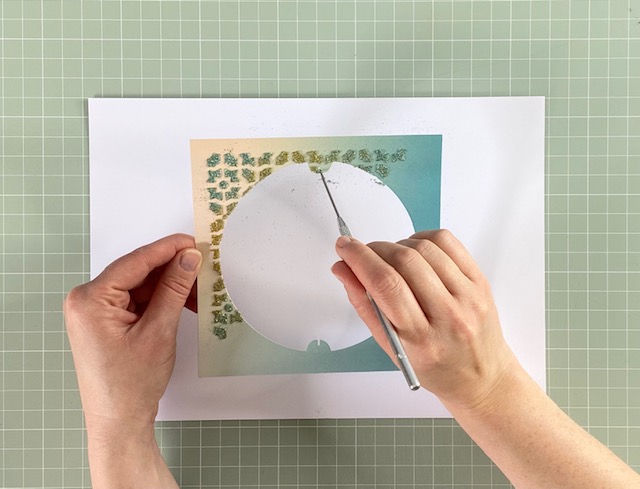
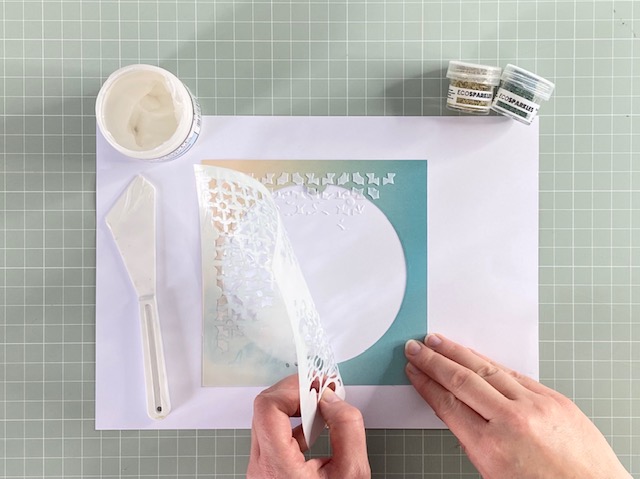
Shake off the excess. This is a top tip here – if any paste covers the top and botton slots, then it’s best to remove it before it dries. The Festive Frames die set cuts everything so that it connects perfectly every time and those slots need to be clear of paste.
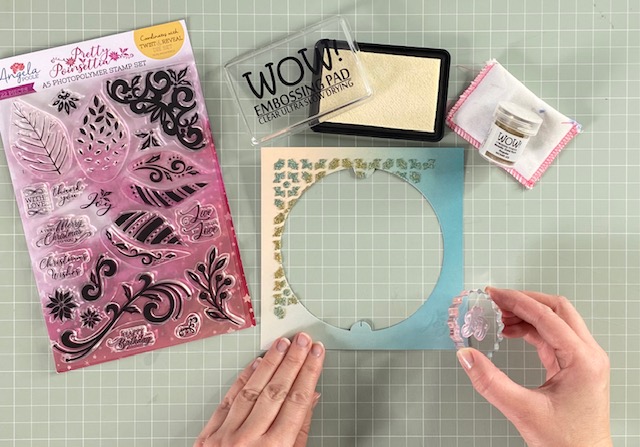
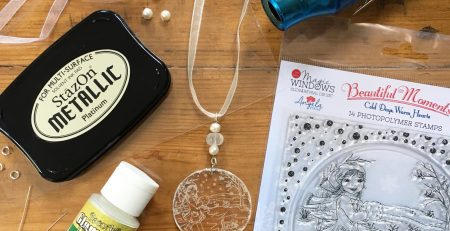
You could rotate the corner stencil and apply texture paste again but I’m going to add a greeting to the bottom right corner. I’m using our Pretty Poinsettia A5 photopolymer stamp set. This stamp set is packed with flourishes and handy greetings, and it’s also on sale at a bargain price!
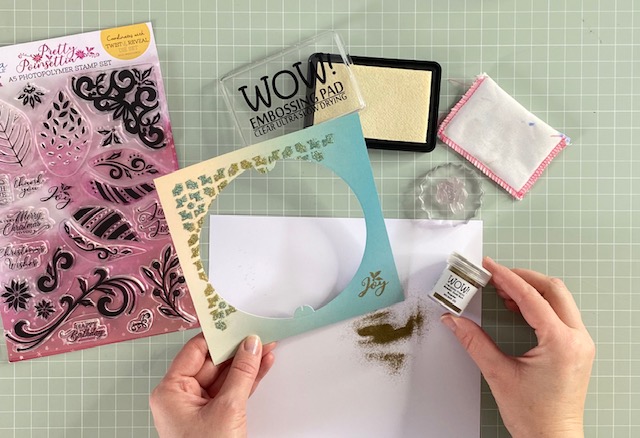
before stamping, I rubbed the surface with an anti-static pad. I’ve stamped the ‘joy’ greeting using an embossing pad from Wow! and used their regular powder in Metallic Gold.
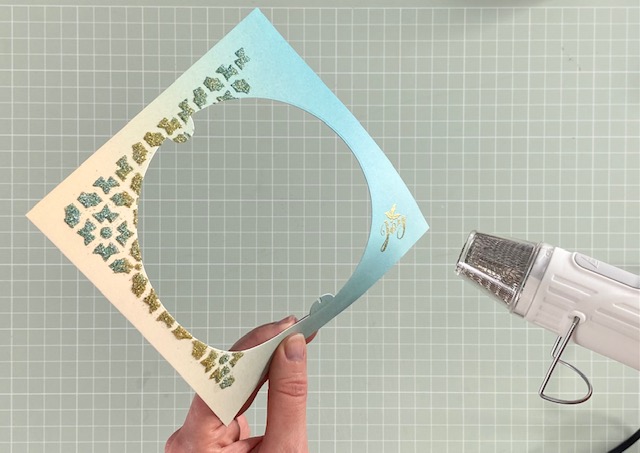
Melt the embossing powder using a crafting heat gun. Take care not to overheat the powder otherwise you’ll lose the shiny finish.
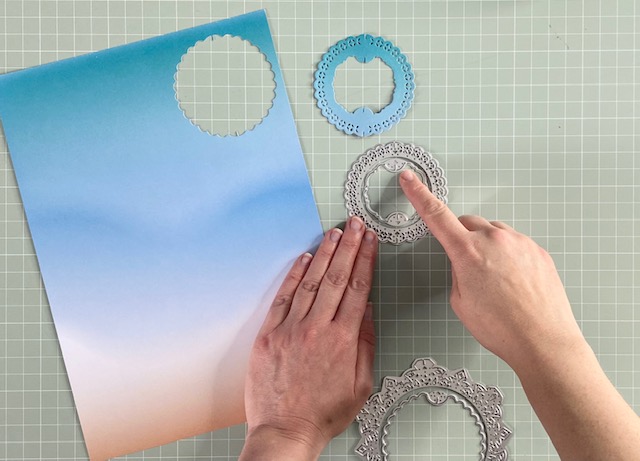
The mix ‘n’ match possibilities with the Festive Frames die set mean that you can cut solid spinning panels or frames. Here I’ve nested an aperture within a circular frame die. There are arrows within the dies that make it so easy to line up the top and bottom before die-cutting. You can see the piece of Ocean Mist card that has been cut with the dies arranged like this…and those beautiful natural colours in this card pack. Gorgeous!

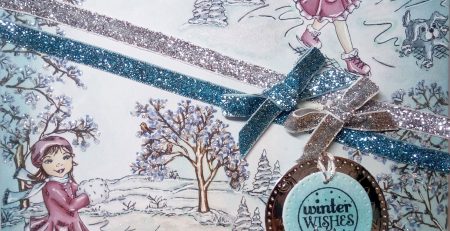
To cut the large snowflake frames, I’ve nested a smaller aperture die and lined up the arrows in the same way. I’ve cut the two large snowflakes from gold glitter card and a smaller snowflake from gold mirri card. If you have double-sided glitter card then I would definitely give it a go with these spinning frames!
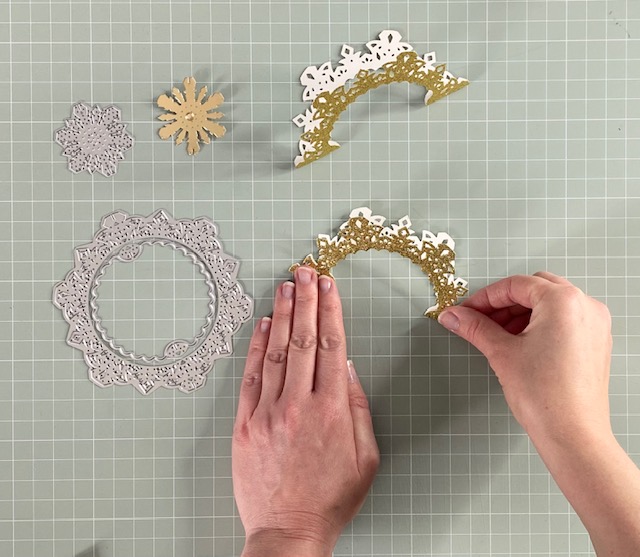
Next, you can fold the two snowflake frames in half. Use the cut slots at the top and bottom of the snowflakes as a guide for where to fold them.
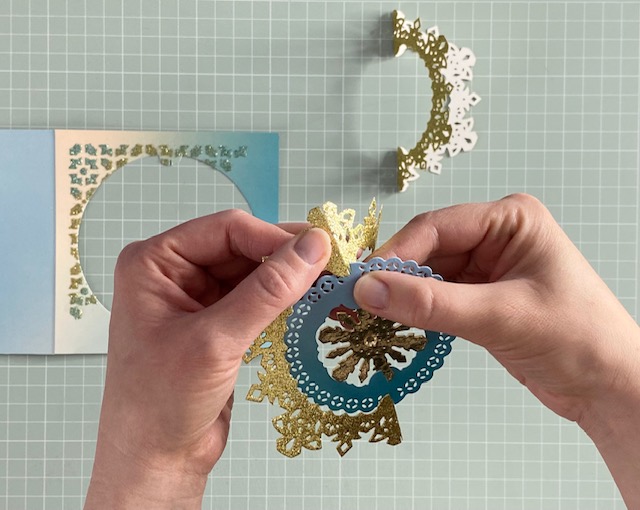
The best thing about crafting with our Slot & Spin die sets is that you don’t need adhesives! The pieces simply connect together. I like to connect the smaller pieces first and work outwards. Here I’m connecting the first folded snowflake to the left side of the slot. I’ve also attached a back to the aperture card piece to make a card base.
And then you can connect the other folded snowflake to the right side of the slot. The glitter card I’m using is quite thick, so I’d recommend only using two folded frames within the slots. However, I have tried folding multiple frames of thin card/paper and opening out the layers for more stunning 3D effects!
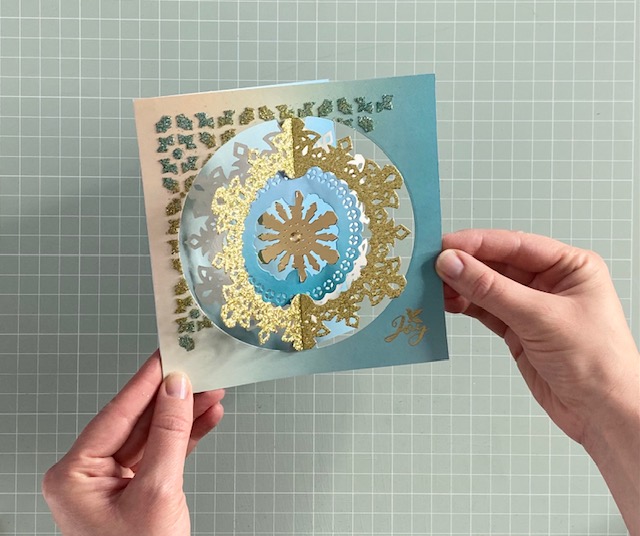
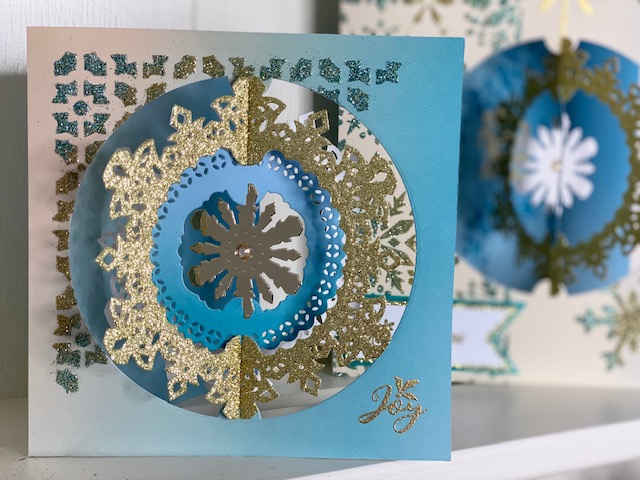
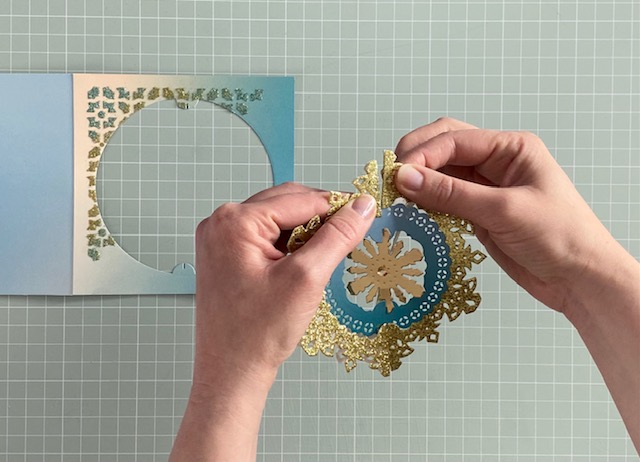
And then the large folded snowflake piece connects to the large aperture!
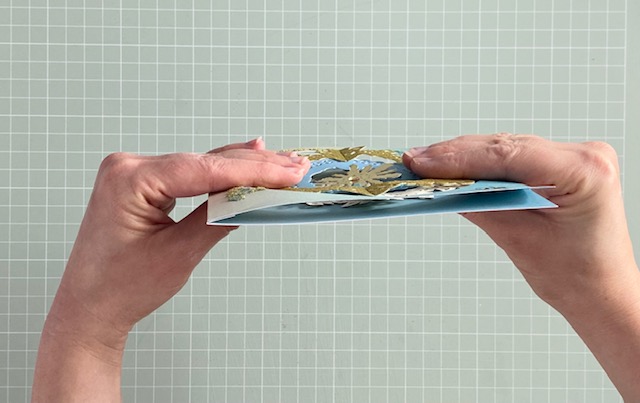
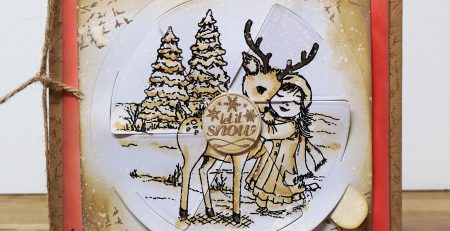
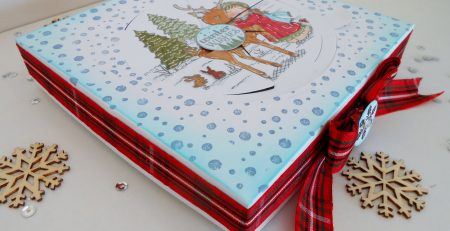
The card folds flat for posting. When the card is opened, the folded snowflake pops up and the frames within it spin! It’s such a striking Christmas card to give to someone!
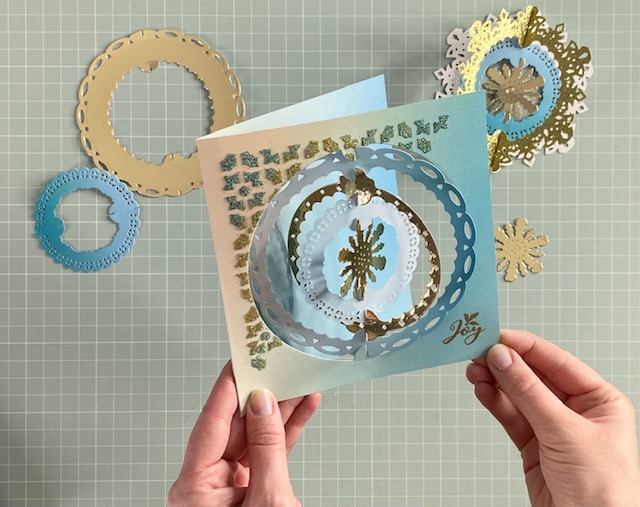
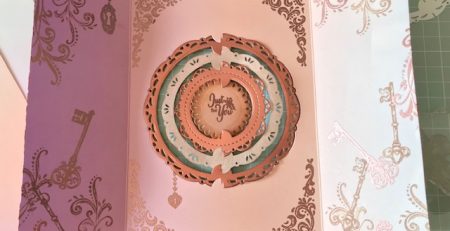
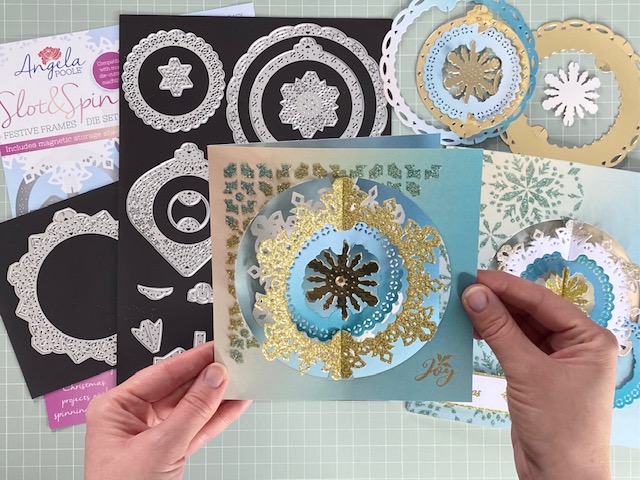
Here are some examples of the mix ‘n’ match possibilities I mentioned with the Festive Frames. I’ve disconnected the large snowflake and attached spinning narrow frames to the same card base. By choosing smaller apertures to nest within frame dies, you can die-cut wider spinning frames.
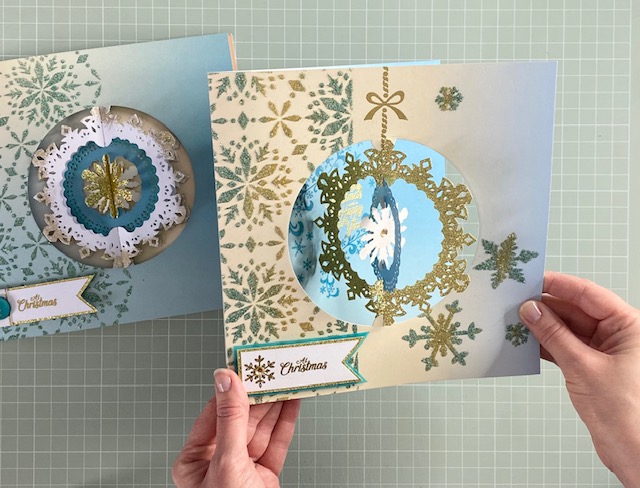
This is an example of a single spinning large snowflake. On the left, I’ve folded the small central snowflake for a pretty effect.
I hope you enjoy crafting with our Slot & Spin Festive Frames die set – we’d love to see what you’ve created with it!
Happy Crafting!
Angela
X