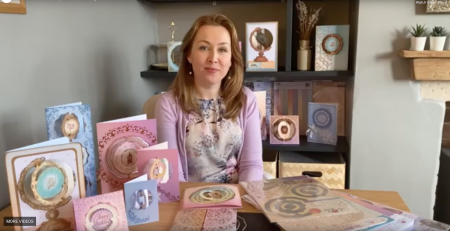
Stunning Mother’s Day Hanging Wreaths!
Hanging hoops and wreaths are a hot trend for home decor! They look SO stylish but even if you shop around, they can be a little pricey. The good news is that I’m going to show you how to make your own DIY hanging wreaths, paper craft style!
Apart from the two wooden embroidery hoops, you’re likely to have a lot of suitable inks and card etc in your craft stash already.
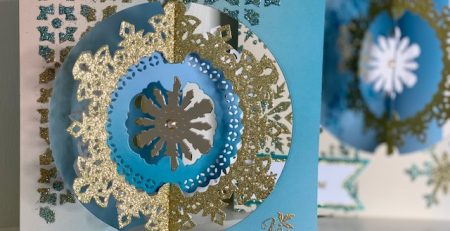
I made both of these wreaths in one evening using our Nature’s Textures Chevron and Hexagon stamp and stencil sets. Two wooden embroidery hoops are nested together to create each wreath. I couldn’t believe how quickly the design came together and it’s particularly handy if you’re looking for a special Mother’s Day gift, but are a little short on time!
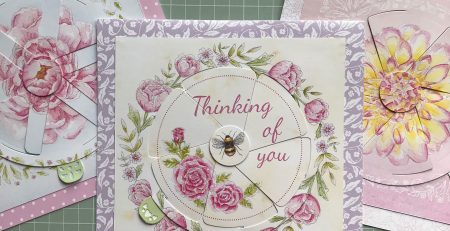
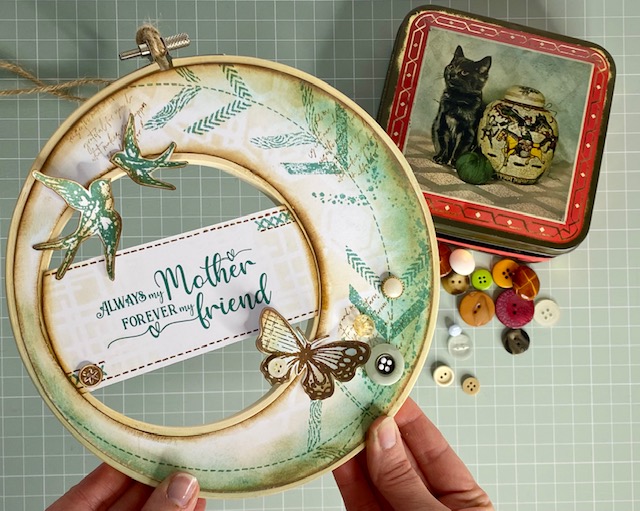
Here’s a close-up of the first hanging wreath I made. I’ve personalised both of my wreaths with the buttons I inherited from my Gran’s button tin. I know that it will mean a lot to my Mum to include them. I wanted to share the idea that the wreaths can be personalised to mark a celebration of the women in our lives this Mother’s Day.
I took photographs along the way as I designed this wreath! If you’d like to make your own, here are the step by step instructions:
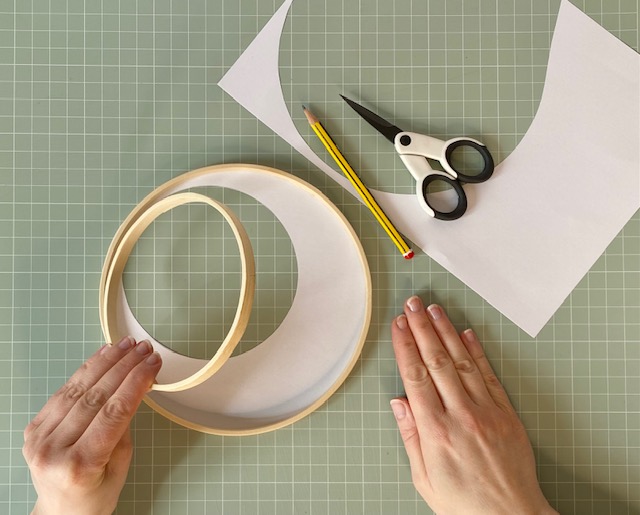
First, I separated the inner hoops from 8in and 4in wooden embroidery hoops.
I placed them over a scrap of paper and nested the hoops by off-setting them to one side, (leave a small gap for the outer 4in hoop to fit). I drew around the outside of each of the hoops to make a template – but you could cut this directly from your chosen card.
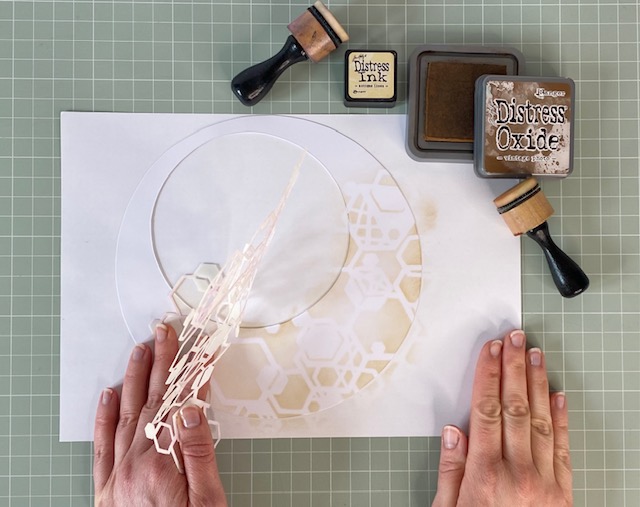
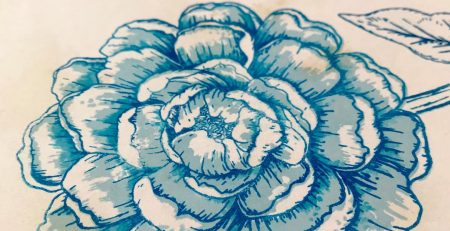
After cutting the shape from white card, I created a hexagon background pattern using our Nature’s Textures Hexagon stencil with Antique Linen Distress Ink and Vintage Photo Distress Oxide. I lightly applied the inks as I wanted the pattern to be subtle.
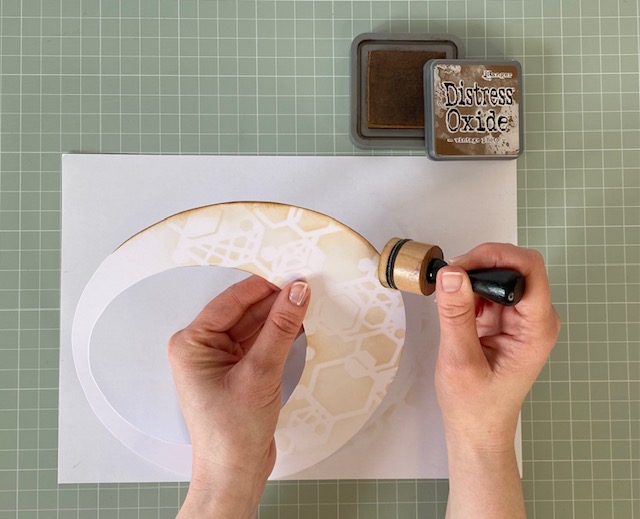
I added a quick bit of shading to the edges of the card with more Vintage Photo Distress Ink.
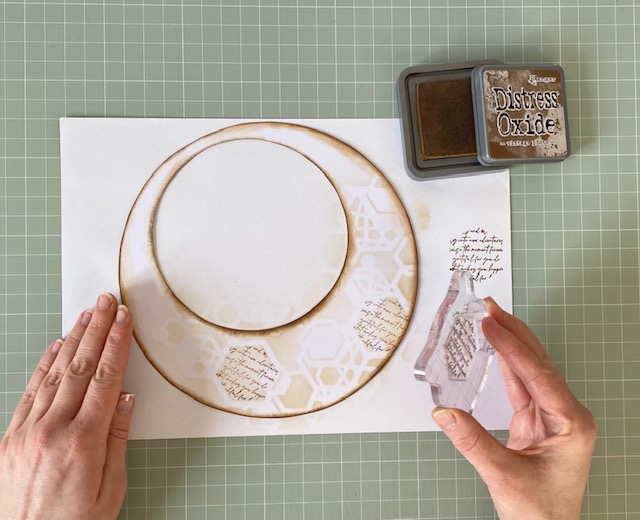
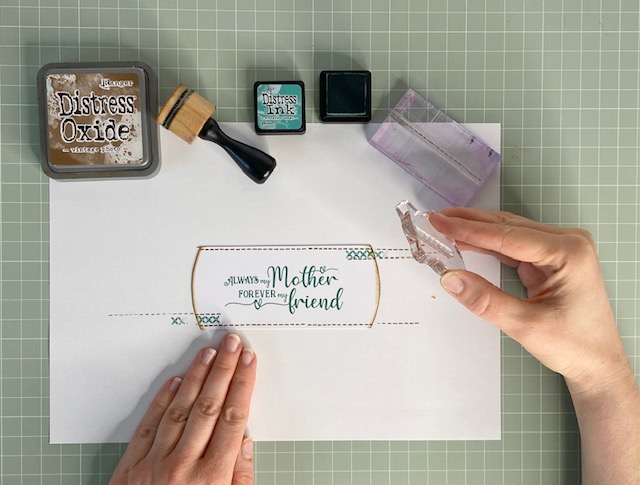
Our Nature’s Textures Hexagon stamp and stencil set comes with coordinating stamps to fill the hexagon areas. Here, I’m adding the script text stamp. I stamped the impression onto scrap paper first, as I wanted the text to have a faded, vintage look.
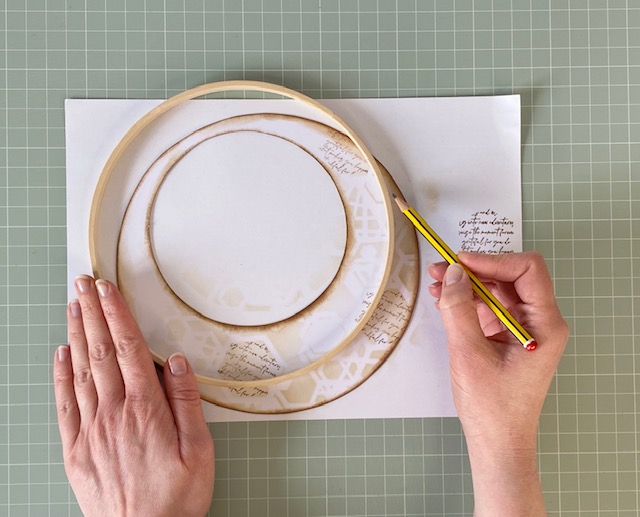
I used the 8in inner hoop to mark a faint pencil line which would act as a guide for stamping.
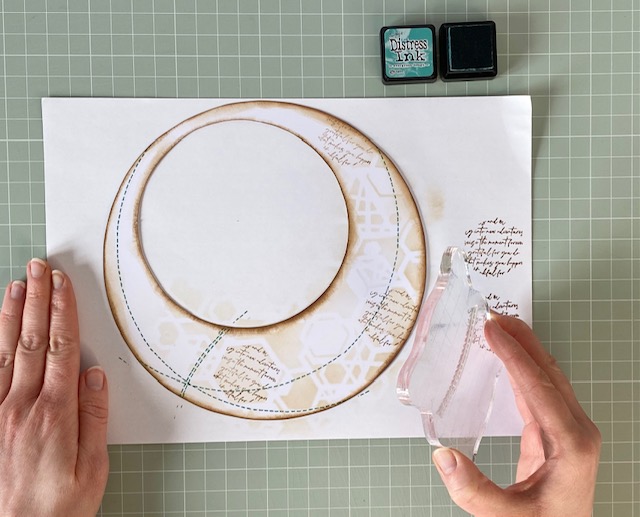
The stitched line stamp from our Hexagon set is so handy and I use it all the time! Our stamps are made from high-quality photopolymer which means you can curve suitable stamp designs as they will stick to your acrylic block.
I should also admit that I actually DROPPED my inked stamp just before taking the photograph (the line going across the wreath instead of around it!). This happens a lot when I’m speed crafting! It turned out to be a happy accident though, and I emphasised the ‘mistake’ by adding a matching line next to it. I like it so much, I recreated something similar on the second wreath I made.
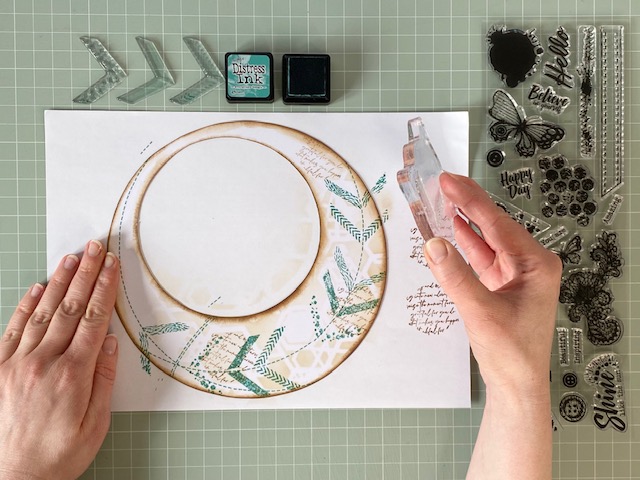
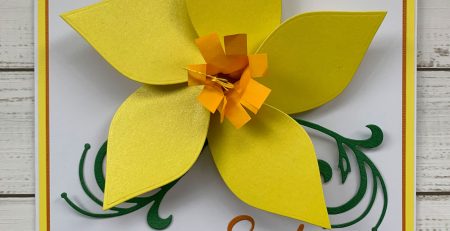
A little more stamping. . . and I’m being a little greedy here as I’ve reached for the stamps from our Nature’s Textures Chevron stamp and stencil set. I wanted to create the effect of leaves around a wreath and I love the abstract look of the chevron patterns!
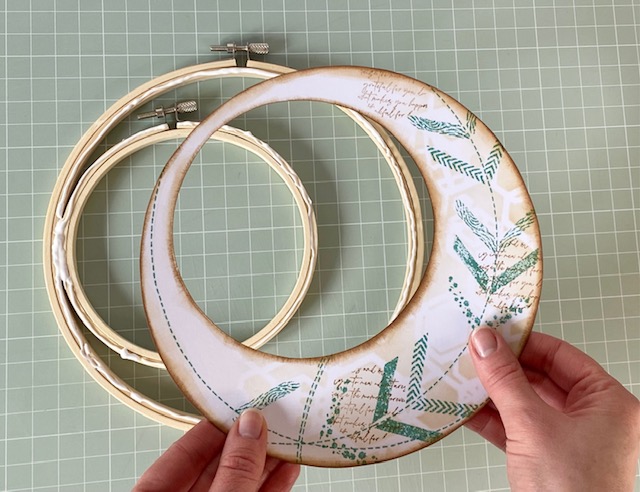
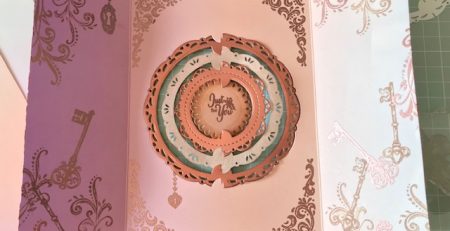
Once you’re happy with the base of your wreath, apply tacky PVA glue to the inner 8in hoop and the outer 4in hoop. I wanted to leave it to go super tacky for a few mins which, as it turns out was handy as I had a sudden flash of inspiration and decided to add a LOT more green shading to the outer edges. And I’m glad I did…
The extra shading gives the wreath a terrarium type of look which is so cool!
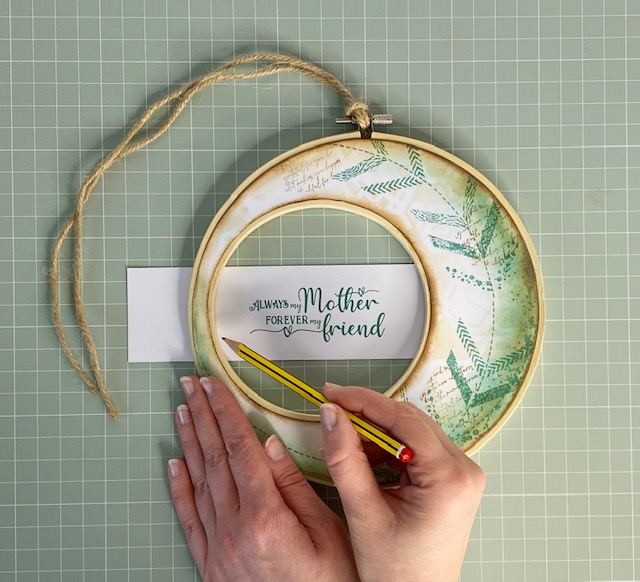
We’ve put a few printable Mother’s Day quotes together, which you can download for free! You’ll find the green quotes which I’ve used, here.
If you prefer, the quotes are also available in black, here.
I printed this quote onto white card and trimmed it into a narrow strip. You can use the aperture of the wreath to mark the curved edges with a pencil.
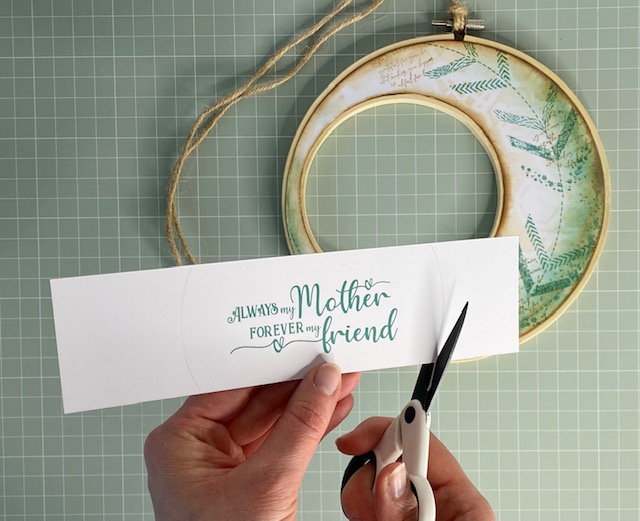
I trimmed the edges about 3mm wider each side of the pencil lines. You’ll need it to be a little wider so that it can attach over the hoop.
After shading the curved edges with Vintage Photo Distress Oxide, I used our Nature’s Textures’s Hexagon stamps to add faux stitched details with Evergreen Bough Distress ink. The running stitch looks great in the Vintage Photo Distress Oxide.
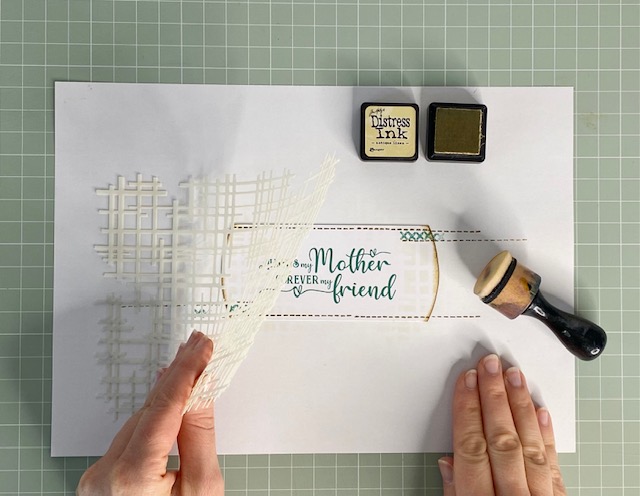
I used the linen stencil from our Nature’s Textures Hexagon set and Antique Linen Distress Ink to add a subtle background texture.
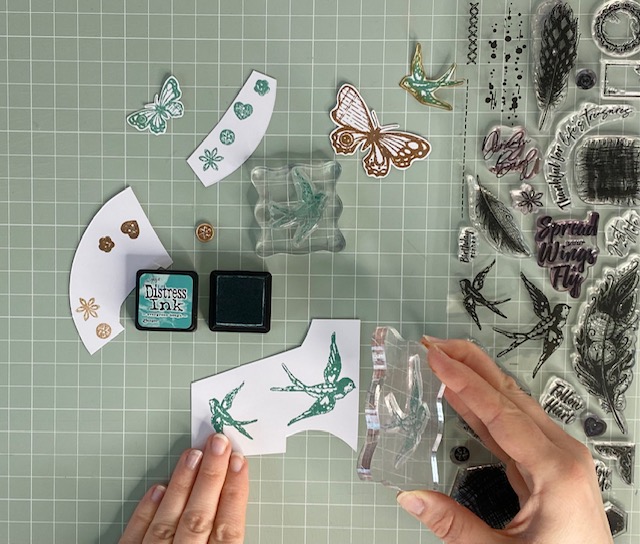
Next I used stamps from both the Hexagon and Chevron Nature’s Textures stamp and stencil sets. I stamped various birds, butterflies and buttons using Vintage Photo and Evergreen Bough Distress Ink.
Once dry, I fussy-cut them out and added shading to the edges.
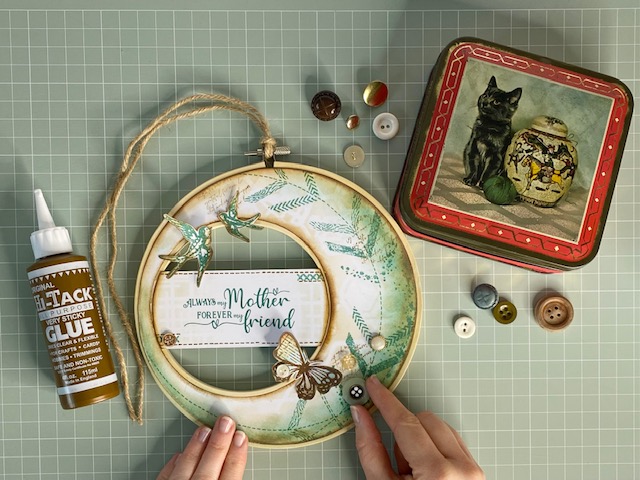
Adding tacky PVA glue to the edges of the back of your Mother’s Day quote is the easiest way to attach it to the inner hoop.
I then arranged my stamped embellishments and buttons before fixing them in place with more glue.
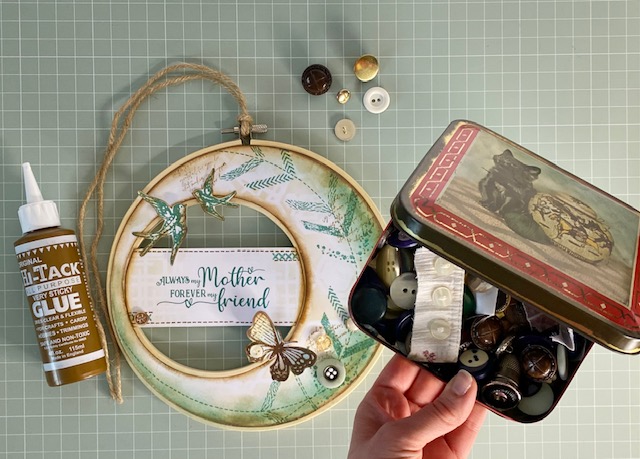
I wanted my Mother’s Day wreaths to have sentimental meaning, so I’ve included a few buttons from my gran’s vintage button tin.
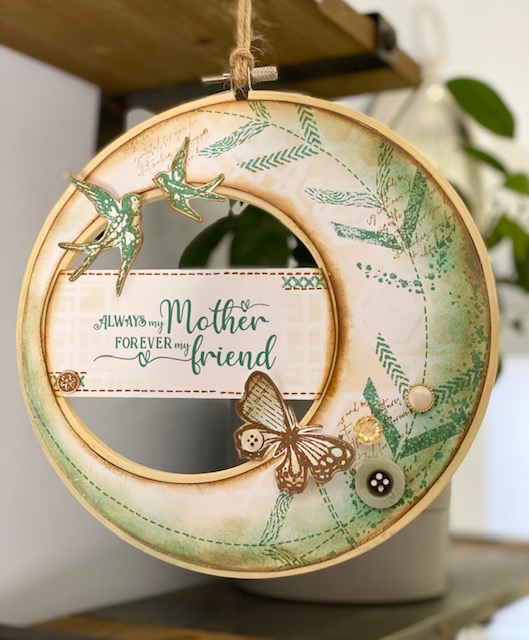
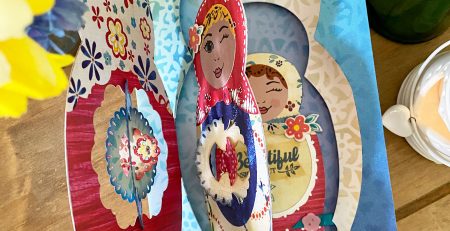
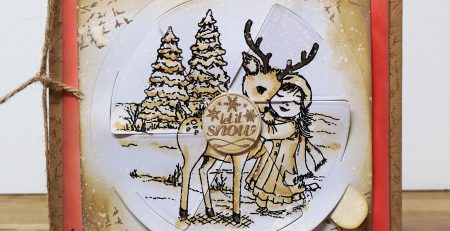
And here’s the finished wreath! It’s simple yet sophisticated.
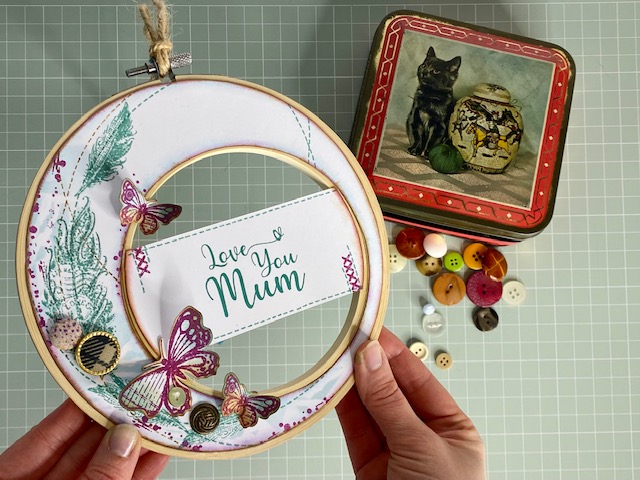
I made this wreath for my home. The wreath below is for my Mum as she loves the colour purple and butterflies.
I hope you like the wreaths and have a wonderful Mother’s Day.
Please stop by again for more crafting inspiration!
Happy Crafting!
Angela
x