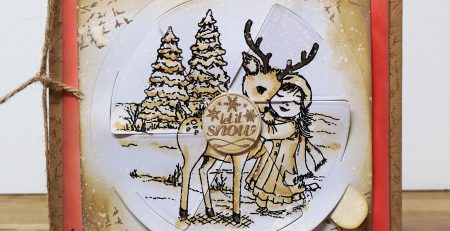
Secret photo lockets with our Pretty Poinsettias!

Our Pretty Poinsettia Twist & Reveal die set is packed with 15 incredible dies but it also holds a secret that you wouldn’t guess from looking at the dies alone . . . and it’s that you can make fold out photo lockets for the flower centres! The nesting pentagon dies can be used to die-cut frames and there’s a small hinge for connecting the locket pieces! Personally, I can’t wait to try cutting the hinge out of mirror card for a faux metal look! The photos, frames and hinge will also fit inside flowers made using our newer Wild Flower Twist & Reveal die set, too!
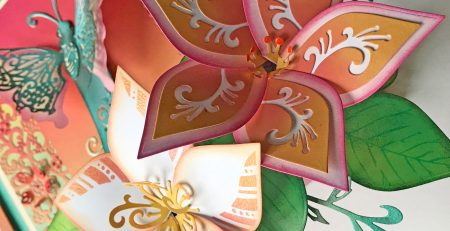
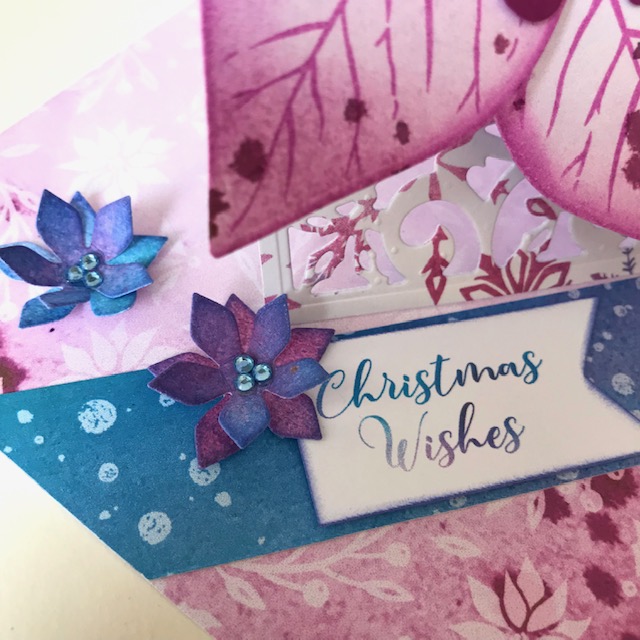
To make this card design, I started by die-cutting the poinsettia base from a patterned paper (printed using the Florals & Flurries Digital Download). I then stamped the petals with the leaf design from the co-ordinating Pretty Poinsettia A5 photopolymer stamp set.
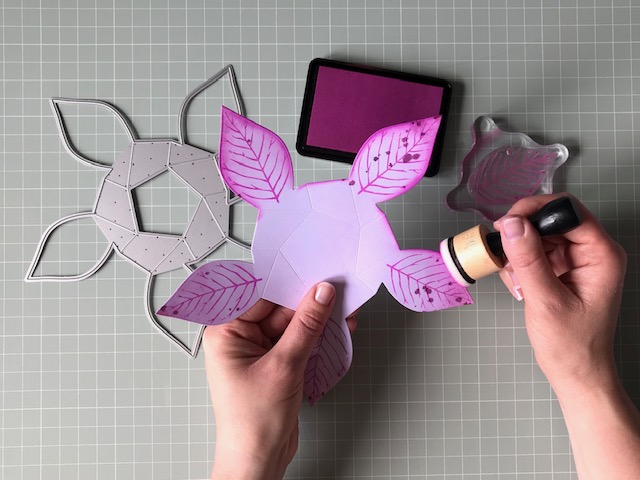
I inked the edges of the petals using the same pigment ink and a blending tool.
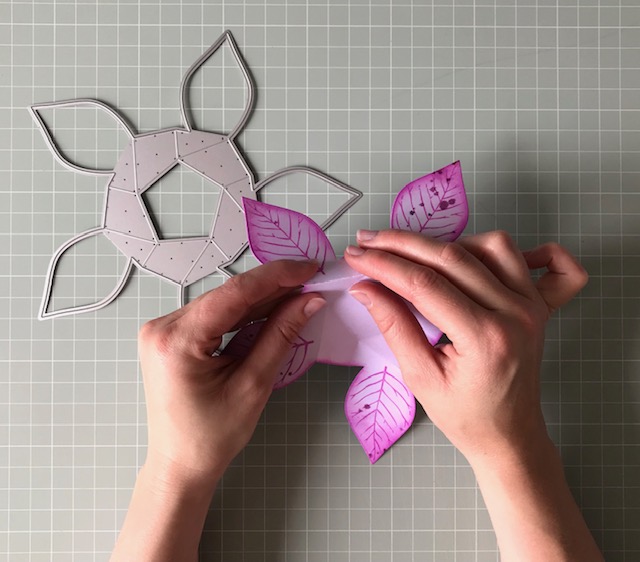
Follow the steps provided with the die set to fold the lines that the die scores.
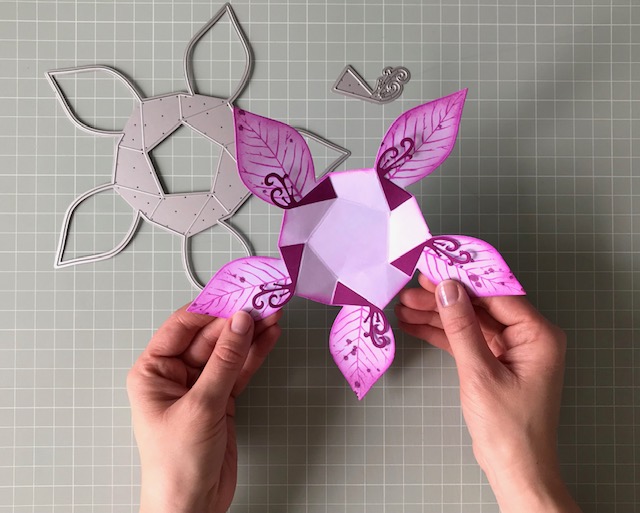
I then die-cut five stamens from purple card and arranged them around the centre of the flower using tacky PVA glue. Apply the glue only to the solid triangular part of each stamen, so that the top is free to stand up when the poinsettia is folded.
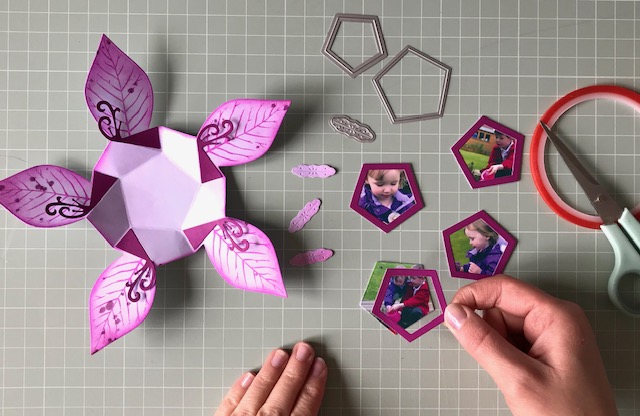
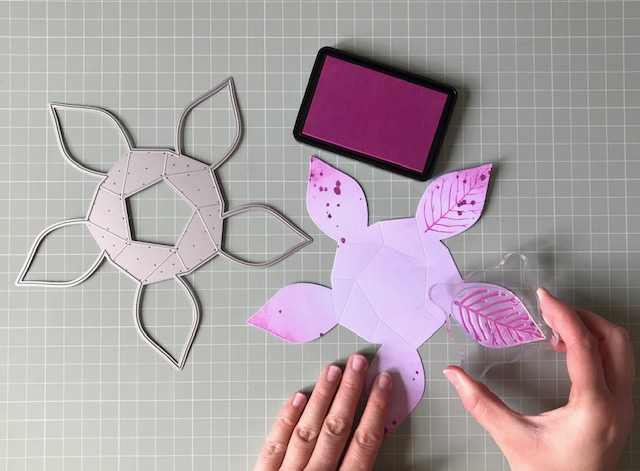
Here you can see the two pentagon dies which create the frame when nested together. The small hinge die embosses a pattern into the die-cut shape and a scored line down the middle for folding.
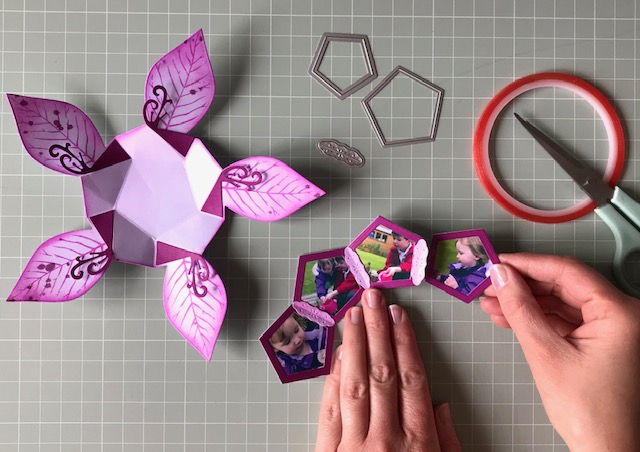
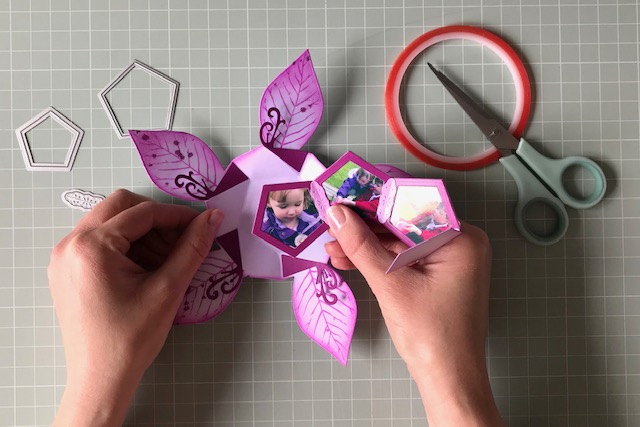
You can use either tacky PVA glue or high-tack tape to connect the framed locket pieces. If you’re using card with a thickness of 160-200gsm then you’ll find you can connect up to four pieces without it being too bulky. I used 250gsm and I found that the closed locket was a little too thick for the flower to close completely so I later reduced it down to just 3 photo layers on the finished card.
The first photo is attached to the centre of the poinsettia.
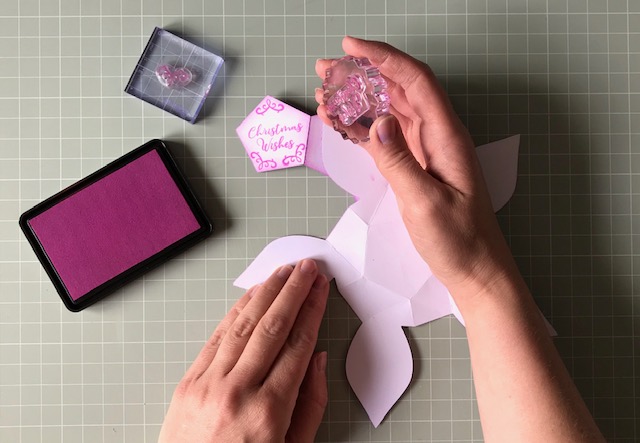
You can stamp greetings and flourishes on the reverse of the locket. Ooooh, you could make the photos double-sided! I’ll try that next!
Fold the photos like a concertina, into the centre.
You can then follow the basic steps to close up the flower. Use the brad and donut die to cut the two pieces needed if you’ll like your flower to spin as well as open out.
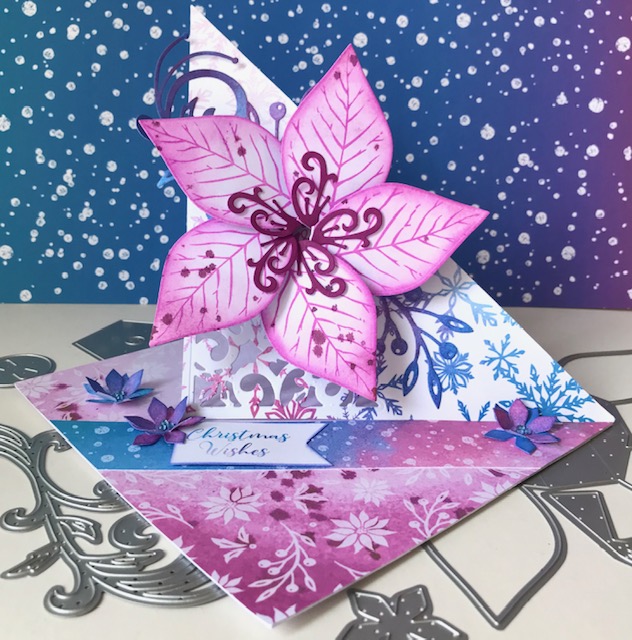
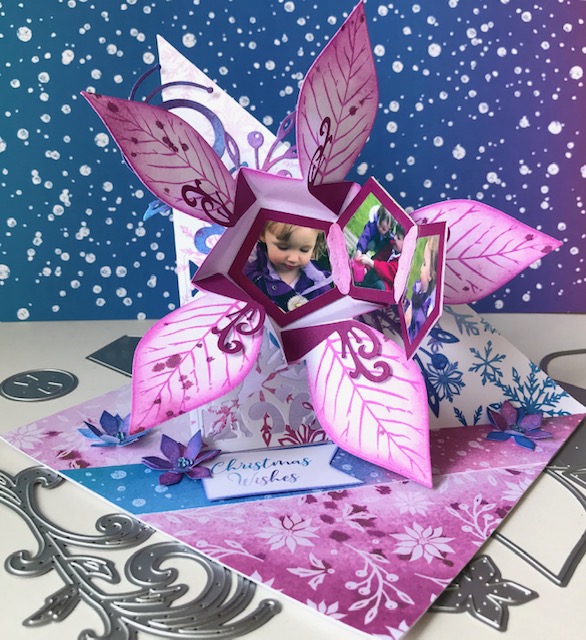
And this is the finished card! I printed the twisted easel template over a couple of patterned paper designs which are also available on the Florals & Flurries Digital Download. The decorative corner die is part of the Pretty Poinsettia die set and it adds a lovely lace detail to the card.
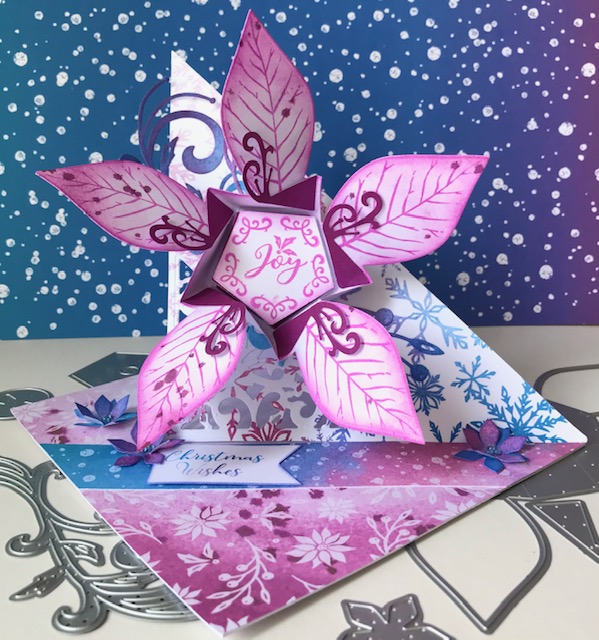
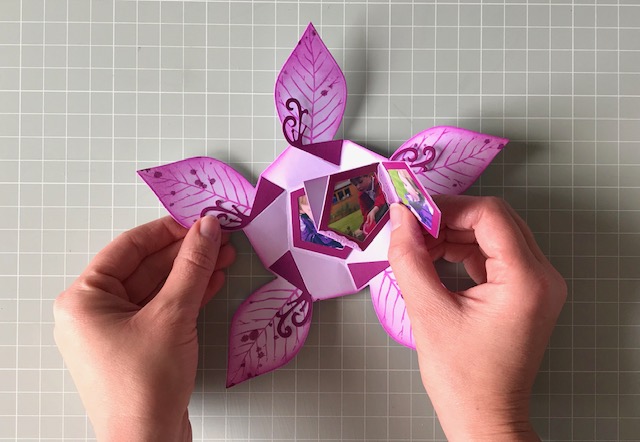
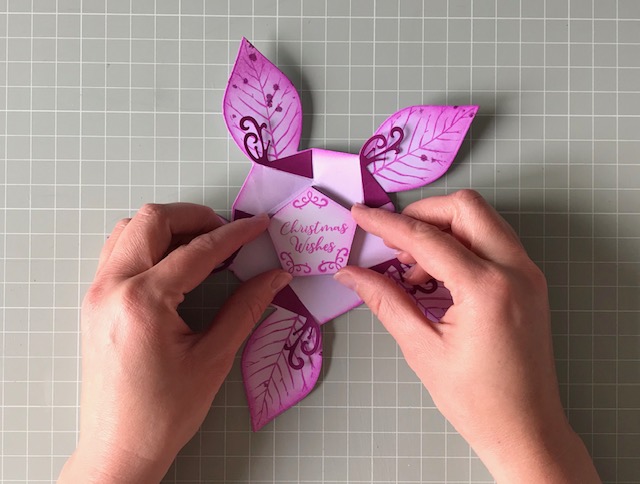
This is how the card looks when the flower is opened. You find a pretty greeting . . .
with a hidden surprise of a photo locket! I just love adding photos to cards as it’s so personal and you just know that the card will be treasured by friends or family.
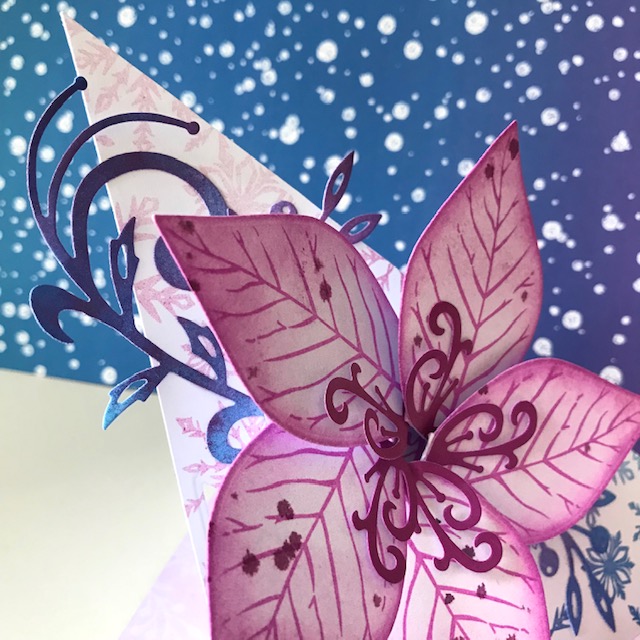
As it’s all in the detail, here’s a close up of how the decorative flourish and berry sprig from the die set overlap the edge of the card.
And these little poinsettia beauties are also made from the same die set! I tend to make these embellishments in batches, as I’m using them to decorate so many of my cards!
I hope you’re enjoying making your own secret locket photo cards. Please stop by again for more inspiration!
Happy Crafting!
Angela
x